Building an Outdoor Kitchen: Step-by-Step From Plan to Finish
Building an outdoor kitchen step-by-step: site prep, framing, utilities, masonry, finishing, and inspection sequencing for a successful project.
Outdoor Kitchen Setup Editorial Team
Outdoor living specialists with 15+ years of hands-on experience
Top Picks: Best Building an Outdoor Kitchen: Step-by-Step From Plan to Finish in 2026
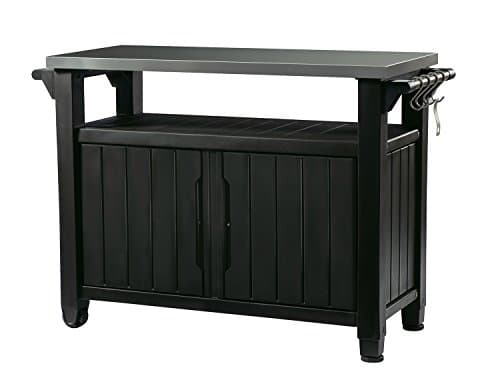
Keter Unity XL Portable Outdoor Table with Stainless Steel Top for Kitchen Prep and Outdoor Storage Cabinet for Grilling Accessories, Dark Grey
$220.99
Shop Now
TAOMAND Large 76 x 52 inches Under Grill Mats for Outdoor Grill | Double-Sided Fireproof | Waterproof | Oil-Proof | Easy to Clean | Indoor Fireplace/Fire Pit Mat | Quality BBQ Mat for Deck Patio Lawn
$33.99
Shop Now
Backyard Discovery Fusion Flame Galvanized Steel Covered Outdoor Kitchen with 5-Burner Stainless, Grill, Refrigerator, Countertop, Storage, and, Roof for All-Season Outdoor Cooking, electric
$4,999.00
Shop Now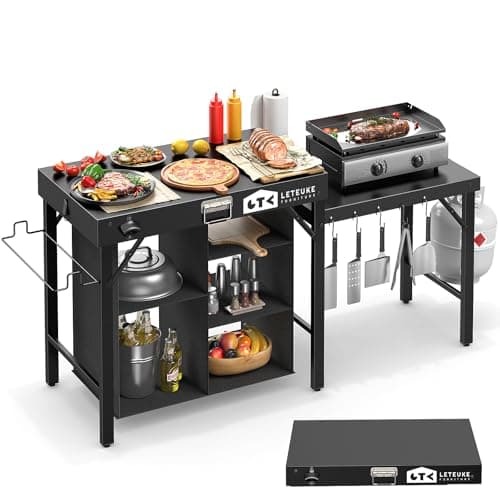
Leteuke Grill Table for Blackstone Griddle, Portable Foldable Grill Table with Storage Fits Ninja, Blackstone Griddle Stand for Outdoor Camping, Picnic, Garden, Patio, Dining, BBQ, Party
$159.99
Shop Now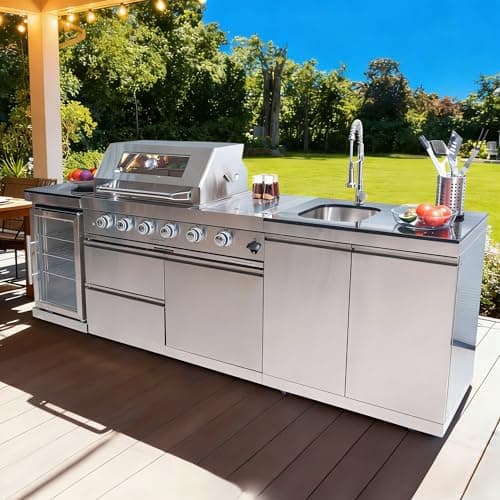
98 Inches Outdoor Kitchen Island, 4-Burner 72000 BTU Propane Stainless Steel BBQ with Side/Rear Burners, With Refrigerator and Sink, Rotisserie, Granite Countertops, Storage, For Backyard BBQ, Silver
$3,652.00
Shop Now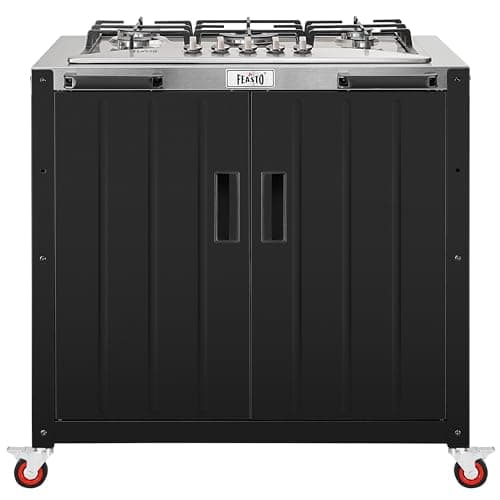
Feasto Gas Grill, Movable Outdoor Gas Stove Stainless Steel Top with Cabinet, 5 Burners with 36,200 BTUs, Outdoor Propane Grill for Outdoor Cooking, Ideal for Lawn & Garden, L35.4 x W24
$539.99
Shop Now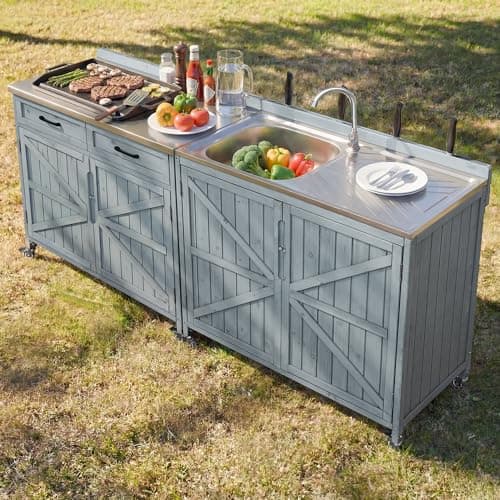
Merax 2 Piece Modular Outdoor Kitchen Series- Kitchen Grill Cart w/Stainless Steel Sink, Wood Rolling BBQ Prep Table w/Stainless Steel Top, Lockable Wheels for Patio & Outdoor Cooking, Grey Blue
$529.99
Shop Now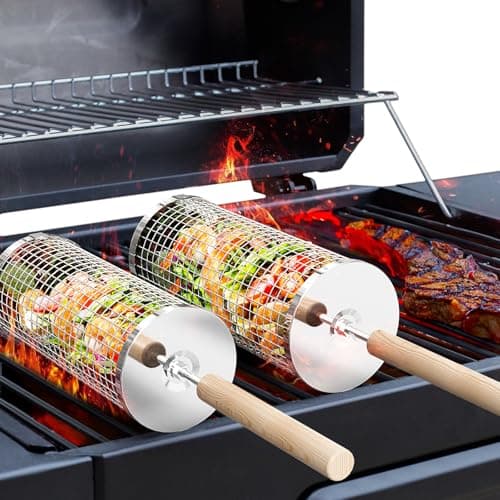
ivtivfu Rolling Grill Basket, Removable Wooden Handle, 304 Stainless Steel, Nesting BBQ Tools, Smoker Grilling Accessories for Vegetable, Outdoor Cooking Camping, Birthday Gifts for Men Dad Husband
$23.99
Shop NowKeter Unity XL Portable Outdoor Table with Stainless Steel Top for Kitchen Prep and Outdoor Storage Cabinet for Grilling Accessories, Dark Grey
$220.99
Shop NowTAOMAND Large 76 x 52 inches Under Grill Mats for Outdoor Grill | Double-Sided Fireproof | Waterproof | Oil-Proof | Easy to Clean | Indoor Fireplace/Fire Pit Mat | Quality BBQ Mat for Deck Patio Lawn
$33.99
Shop NowBackyard Discovery Fusion Flame Galvanized Steel Covered Outdoor Kitchen with 5-Burner Stainless, Grill, Refrigerator, Countertop, Storage, and, Roof for All-Season Outdoor Cooking, electric
$4,999.00
Shop NowLeteuke Grill Table for Blackstone Griddle, Portable Foldable Grill Table with Storage Fits Ninja, Blackstone Griddle Stand for Outdoor Camping, Picnic, Garden, Patio, Dining, BBQ, Party
$159.99
Shop Now98 Inches Outdoor Kitchen Island, 4-Burner 72000 BTU Propane Stainless Steel BBQ with Side/Rear Burners, With Refrigerator and Sink, Rotisserie, Granite Countertops, Storage, For Backyard BBQ, Silver
$3,652.00
Shop NowFeasto Gas Grill, Movable Outdoor Gas Stove Stainless Steel Top with Cabinet, 5 Burners with 36,200 BTUs, Outdoor Propane Grill for Outdoor Cooking, Ideal for Lawn & Garden, L35.4 x W24
$539.99
Shop NowMerax 2 Piece Modular Outdoor Kitchen Series- Kitchen Grill Cart w/Stainless Steel Sink, Wood Rolling BBQ Prep Table w/Stainless Steel Top, Lockable Wheels for Patio & Outdoor Cooking, Grey Blue
$529.99
Shop Nowivtivfu Rolling Grill Basket, Removable Wooden Handle, 304 Stainless Steel, Nesting BBQ Tools, Smoker Grilling Accessories for Vegetable, Outdoor Cooking Camping, Birthday Gifts for Men Dad Husband
$23.99
Shop NowPhase 1: Design Documents and Permits Before Building an Outdoor Kitchen
Nothing physical happens during the first 3 to 6 weeks. This phase is paperwork, but it determines whether the rest of the project flies or fails. Start with a measured site survey: locate property lines, existing utility connections (gas meter, electrical panel, water shutoff), septic or sewer cleanouts, and any easements or setback constraints. Most municipalities require new structures to sit at least 5 to 10 feet from rear and side property lines.
Develop a scaled site plan and elevation drawings showing the kitchen footprint, appliance cutouts, utility runs, and any covered structure above. For permits, you typically need: a building permit (the structure), a gas permit (LP or natural gas line work), an electrical permit (any new circuit), and a plumbing permit (water supply and drain). Some jurisdictions roll these into a single combined permit; others require each trade to pull its own. Permit fees range from $200 to $2,500 total. HOA architectural review, if applicable, runs in parallel and can add 4 to 8 weeks. Do not break ground until every permit is in hand and posted on the job site — working without permits creates real liability and complicates any future home sale.
Phase 2: Site Prep, Demolition, and Layout
With permits in hand, week 1 of construction is site prep. Mark the kitchen footprint with spray paint and string lines based on the approved plans, then verify dimensions and setbacks one more time before the excavator arrives. If the kitchen replaces an existing patio or deck, demolition runs 1 to 3 days. Remove existing concrete, hardscape, or wood framing, and haul to a recycling facility or dumpster.
Strip topsoil down to native subgrade across the kitchen footprint plus 12 inches in every direction — your foundation needs solid bearing and a working margin for forms. Standard depth is 8 to 14 inches below finish floor depending on frost line. In northern climates with a 42-inch frost line, footings extend that deep at minimum to prevent winter heave. Run 4 inches of compacted gravel base across the prepped subgrade, vibrated to 95 percent compaction. Install vapor barrier (6-mil polyethylene) and any in-slab utility sleeves — this is the single most important moment to drop in PVC sleeves for the gas line, water line, and electrical conduit so you do not have to saw-cut the slab later. Schedule the rough grading inspection before pouring any concrete.
Phase 3: Foundation, Slab, and Footings
The foundation is the literal base of every other decision. For a typical island-style outdoor kitchen, a 4-inch-thick reinforced concrete slab on a 4-inch gravel base handles the structural load of CMU walls, stainless cabinets, and granite countertops. The slab should extend at least 6 inches beyond the cabinet footprint on all sides for cleanly poured edges. Reinforce with #3 or #4 rebar in a 16-inch grid plus 6x6 welded wire mesh.
For installations on existing concrete patios, verify the existing slab is at least 4 inches thick and in sound condition. Hairline cracks are usually fine; structural cracks wider than 1/8 inch require either patching with epoxy injection or overpouring with a new bonded slab. For covered builds, footings under each post must extend below frost line — typically 12-inch-diameter sonotubes 36 to 48 inches deep, with #5 rebar cages and Simpson post bases set in the wet concrete. Pour all concrete at once if possible to avoid cold joints. Cure for 3 days minimum before applying any vertical load. Schedule the foundation inspection before backfilling against the slab edges or starting any cabinet framing on top.
Phase 4: Utilities Rough-In
Utilities are the trickiest phase because they require licensed trades to interleave with each other and with framing. Plumbing comes first: rough in the cold and hot water supply lines (PEX-A is ideal for freeze resistance), the sink drain (1.5-inch ABS or PVC, sloped 1/4 inch per foot back to the cleanout), and any beverage center water line. Pressure-test the supply lines at 100 PSI for 15 minutes before covering — leaks found now are five-minute fixes; leaks found after stucco is on are $3,000 nightmares.
Gas line rough-in follows. For natural gas, run 3/4-inch black iron pipe from the home's gas meter to the kitchen, sizing for total appliance load (a 95,000-BTU grill plus a 30,000-BTU side burner needs at least 3/4-inch supply). For propane, run 3/4-inch yellow CSST from the tank with proper bonding to the electrical ground. Pressure-test gas lines at 10 PSI for 15 minutes — required by code in most jurisdictions. Electrical comes last because it is the easiest to route around the gas and plumbing. Run a 20-amp GFCI-protected dedicated circuit for outlets, plus a separate 20-amp circuit for the refrigerator and any other major appliance. Schedule rough-in inspections for plumbing, gas, and electrical separately before closing up walls.
Phase 5: Cabinet Construction or Masonry Build
With utilities in and inspected, cabinet construction starts. The approach depends on your design choice. Steel-stud framing uses 20-gauge metal studs at 16-inch on-center spacing, sheathed in cement board (Durock or HardieBacker, 1/2 inch). This is the fastest framing method for a custom build, taking 3 to 5 days for a 10-to-12-foot island. Cement board is fastened with corrosion-resistant screws every 8 inches and taped at all seams with alkali-resistant mesh tape and thinset.
CMU masonry construction uses 8-inch concrete blocks set in mortar on the slab, then filled with grout and reinforced with vertical rebar in every other cell. This is the most durable approach (50-plus year service life) but takes 7 to 14 days for a typical island. Block walls finish at the rough cabinet height, with the top course leveled and capped. Modular cabinet kits from RTA Outdoor Living, NewAge, or Sunjoy are pre-fabricated steel boxes that bolt together over the slab in 1 to 2 days. They cost more per linear foot than DIY framing but eliminate labor entirely. Whichever method you choose, the cabinet structure must include exact appliance cutouts to manufacturer spec — a grill cutout 1/4 inch undersized means returning the grill or rebuilding the cabinet. Verify every cutout against the spec sheet before fastening anything.
Phase 6: Countertops, Appliances, and Sinks
Countertops are the longest single sub-phase because of templating lead time. Once the cabinet structure is complete, a stone fabricator visits to template the countertop using laser measurement or rigid plastic templates. Templating typically takes 1 hour on site and produces digital files for CNC cutting. Fabrication runs 2 to 4 weeks at most shops, longer for exotic materials or matched bookend slabs.
While waiting for stone, install the appliances and sink. Drop the grill into its cutout per manufacturer instructions, ensuring proper ventilation gaps. Connect gas with a flexible appliance connector and confirm no leaks with a soap solution at every fitting. Install the side burner, refrigerator, ice maker, kegerator, drawers, and any door panels. The sink installs last because it usually mounts to the underside of the countertop. When the stone arrives, the fabricators carry the slabs in (a 30-square-foot granite top can weigh 350 pounds), set them in place with construction adhesive and silicone, and seal all joints with a color-matched silicone caulk. Allow 24 hours before using the sink or applying sealer. For granite, marble, or quartzite, apply a penetrating sealer (StoneTech BulletProof, Miracle 511, or Granite Gold) and reapply every 12 to 18 months.
Phase 7: Finish Work, Cleanup, and Final Inspection
The final 1 to 2 weeks bring the kitchen from functional to finished. Veneer and stucco apply to the exterior cabinet faces. Cultured stone, natural stone veneer, brick veneer, or 3-coat stucco are the most common finishes. Cultured stone runs $15 to $30 per square foot installed; natural ledgestone runs $25 to $55; stucco runs $9 to $18. Apply over a code-required moisture barrier (Tyvek or 30# felt) and metal lath. Allow each coat 24 to 48 hours to cure.
Lighting installation includes any pendants, sconces, recessed cans, and under-counter LED strips. Verify every fixture is wet-rated for outdoor use. Test all GFCI outlets and confirm the panel labels match the actual circuits. Punch list time: walk the project with the builder, list every minor defect (gouge in stucco, missing screw cover, misaligned drawer face, paint touch-up), and require completion before final payment. Schedule the final building inspection only after all punch list items are resolved. The inspector verifies code compliance on gas, electrical, plumbing, and structural elements. Once approved, you receive a Certificate of Occupancy or final permit signoff. Save all paperwork — appliance warranties, permit close-outs, sub contact info, and photos of utility runs — in a single binder for future reference and resale disclosures.
Common Mistakes That Delay or Damage New Builds
Three mistakes account for the majority of failed outdoor kitchen builds. Mistake 1: Skipping the slab utility sleeves. Forgetting to drop in PVC sleeves for gas, water, and electrical before pouring the slab forces you to saw-cut concrete later, costing $1,500 to $4,000 and creating cracks that leak for years. Always sleeve every utility crossing before the pour.
Mistake 2: Mismatched cutout dimensions. Every appliance manufacturer publishes exact cutout specs that must be followed within 1/4 inch. Building cabinets to estimated dimensions and ordering appliances later guarantees you will rebuild a cabinet or return an appliance. Order all major appliances first, lock the dimensions, then build to those specs. Mistake 3: Cheap countertop substrate. Heavy stone slabs sit on the cabinet rim. If that rim is just plywood or single-layer cement board, the stone will crack within 2 to 5 years from minor settling and thermal cycling. Use 3/4-inch exterior plywood plus 1/2-inch cement board glued and screwed in place, or set the stone directly on a CMU cap. The countertop is the last thing you want to redo. Avoiding these three mistakes alone saves most homeowners $5,000 to $15,000 in rework costs and keeps the project on its original 12-to-16-week timeline.