How Do You Build An Outdoor Kitchen
How do you build an outdoor kitchen step by step: site prep, foundation, framing options (CMU vs steel stud), utilities, countertop install,
Outdoor Kitchen Setup Editorial Team
Outdoor living specialists with 15+ years of hands-on experience
Top Picks: Best How Do You Build An Outdoor Kitchen in 2026
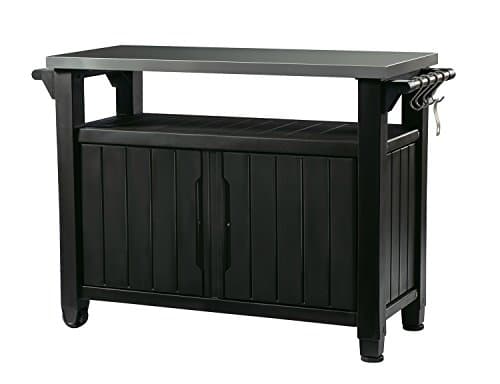
Keter Unity XL Portable Outdoor Table with Stainless Steel Top for Kitchen Prep and Outdoor Storage Cabinet for Grilling Accessories, Dark Grey
$220.99
Shop Now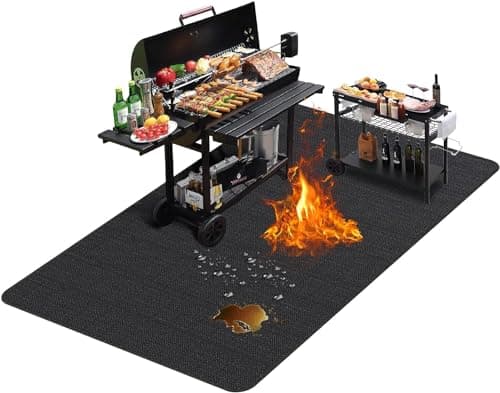
TAOMAND Large 76 x 52 inches Under Grill Mats for Outdoor Grill | Double-Sided Fireproof | Waterproof | Oil-Proof | Easy to Clean | Indoor Fireplace/Fire Pit Mat | Quality BBQ Mat for Deck Patio Lawn
$33.99
Shop Now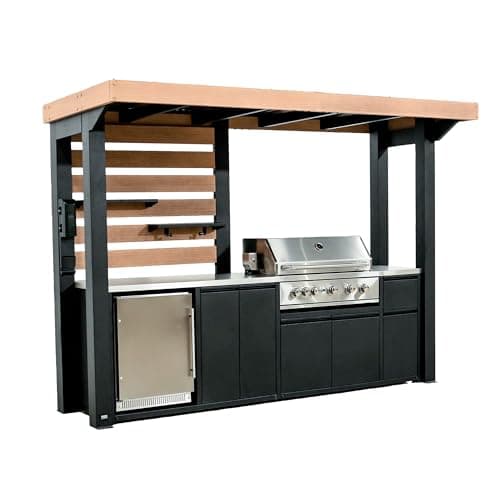
Backyard Discovery Fusion Flame Galvanized Steel Covered Outdoor Kitchen with 5-Burner Stainless, Grill, Refrigerator, Countertop, Storage, and, Roof for All-Season Outdoor Cooking, electric
$4,999.00
Shop Now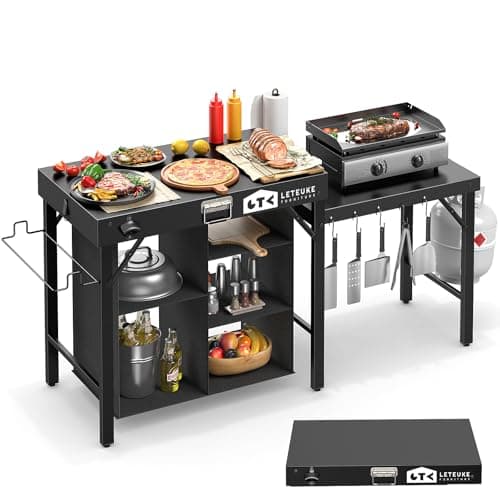
Leteuke Grill Table for Blackstone Griddle, Portable Foldable Grill Table with Storage Fits Ninja, Blackstone Griddle Stand for Outdoor Camping, Picnic, Garden, Patio, Dining, BBQ, Party
$159.99
Shop Now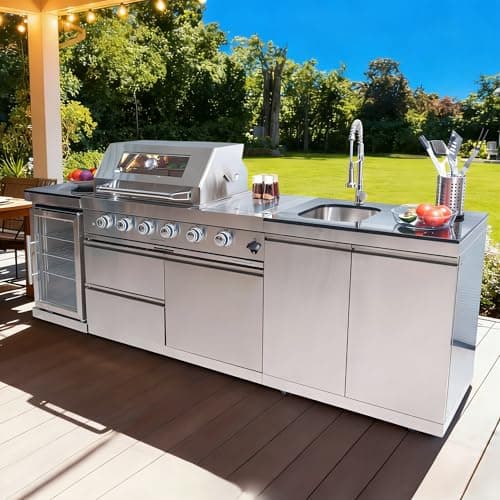
98 Inches Outdoor Kitchen Island, 4-Burner 72000 BTU Propane Stainless Steel BBQ with Side/Rear Burners, With Refrigerator and Sink, Rotisserie, Granite Countertops, Storage, For Backyard BBQ, Silver
$3,652.00
Shop Now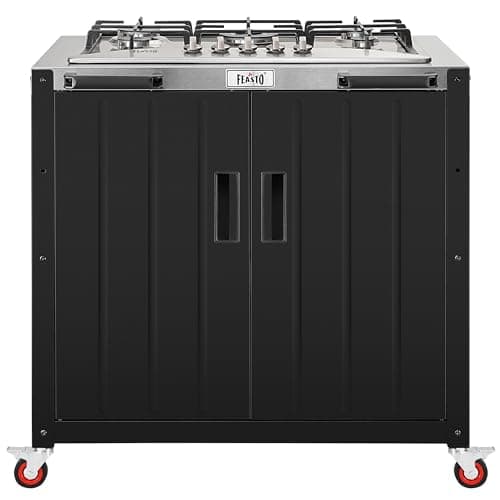
Feasto Gas Grill, Movable Outdoor Gas Stove Stainless Steel Top with Cabinet, 5 Burners with 36,200 BTUs, Outdoor Propane Grill for Outdoor Cooking, Ideal for Lawn & Garden, L35.4 x W24
$539.99
Shop Now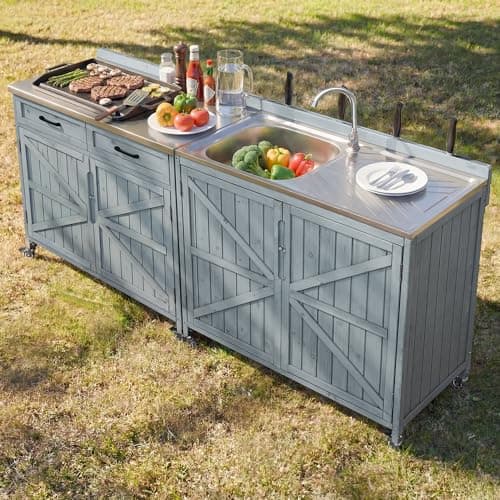
Merax 2 Piece Modular Outdoor Kitchen Series- Kitchen Grill Cart w/Stainless Steel Sink, Wood Rolling BBQ Prep Table w/Stainless Steel Top, Lockable Wheels for Patio & Outdoor Cooking, Grey Blue
$529.99
Shop Now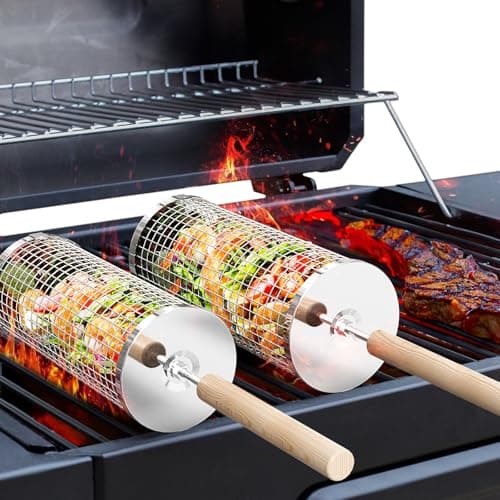
ivtivfu Rolling Grill Basket, Removable Wooden Handle, 304 Stainless Steel, Nesting BBQ Tools, Smoker Grilling Accessories for Vegetable, Outdoor Cooking Camping, Birthday Gifts for Men Dad Husband
$23.99
Shop NowKeter Unity XL Portable Outdoor Table with Stainless Steel Top for Kitchen Prep and Outdoor Storage Cabinet for Grilling Accessories, Dark Grey
$220.99
Shop NowTAOMAND Large 76 x 52 inches Under Grill Mats for Outdoor Grill | Double-Sided Fireproof | Waterproof | Oil-Proof | Easy to Clean | Indoor Fireplace/Fire Pit Mat | Quality BBQ Mat for Deck Patio Lawn
$33.99
Shop NowBackyard Discovery Fusion Flame Galvanized Steel Covered Outdoor Kitchen with 5-Burner Stainless, Grill, Refrigerator, Countertop, Storage, and, Roof for All-Season Outdoor Cooking, electric
$4,999.00
Shop NowLeteuke Grill Table for Blackstone Griddle, Portable Foldable Grill Table with Storage Fits Ninja, Blackstone Griddle Stand for Outdoor Camping, Picnic, Garden, Patio, Dining, BBQ, Party
$159.99
Shop Now98 Inches Outdoor Kitchen Island, 4-Burner 72000 BTU Propane Stainless Steel BBQ with Side/Rear Burners, With Refrigerator and Sink, Rotisserie, Granite Countertops, Storage, For Backyard BBQ, Silver
$3,652.00
Shop NowFeasto Gas Grill, Movable Outdoor Gas Stove Stainless Steel Top with Cabinet, 5 Burners with 36,200 BTUs, Outdoor Propane Grill for Outdoor Cooking, Ideal for Lawn & Garden, L35.4 x W24
$539.99
Shop NowMerax 2 Piece Modular Outdoor Kitchen Series- Kitchen Grill Cart w/Stainless Steel Sink, Wood Rolling BBQ Prep Table w/Stainless Steel Top, Lockable Wheels for Patio & Outdoor Cooking, Grey Blue
$529.99
Shop Nowivtivfu Rolling Grill Basket, Removable Wooden Handle, 304 Stainless Steel, Nesting BBQ Tools, Smoker Grilling Accessories for Vegetable, Outdoor Cooking Camping, Birthday Gifts for Men Dad Husband
$23.99
Shop NowStep 1: Site Selection and How Do You Build An Outdoor Kitchen Layout
The first decision in how do you build an outdoor kitchen is exactly where on your property to build it. The optimal site sits within 15 feet of your indoor kitchen door, on a level surface within 6 inches of grade, downwind from primary seating areas based on your prevailing summer wind direction, and at least 10 feet from any structure with combustible siding (vinyl, cedar shake, painted wood). Pull up your local jurisdiction's setback requirements before committing — most municipalities require permanent structures to sit at least 5 feet from side and rear property lines, and easements for utilities like buried electric or sewer lines have additional setbacks of 10 to 15 feet.
Sketch the layout on graph paper at quarter-inch scale before any digging starts. The four classic layouts are linear (8 to 14 feet long, 24 to 30 inches deep), L-shape (10x10 feet minimum), U-shape (12x12 feet minimum, three-sided enclosure), and standalone island (8 to 12 feet, accessible from all four sides). For most builds, an L-shape gives you the right balance between cooking zone, prep counter, and serving counter without consuming an entire patio. Once your layout is committed, mark the corners with stakes and string, then live with it for a few days — walk through cooking motions, check sightlines from your indoor windows, and verify the smoke trajectory will not waft into your neighbor's yard during summer barbecues.
Step 2: Design Drawings, Permits, and Inspections
Before you order materials, every well-executed how do you build an outdoor kitchen project goes through formal design drawings and permit submission. At minimum, your local building department needs a site plan showing setbacks, a foundation plan with footing depth and concrete specifications, a structural detail of the island construction, plumbing and gas riser diagrams, and an electrical one-line diagram showing circuits, GFCI protection, and outdoor receptacles. For DIY builds, you can typically draft these yourself using free software like SketchUp Free or Sweet Home 3D, then have a licensed engineer review and stamp them for $400 to $900 if your jurisdiction requires sealed drawings.
Permit fees vary widely. A simple gas-and-grill permit runs $200 to $500. A full outdoor kitchen with electrical, gas, plumbing, and structural elements typically costs $800 to $2,500 in permit fees. Plan on three inspections during construction: rough plumbing/gas, rough electrical, and final inspection after the grill and finishes are installed. Pulling permits feels like an annoyance, but skipping them creates major problems at resale (buyers' lenders require disclosure of unpermitted work) and voids most homeowner's insurance coverage if a fire originates from the unpermitted gas line. As detailed in our complete outdoor kitchen setup guide, the small upfront permitting investment protects the much larger structural investment.
Step 3: Foundation and Concrete Slab Construction
An outdoor kitchen lives or dies based on its foundation. The standard answer for how do you build an outdoor kitchen foundation is a 4-inch-thick reinforced concrete slab on a 4-to-6-inch compacted gravel base, extending 6 inches beyond the island footprint on all sides. For a typical 8-foot L-shape island, that means a slab approximately 9x9 feet — about 81 square feet. Excavate to a depth of 8 to 10 inches, lay landscape fabric to prevent weed intrusion, then compact 4 inches of crushed stone or class-five gravel using a rented plate compactor ($65 per day). Add a 6-mil polyethylene vapor barrier, then place #4 rebar in a 16-inch grid tied with wire ties.
Pour the concrete using a 4,000 PSI mix from a ready-mix supplier (typical cost $180 to $230 per cubic yard, with most slabs requiring 1.5 to 2 yards). For climates with freeze-thaw cycles, add 4 to 6 percent air entrainment to the mix to prevent winter spalling. Screed the surface flat using a 2x4 and an experienced helper, then trowel-finish to a smooth surface. Cure the slab under wet burlap or curing blankets for at least 7 days before applying any load. If your existing patio is already concrete and at least 4 inches thick with adequate reinforcement, you can build directly on top of it without pouring new concrete — saves $800 to $1,500 in materials and labor.
Step 4: Roughing in Gas, Water, and Electrical Lines
With the slab cured, the next phase in how do you build an outdoor kitchen is utility rough-in. Gas lines come first because they typically require the deepest trenching. For natural gas, run ¾-inch black iron pipe from your home's existing manifold, sized to deliver at least 80,000 BTU per hour with adequate inlet pressure (at least 7 inches of water column at the appliance). Bury the pipe 18 inches deep in unpaved areas, with yellow caution tape at 12-inch depth as a future excavation warning. The line terminates at a quarter-turn shutoff valve immediately upstream of the appliance. Hire a licensed plumber for this phase — the labor saved by DIY is not worth the risk of a leak.
Water lines for a sink use ½-inch PEX with frost-proof yard hydrants for cold-climate installations. The drain line uses 1.5-inch ABS or PVC, sloped at ¼ inch per foot toward your home's existing waste line or a dry well if a connection is impractical. Electrical needs a dedicated 20-amp GFCI-protected circuit for outlets, plus a separate 15-amp circuit for any 240-volt appliance like a built-in pizza oven. All outdoor receptacles must be weather-resistant with in-use covers, mounted at least 12 inches above grade. Stub all utilities up through the slab at the precise locations shown on your design drawings — moving them after the cabinet frames go up means jackhammering concrete.
Step 5: Framing the Island Structure (CMU vs Steel Stud vs Modular)
The framing decision shapes every other choice in how do you build an outdoor kitchen. There are three primary methods. Concrete masonry unit (CMU) construction stacks 8x8x16 cinder blocks two or three courses high, mortared together and reinforced with vertical rebar through the cells. CMU is the most durable option (50-plus year lifespan), the most fire-resistant, and the heaviest — a typical 8-foot island weighs 1,500 to 2,000 pounds before countertops. Materials run $4 to $7 per linear foot of wall, plus mortar mix at $8 per 80-pound bag.
Steel stud framing uses 20-gauge galvanized metal studs (the same kind used in commercial interior construction) on 16-inch centers, fastened to a pressure-treated bottom plate that is anchored to the slab with concrete wedge anchors. Steel stud is faster to build (a single weekend versus three), lighter, and easier to modify, but requires cement board substrate and is more vulnerable to water intrusion if the cladding fails. Modular pre-fab options like NewAge Bold Series or RTA Outdoor Living simply bolt together using included hardware — fastest of all, with finish-ready aluminum or stainless steel exteriors that need no cladding. Modular is the right choice for time-pressured homeowners; CMU is right for those who want a 50-year permanent installation.
Step 6: Substrate, Weatherproofing, and Cladding
Once the structural frame is up, how do you build an outdoor kitchen exterior depends on three layered systems. The substrate goes directly over the frame — for steel stud or wood-framed islands, use ½-inch HardieBacker cement board fastened with corrosion-resistant cement board screws every 8 inches. CMU walls do not need substrate and can receive cladding directly. Apply a self-adhered weather-resistant barrier like Grace Ice and Water Shield over the cement board, lapping seams at least 4 inches and turning the membrane into all openings.
Cladding options include natural stone veneer (around $14 to $30 per square foot installed), manufactured stone like Boral or Eldorado Stone ($10 to $18 per square foot installed), stucco ($6 to $12 per square foot installed), or porcelain tile ($8 to $20 per square foot installed). For natural stone veneer, use a polymer-modified thinset mortar specifically rated for exterior masonry application, and install proper weep screeds at the bottom course to allow any infiltrated moisture to drain. Stucco gets a scratch coat, brown coat, and finish coat over diamond lath that is fastened through the substrate into the frame. Whatever you choose, integrate proper drainage details — water that gets behind the cladding and cannot escape will eventually delaminate the entire facade.
Step 7: Countertops, Appliance Drop-In, and Final Connections
Countertops are the most expensive single line item in how do you build an outdoor kitchen and the one that homeowners most often regret cheaping out on. Granite remains the durability champion at $40 to $80 per square foot installed, fully outdoor-rated, and available in hundreds of colors and patterns. Quartzite (a natural stone, NOT engineered quartz) at $70 to $130 per square foot is more uniform-looking and equally weather-resistant. Concrete countertops at $65 to $135 per square foot offer a modern aesthetic and can be DIY cast in place. Avoid engineered quartz like Caesarstone and Silestone outdoors — most manufacturers void warranties for outdoor use because the resin binders break down under UV exposure.
Have your fabricator template the countertop on top of your finished cabinet frames using ¼-inch plywood templates — never order from architectural drawings, because real-world dimensions always differ slightly from plans. Cutouts for grills, side burners, and sinks are made at the fabrication shop. After the countertop is set with silicone adhesive and seamed with color-matched epoxy, drop in the grill and other appliances and connect them to the rough-in stubs you ran earlier. Schedule your final inspection, fire up the grill for a leak test using soapy water on every connection, and you have completed all 11 phases. Total realistic timeline for DIY: 6 to 10 weekends spread over 3 to 4 months. Total cost for a mid-range 8-foot L-shape build: $9,500 to $18,000.
Common Mistakes That Derail an Outdoor Kitchen Build
Even careful planning leaves room for mistakes, and certain errors recur on roughly half of how do you build an outdoor kitchen DIY projects. The single biggest mistake is failing to plan grill cutout dimensions before ordering the appliance — homeowners assume any 30-inch grill fits any 30-inch cabinet, but external versus cutout dimensions vary by manufacturer. Always download the specific grill's installation manual, find the cutout dimensions, and frame your opening to those exact specs plus a quarter-inch tolerance.
The second common mistake is undersizing the gas line. A four-burner grill at 60,000 BTU plus a side burner at 15,000 BTU and a future sear burner at 18,000 BTU adds up to 93,000 BTU. A ½-inch gas line cannot deliver that volume over a 30-foot run with adequate inlet pressure, no matter what the homeowner's brother-in-law claims. Always size up to ¾-inch line for any installation over 25 feet from the meter. Third, homeowners frequently skip drainage in countertops — every horizontal countertop surface should slope at least ⅛ inch per foot away from the cabinet face so rainwater sheets off rather than pooling. Finally, do not forget to specify outdoor-rated appliances. Indoor refrigerators, ice makers, and dishwashers fail within 12 to 24 months when used outdoors, and the warranty is void.
Frequently Asked Questions
01How long does it take to build an outdoor kitchen?
02Do I need a building permit to build an outdoor kitchen?
03What is the easiest way to build an outdoor kitchen?
04Can I build an outdoor kitchen on an existing concrete patio?
05What is the best frame material for a DIY outdoor kitchen?
06How deep should the foundation be for an outdoor kitchen?
07Can I run a gas line to my outdoor kitchen myself?
08What's the right grill cutout size for a built-in grill?
09Do outdoor kitchens need ventilation?
10How much does a DIY outdoor kitchen cost compared to professional?
Related Guides
Outdoor Kitchen Appliances: Essential Equipment Guide for 2026
Read guide →
GuideBuilt-In Outdoor Kitchen: Construction Methods, Materials & Complete Cost Guide
Read guide →
GuideOutdoor Kitchen Lighting: Task, Ambient & Weatherproof Fixture Guide
Read guide →
GuideOutdoor Kitchen Gazebo: Hardtop Styles, Sizing, Wind Ratings & Top Brands for 2026
Read guide →