Outdoor Patio Kitchen: Hardscape Coordination, Surface Types & Drainage Planning
Outdoor patio kitchen integration with existing hardscape. Surface types, drainage planning, paver coordination, and weight load calculations.
Outdoor Kitchen Setup Editorial Team
Outdoor living specialists with 15+ years of hands-on experience
Top Picks: Best Outdoor Patio Kitchen: Hardscape Coordination, Surface Types & Drainage Planning in 2026
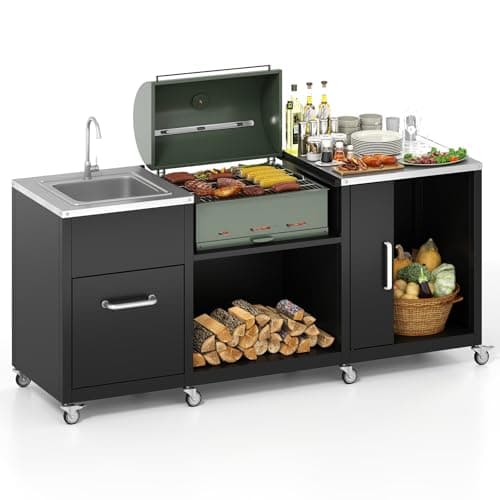
Happygrill 80” Outdoor Grill Table with Sink & Drainage, Heavy Duty Metal Grill Cart w/Cabinet & Removable Stainless Steel Top, Portable Prep Cooking Table w/Wheels for BBQ, Patio, Camping & Backyard
$459.99
Shop Now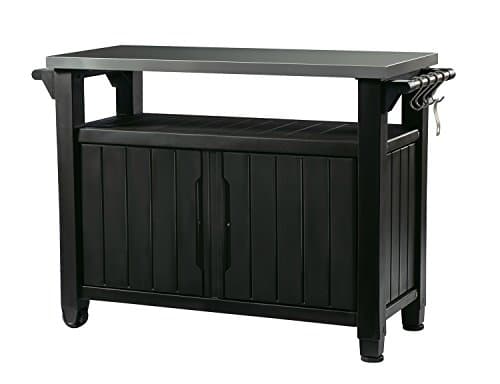
Keter Unity XL Portable Outdoor Table with Stainless Steel Top for Kitchen Prep and Outdoor Storage Cabinet for Grilling Accessories, Dark Grey
$220.99
Shop Now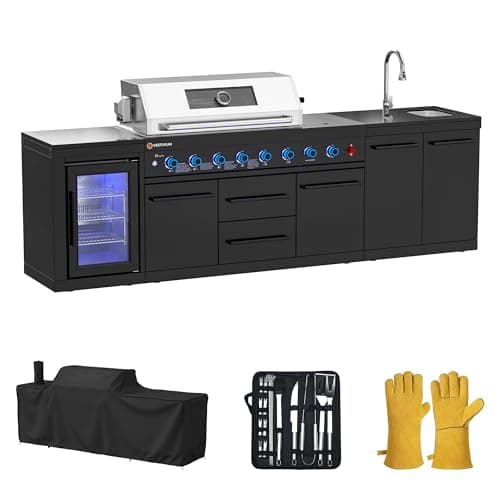
VESTIVIUM 112" All-in-One Outdoor Kitchen, 8-Burner Modular Grill Station, Powder Coating Black SS304 & Black Granite, Sink, Fridge, Complete BBQ Set for Large Patios & Backyards (Propane)
$5,599.00
Shop Now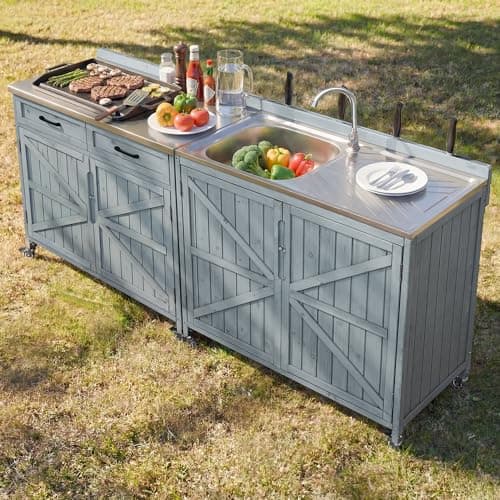
Merax 2 Piece Modular Outdoor Kitchen Series- Kitchen Grill Cart w/Stainless Steel Sink, Wood Rolling BBQ Prep Table w/Stainless Steel Top, Lockable Wheels for Patio & Outdoor Cooking, Grey Blue
$529.99
Shop Now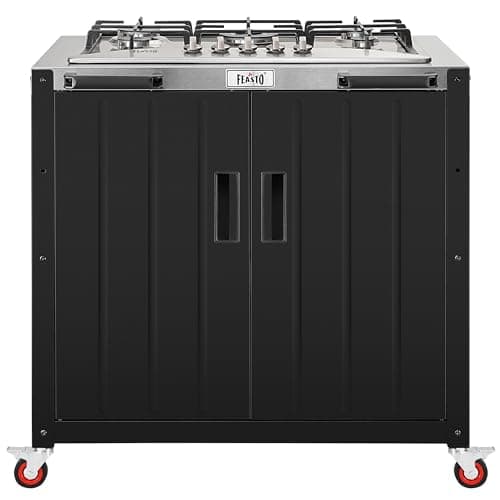
Feasto Gas Grill, Movable Outdoor Gas Stove Stainless Steel Top with Cabinet, 5 Burners with 36,200 BTUs, Outdoor Propane Grill for Outdoor Cooking, Ideal for Lawn & Garden, L35.4 x W24
$539.99
Shop Now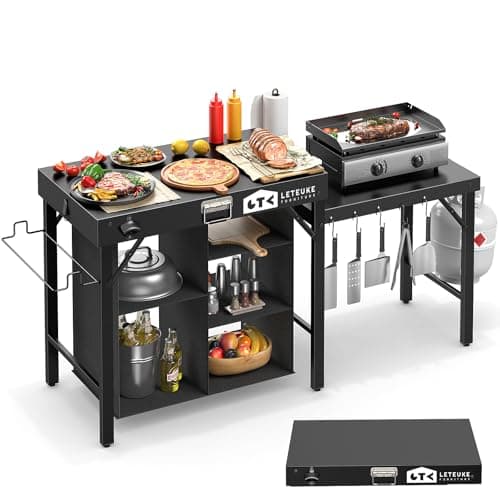
Leteuke Grill Table for Blackstone Griddle, Portable Foldable Grill Table with Storage Fits Ninja, Blackstone Griddle Stand for Outdoor Camping, Picnic, Garden, Patio, Dining, BBQ, Party
$159.99
Shop Now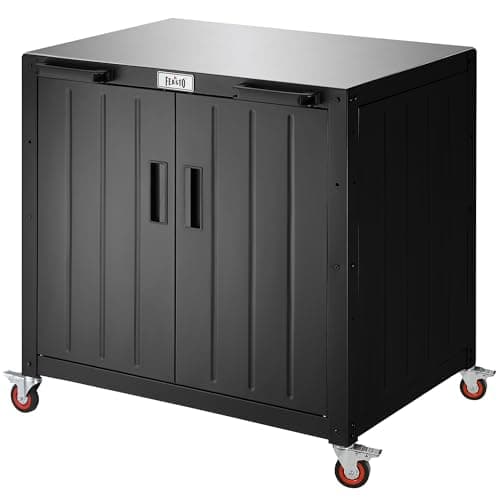
Feasto Outdoor Grill Cart with Storage Cabinet and Stainless Steel Top, 35-Inch Outdoor Grill Station with Door, Modular Kitchen Island for Food Prep and BBQ, Black & Silver
$219.99
Shop Now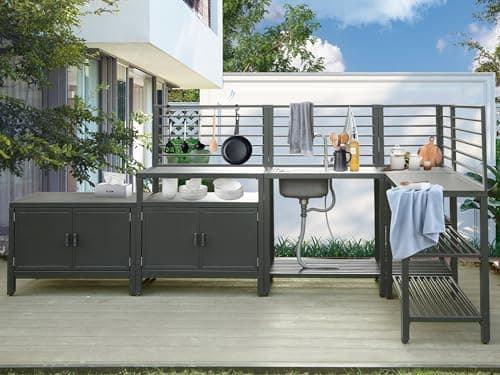
Domi 5-Piece Outdoor Kitchen Island with Storage, Aluminum Kitchen Islands Stainless Steel Sink w/Faucet, Corner Bar Storage Cabinet, Outdoor Kitchen with Protective Cover for Deck, Patio
$1,199.99
Shop NowHappygrill 80” Outdoor Grill Table with Sink & Drainage, Heavy Duty Metal Grill Cart w/Cabinet & Removable Stainless Steel Top, Portable Prep Cooking Table w/Wheels for BBQ, Patio, Camping & Backyard
$459.99
Shop NowKeter Unity XL Portable Outdoor Table with Stainless Steel Top for Kitchen Prep and Outdoor Storage Cabinet for Grilling Accessories, Dark Grey
$220.99
Shop NowVESTIVIUM 112" All-in-One Outdoor Kitchen, 8-Burner Modular Grill Station, Powder Coating Black SS304 & Black Granite, Sink, Fridge, Complete BBQ Set for Large Patios & Backyards (Propane)
$5,599.00
Shop NowMerax 2 Piece Modular Outdoor Kitchen Series- Kitchen Grill Cart w/Stainless Steel Sink, Wood Rolling BBQ Prep Table w/Stainless Steel Top, Lockable Wheels for Patio & Outdoor Cooking, Grey Blue
$529.99
Shop NowFeasto Gas Grill, Movable Outdoor Gas Stove Stainless Steel Top with Cabinet, 5 Burners with 36,200 BTUs, Outdoor Propane Grill for Outdoor Cooking, Ideal for Lawn & Garden, L35.4 x W24
$539.99
Shop NowLeteuke Grill Table for Blackstone Griddle, Portable Foldable Grill Table with Storage Fits Ninja, Blackstone Griddle Stand for Outdoor Camping, Picnic, Garden, Patio, Dining, BBQ, Party
$159.99
Shop NowFeasto Outdoor Grill Cart with Storage Cabinet and Stainless Steel Top, 35-Inch Outdoor Grill Station with Door, Modular Kitchen Island for Food Prep and BBQ, Black & Silver
$219.99
Shop NowDomi 5-Piece Outdoor Kitchen Island with Storage, Aluminum Kitchen Islands Stainless Steel Sink w/Faucet, Corner Bar Storage Cabinet, Outdoor Kitchen with Protective Cover for Deck, Patio
$1,199.99
Shop NowCalculating the Weight Load of an Outdoor Patio Kitchen
The first hardscape question is whether your existing patio can structurally support the kitchen you want to build. A typical 12-foot built-in outdoor kitchen with cinder block frame, stone veneer, granite countertop, and integrated appliances weighs between 2,500 and 4,500 pounds. Distributed over a 24-square-foot footprint, that is 100 to 190 pounds per square foot of static load — well above the 50 to 100 PSF rating of typical residential patio surfaces. Continue your research on our outdoor kitchen planning portal for further reading.
For new construction, the solution is a dedicated foundation pad poured under the kitchen footprint at minimum 6 inches thick over 4 inches of compacted base, with #4 rebar on 12-inch centers. This reinforced pad handles 4,000 PSF of bearing capacity. For existing patios, your options depend on the underlying construction. 4-inch poured concrete patios with intact rebar can usually support modest built-in kitchens up to about 2,500 pounds — verify with a structural engineer if heavier. Paver patios over compacted gravel almost never support built-in masonry without sinking; you must remove pavers in the kitchen footprint, pour a dedicated reinforced slab, then re-set pavers around it. Composite or wood decks rarely support built-in kitchens regardless of joist sizing — modular freestanding kitchens on wheels are the practical option.
Surface Type Comparison: Poured Concrete vs Pavers vs Natural Stone
Each patio surface type has distinct integration characteristics for an outdoor patio kitchen. Poured concrete creates a monolithic surface that doubles as the kitchen foundation when properly designed — the kitchen footing pours integrally with the patio slab, eliminating differential settling. Cost: $8 to $15 per square foot installed. Drawback: cracks are visible and difficult to repair invisibly; consider stamped or stained concrete for hiding minor cracking.
Concrete pavers (Belgard, Techo-Bloc, Pavestone) offer the most flexibility for kitchen integration because individual pavers can be lifted and reset around plumbing penetrations or future expansions. Cost: $12 to $25 per square foot installed. The kitchen foundation must be a separate pour, with pavers set against the foundation edge using polymeric sand-filled joints to absorb minor movement. Natural stone (flagstone, travertine, bluestone) provides the highest aesthetic integration with a stone veneer kitchen — the same material can flow from patio surface up the kitchen base. Cost: $20 to $50 per square foot installed. Natural stone requires a poured concrete substrate for kitchen-supporting areas and benefits from sealing every 2 to 3 years to prevent staining. The hardscape contractor and kitchen contractor must coordinate the transition detail at the kitchen perimeter — a 1/4-inch isolation joint with backer rod and self-leveling sealant prevents stress cracking.
Drainage Planning Around an Outdoor Patio Kitchen
Water is the slow killer of outdoor kitchens, and drainage planning has to happen before the patio is poured or pavers are set. The fundamental rule: every patio surface within 8 feet of the kitchen must slope away from the kitchen at a minimum of 1/8 inch per foot, ideally 1/4 inch per foot. Water pooling against the kitchen base wicks into masonry joints, freezes in winter, and accelerates spalling and stone veneer failure.
For sloped sites, drainage is straightforward — water flows downhill and away. For flat sites, you need active drainage solutions. Trench drains (NDS Pro Series at $200 per 4-foot section, Zurn Z886 at $400 per 4-foot section) sit flush with the patio surface and capture sheet flow, routing it to a dry well or storm connection. Position trench drains 4 to 6 feet from the kitchen base, parallel to the long edge, where natural sheet flow concentrates. Linear drains integrated into paver patterns work for narrower patio strips. Grey water management: if your kitchen has a plumbed sink, the drain can connect to either a sewer line (preferred), a dedicated dry well rated for grey water (acceptable in many jurisdictions), or a removable bucket (allowed for very low-volume non-pressurized drains). Never let kitchen drain water flow directly onto the patio surface — it stains and creates slip hazards.
Paver Coordination: Pattern, Edge Restraint, and Kitchen Cutout
When integrating a built-in kitchen into a paver patio, the paver pattern must be designed around the kitchen footprint from the start, not retrofitted around it. Three coordination details matter most. Pattern alignment: the long edge of the kitchen should align with a paver coursing line, not bisect a paver. This requires the hardscape contractor to lay out the patio with the kitchen dimensions as a constraint. Most pavers are nominal 6x9 or 6x12 inches — work the kitchen footprint to a multiple of these dimensions wherever possible.
Edge restraint at the kitchen perimeter: Standard plastic paver edge restraint (Pave Edge Rigid at $15 per 8-foot section) does not work directly against a kitchen base because settling can cause separation. The proper detail is a concrete haunch — a 6-inch tall by 4-inch wide reinforced concrete curb poured at the kitchen base that retains the pavers without flexing. Kitchen cutout in existing paver patios: remove pavers in a footprint 12 inches larger than the kitchen on each side. Pour the dedicated reinforced foundation. Reset pavers against the foundation edge using polymeric sand-filled joints sealed with a paver joint stabilizer to prevent ant intrusion. The visible result should look intentional, not patched.
Coordinating Patio Lighting With Kitchen Lighting
Hardscape lighting and kitchen lighting are often installed by different trades with no coordination, resulting in mismatched color temperatures, redundant fixtures, or dark spots between zones. Plan both systems together at the design stage. Color temperature consistency: all outdoor patio kitchen lighting should match — typically 2700K to 3000K (warm white) for ambient and dining zones, 3000K to 3500K for cooking task lighting. Mixing color temperatures creates a visually disjointed space.
Layered lighting design: three layers serve a patio kitchen well. Path lights (Kichler Outdoor Landscape at $40 to $120 per fixture) along walkways at 12 to 24 inch spacing provide safe foot traffic illumination. In-ground well lights (Volt 4-inch Brass at $89) up-light pergola posts and tall plantings for ambiance. Directional accent lights highlight architectural features of the kitchen itself — stone veneer texture comes alive under grazing light from a fixture mounted 12 inches from the wall surface. Wiring during patio construction: run low-voltage 12-2 landscape cable in PVC conduit before the patio is poured or pavers are set. Trying to add lighting after the fact requires cutting the patio surface — expensive and aesthetically compromising. Use Lutron Caseta or Philips Hue Outdoor smart controls for scene programming across all zones.
Joint and Crack Control Around the Kitchen Perimeter
The kitchen-to-patio interface is the most failure-prone detail in any outdoor patio kitchen project. Three failure modes appear most often. Failure mode one: rigid bond cracking. When the kitchen base is bonded directly to the patio surface with mortar or thinset, differential thermal expansion (the kitchen heats and cools at different rates than the surrounding patio) creates stress cracks at the bond line within 1 to 3 years.
The proper detail is an isolation joint: a 1/4-inch gap filled with closed-cell backer rod and topped with self-leveling polyurethane sealant (Sika 1A at $12 per tube, NPC Sealants Self-Leveling at $9 per tube). This joint accommodates ±1/4-inch of movement between the kitchen and patio without cracking. Failure mode two: efflorescence and white staining. Water passing through cement-bonded surfaces leaches calcium hydroxide that crystallizes as white powder on stone veneer and pavers near the kitchen. Prevention: ensure positive drainage away from the kitchen base, apply a breathable masonry sealer (PROSOCO Saltguard at $80 per gallon), and avoid bonding the veneer directly to the patio surface. Failure mode three: settling at corners. Heavy kitchen corners exceed the bearing capacity of standard paver bases. Pour an extended foundation pad 6 inches beyond the kitchen footprint at all corners to distribute load.
Pergolas, Roofs, and Overhead Coordination With Patio Surfaces
Many outdoor patio kitchens benefit from overhead structures — pergolas for shade, solid roofs for rain protection, motorized louvered systems for adjustable cover. The post locations for any overhead structure must be coordinated with both the patio surface and the kitchen footprint at the design stage. Pergola post footings typically extend 36 to 48 inches below grade in cold climates (below frost line) and require a 12-inch diameter sonotube filled with concrete and a steel post anchor.
If pergola posts land in a paver patio, the paver pattern must accommodate the 12-inch post footing — typically by removing pavers in a 16-inch square around each post and finishing with a stone collar or expanded concrete base. If posts land near the kitchen, plan utility runs accordingly: gas, electrical, and water lines should not pass directly under post footings, since future maintenance becomes impossible. Roof drainage is critical — gutter systems on solid roofs must direct water away from the patio surface, not onto it. Downspouts should daylight into landscape areas at least 8 feet from the kitchen perimeter, or connect to underground drainage running to a dry well or storm system. Snow load in cold climates: solid roofs over outdoor kitchens must be engineered for local snow load (typically 30 to 50 PSF in northern states) — verify with a structural engineer rather than assuming a residential pergola can handle a real winter.
Phasing Construction: Patio First or Kitchen First
Project sequencing affects both cost and quality. The optimal sequence depends on whether you are building everything new or integrating with existing hardscape. For new construction: build the kitchen foundation as part of the patio pour, then build the kitchen frame, then finish the patio surface around the kitchen. This sequence eliminates seam issues at the kitchen perimeter and lets the same concrete contractor handle both pours. Total time: 8 to 16 weeks from groundbreaking.
For integration with existing patio: remove the existing patio surface in the kitchen footprint plus 12 inches around all sides; pour the dedicated reinforced foundation; build the kitchen frame and finish the structure; reset patio surface around the completed kitchen with proper isolation joints. This sequence is more disruptive but produces a cleaner final result than trying to build a kitchen on top of existing pavers or thin slab. For complete kitchen-and-patio packages from a single contractor, expect 12 to 20 weeks of total project time and $35,000 to $80,000 in combined cost for a moderate footprint. Coordinate permits as a single application — most jurisdictions issue a combined permit for hardscape and outdoor kitchen work, simplifying inspections and avoiding delays.