Outdoor Kitchen Diy
Outdoor kitchen DIY step-by-step: weekend timeline, tools list, foundation prep, framing, countertop pour, and the 5 mistakes that doom most first builds.
Outdoor Kitchen Setup Editorial Team
Outdoor living specialists with 15+ years of hands-on experience
Top Picks: Best Outdoor Kitchen Diy in 2026
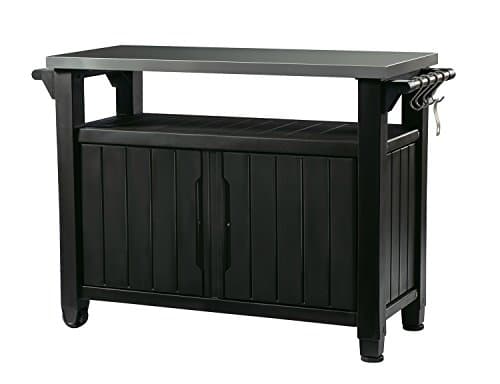
Keter Unity XL Portable Outdoor Table with Stainless Steel Top for Kitchen Prep and Outdoor Storage Cabinet for Grilling Accessories, Dark Grey
$220.99
Shop Now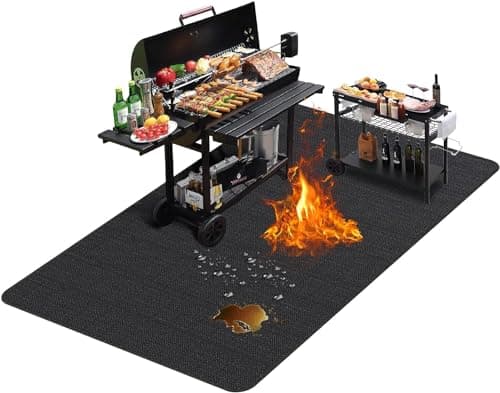
TAOMAND Large 76 x 52 inches Under Grill Mats for Outdoor Grill | Double-Sided Fireproof | Waterproof | Oil-Proof | Easy to Clean | Indoor Fireplace/Fire Pit Mat | Quality BBQ Mat for Deck Patio Lawn
$33.99
Shop Now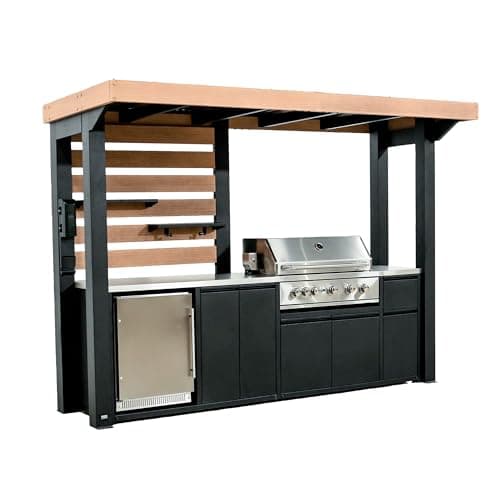
Backyard Discovery Fusion Flame Galvanized Steel Covered Outdoor Kitchen with 5-Burner Stainless, Grill, Refrigerator, Countertop, Storage, and, Roof for All-Season Outdoor Cooking, electric
$4,999.00
Shop Now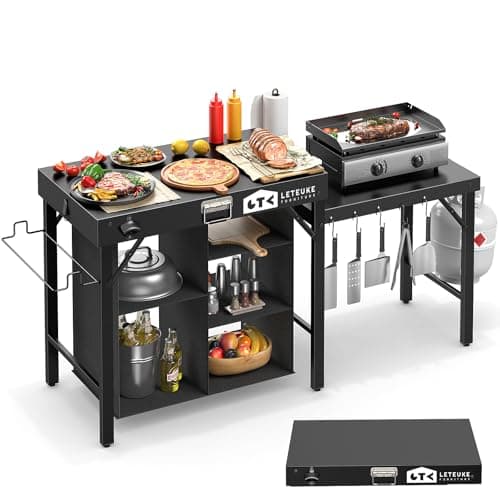
Leteuke Grill Table for Blackstone Griddle, Portable Foldable Grill Table with Storage Fits Ninja, Blackstone Griddle Stand for Outdoor Camping, Picnic, Garden, Patio, Dining, BBQ, Party
$159.99
Shop Now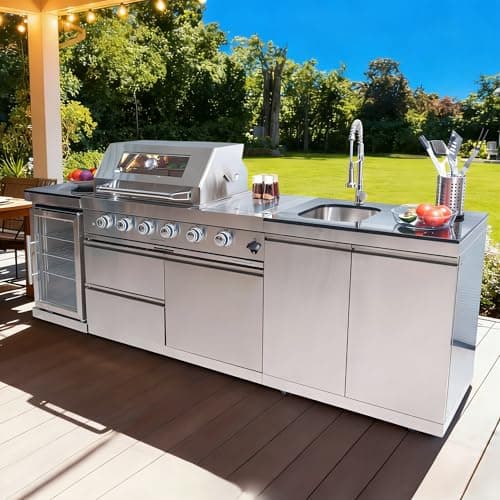
98 Inches Outdoor Kitchen Island, 4-Burner 72000 BTU Propane Stainless Steel BBQ with Side/Rear Burners, With Refrigerator and Sink, Rotisserie, Granite Countertops, Storage, For Backyard BBQ, Silver
$3,652.00
Shop Now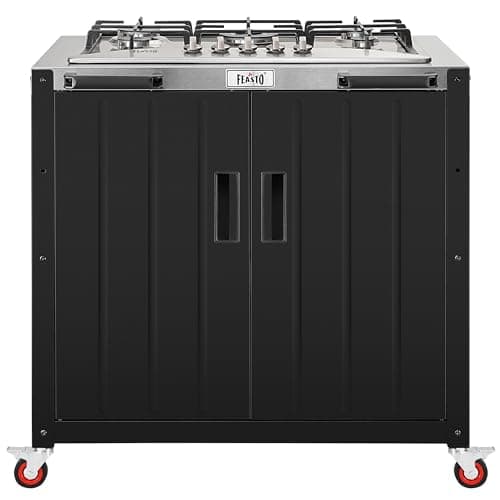
Feasto Gas Grill, Movable Outdoor Gas Stove Stainless Steel Top with Cabinet, 5 Burners with 36,200 BTUs, Outdoor Propane Grill for Outdoor Cooking, Ideal for Lawn & Garden, L35.4 x W24
$539.99
Shop Now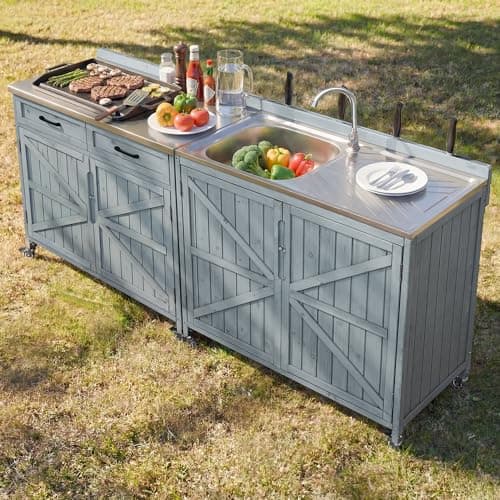
Merax 2 Piece Modular Outdoor Kitchen Series- Kitchen Grill Cart w/Stainless Steel Sink, Wood Rolling BBQ Prep Table w/Stainless Steel Top, Lockable Wheels for Patio & Outdoor Cooking, Grey Blue
$529.99
Shop Now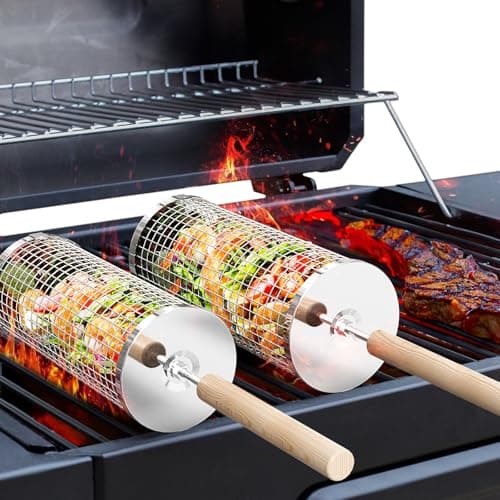
ivtivfu Rolling Grill Basket, Removable Wooden Handle, 304 Stainless Steel, Nesting BBQ Tools, Smoker Grilling Accessories for Vegetable, Outdoor Cooking Camping, Birthday Gifts for Men Dad Husband
$23.99
Shop NowKeter Unity XL Portable Outdoor Table with Stainless Steel Top for Kitchen Prep and Outdoor Storage Cabinet for Grilling Accessories, Dark Grey
$220.99
Shop NowTAOMAND Large 76 x 52 inches Under Grill Mats for Outdoor Grill | Double-Sided Fireproof | Waterproof | Oil-Proof | Easy to Clean | Indoor Fireplace/Fire Pit Mat | Quality BBQ Mat for Deck Patio Lawn
$33.99
Shop NowBackyard Discovery Fusion Flame Galvanized Steel Covered Outdoor Kitchen with 5-Burner Stainless, Grill, Refrigerator, Countertop, Storage, and, Roof for All-Season Outdoor Cooking, electric
$4,999.00
Shop NowLeteuke Grill Table for Blackstone Griddle, Portable Foldable Grill Table with Storage Fits Ninja, Blackstone Griddle Stand for Outdoor Camping, Picnic, Garden, Patio, Dining, BBQ, Party
$159.99
Shop Now98 Inches Outdoor Kitchen Island, 4-Burner 72000 BTU Propane Stainless Steel BBQ with Side/Rear Burners, With Refrigerator and Sink, Rotisserie, Granite Countertops, Storage, For Backyard BBQ, Silver
$3,652.00
Shop NowFeasto Gas Grill, Movable Outdoor Gas Stove Stainless Steel Top with Cabinet, 5 Burners with 36,200 BTUs, Outdoor Propane Grill for Outdoor Cooking, Ideal for Lawn & Garden, L35.4 x W24
$539.99
Shop NowMerax 2 Piece Modular Outdoor Kitchen Series- Kitchen Grill Cart w/Stainless Steel Sink, Wood Rolling BBQ Prep Table w/Stainless Steel Top, Lockable Wheels for Patio & Outdoor Cooking, Grey Blue
$529.99
Shop Nowivtivfu Rolling Grill Basket, Removable Wooden Handle, 304 Stainless Steel, Nesting BBQ Tools, Smoker Grilling Accessories for Vegetable, Outdoor Cooking Camping, Birthday Gifts for Men Dad Husband
$23.99
Shop NowThe Tools You Actually Need for an Outdoor Kitchen DIY Build
Outdoor kitchen DIY tool lists online run wildly long because they are often written by people trying to sell tools. Here is the real list for a 6-foot straight island build. Owned tools: a cordless drill (DeWalt 20V or Milwaukee M18, around $150), an impact driver (same battery platform), a 4-foot bubble level, a 25-foot tape, a speed square, a chalk line, a 16-ounce framing hammer, a 3-pound masonry hammer, and a hand tamper. Personal protection: cut-resistant gloves (Mechanix M-Pact), safety glasses, ear protection, and an N95 mask for cutting concrete or block. You can browse companion guides on our outdoor kitchen library for further reading.
Day-rental tools you should not buy: a 4-inch or 7-inch angle grinder with a diamond blade ($65 per day at Home Depot rental), a 14-inch gas-powered cut-off saw if you have a lot of block to cut ($90 per day), a half-bag mortar mixer ($45 to $65 per day), and a plate compactor for the foundation pad ($75 per day). Total tool budget for a first-timer who needs to buy the cordless drill platform: roughly $400 owned plus $200 in rentals across the project. If you already own a quality drill platform, the rental cost drops to $200 total.
Weekend One: Foundation Pad and Layout
The first weekend of an outdoor kitchen DIY project is foundation work. For a 6-foot by 30-inch island with a 24-inch overhang on the cooking side, mark out a 9-foot by 5-foot pad footprint using stakes and mason line. Excavate 4 inches of soil across the entire footprint, sloping the bottom of the excavation 1/8 inch per foot away from your house for drainage. Compact the subsoil with a hand tamper or rented plate compactor.
Lay 3 inches of compacted paver base (a 0.5 cubic foot bag at $4.20 covers about 4 square feet, so you need 12 bags for a 9x5 pad). Compact each 1-inch lift before adding the next. Top with a 1-inch screeded layer of leveling sand. Set 24x24-inch concrete pavers (12 pavers at $13 each, $156) tight against the mason line, sweeping polymeric joint sand into the seams as the final step. Walk the entire pad to verify it is level edge-to-edge with the 4-foot level rotated through 4 positions; correct any 1/4-inch-plus low spots before continuing. Total weekend one: 8 to 12 hours, $230 in materials, leaves you with a finished pad ready to receive the cabinet base.
Weekend Two: CMU Base Construction
Weekend two is base construction. For a 6-foot island three courses (24 inches) tall with one grill cutout for a 30-inch built-in, you need 60 standard 8x8x16 CMUs at $1.85 each ($111), 8 cap blocks at $2.40 ($19), 8 bags of Type S mortar mix at $9 ($72), and 4 lengths of #4 rebar ($28). Snap chalk lines on the paver pad to mark the exact perimeter of the base. Lay the first course of block in a 3/8-inch bed of mortar troweled onto the pavers, with vertical (head) joints also at 3/8 inch.
Stagger the seams on each subsequent course (offset by half a block) for proper bond. Drop #4 rebar through the aligned hollow cores at each corner and at 32-inch spacing along the run, then fill those cores with grout (one 80-pound bag of Quikrete Core Fill grout, $14). Leave a precisely measured opening for the grill — the Bull Steer 30-inch built-in needs a cutout of 30-1/2 by 22-3/8 inches, so frame your CMU pocket to 31 inches wide, with a single piece of 3/16-inch steel angle iron spanning the top of the opening to support the cap course. After laying the cap blocks (course three with solid 8x4x16 cap units), let the structure cure 7 days before adding the countertop. Total weekend two: 12 to 16 hours, $244 in materials.
Weekend Three: Countertop Pour and Final Install
Weekend three is countertop and finish. For a poured concrete countertop, build a melamine form 1.5 inches taller than your finished slab thickness (a 2-inch slab needs a 3.5-inch tall form), with a cutout for the grill insert opening. Use Buddy Rhodes ECC mix or Quikrete Countertop Mix, both designed for thinner pours than standard concrete. A 6x2.5-foot countertop at 2 inches thick uses about 6 bags of mix (75 pounds each), $20 per bag.
Pour in two lifts: first half-fill the form, then add a layer of 6x6 wire mesh, then top off and screed flush with a straight 2x4. Vibrate the form sides with a rubber mallet to release air bubbles, then trowel the surface smooth. Cover with plastic sheeting and let cure 5 to 7 days before demolding. After demolding, sand any rough edges with 220-grit then seal with two coats of Cheng Concrete Countertop Sealer. Set the slab on the cap course using bead-application silicone every 12 inches; no mechanical fasteners required. Drop the grill insert into its cutout per manufacturer instructions, hook up the propane line, do a leak test with soapy water on every connection, and you are cooking. Total weekend three: 8 to 14 hours plus the cure period, $200 in materials.
Choosing the Right Built-In Grill for an Outdoor Kitchen DIY
The grill choice cascades into every other dimension of an outdoor kitchen DIY build because the cutout opening defines the cabinet pocket. Three categories make sense for DIY budgets. Entry-level: the Char-Broil Performance Series 4-burner built-in ($499) or Bull Outlaw 30-inch ($699). Both use 304-grade stainless steel, deliver 60,000 to 76,000 BTUs, and require cutouts in the 30-inch range with documented manufacturer specs.
Mid-range: the Bull Steer 30-inch built-in ($1,099) or Bull Brahma 38-inch ($1,799). The Brahma offers four burners plus an infrared rear burner for rotisserie work, 90,000 BTUs, and a much sturdier hood that does not flex when opened. Premium DIY: the Blaze Premium LTE 32-inch ($1,899) or Lynx Sedona L500 30-inch ($2,499). These step up to commercial-grade stainless and lifetime burner warranties. For most first-time DIY builds, the Bull Steer or Brahma is the sweet spot — the brand has been making built-ins for 30 years, parts availability is excellent, and the cutout dimensions are well documented online. Always verify the exact cutout dimensions in the official installation manual before laying any block; manufacturer marketing pages sometimes round dimensions down for visual cleanliness.
Five Mistakes That Doom Most First DIY Builds
Outdoor kitchen DIY failures cluster around five specific mistakes. First: skipping or rushing the foundation pad. An out-of-level pad telegraphs into every course of block, then into the countertop, and you end up with a kitchen that pools water on one side. Spend the time on weekend one. Second: buying the grill last. Always buy the grill first, read the cutout specifications, then size your cabinet pocket to match — never the other way around.
Third: using Type N mortar instead of Type S. Type N is what big-box stores stock by default and is rated for above-grade interior masonry. Outdoor exposure with freeze-thaw cycles cracks Type N joints within two winters. Always specify Type S, which is sold under Quikrete (red bag) and Sakrete labels. Fourth: skipping the rebar-and-grout step in the CMU cores. A dry-stacked or mortar-only CMU island is fine for decorative purposes but shifts under the weight of a 200-pound built-in grill plus a granite slab plus people leaning on it. The rebar-and-grout step takes 30 minutes of additional work and prevents structural failure. Fifth: hooking up the propane line without a leak test. Mix dish soap and water in a spray bottle, spray every threaded connection while the propane is open, and watch for bubbles. A bubble means a leak — disconnect, re-tape with yellow gas-rated PTFE tape, and re-test.
Safety Rules That Are Not Negotiable
Outdoor kitchen DIY safety hits five non-negotiable rules. First, gas connections must use yellow gas-rated PTFE tape — never the white plumbing tape — and every connection gets a soap-bubble leak test. If you are uncomfortable making gas connections, hire a licensed plumber for that step alone (typically $150 to $300 for a propane hookup). Second, electrical work for outlets, lighting, or appliances should use 12-2 UF-B underground feeder cable, GFCI-protected outlets rated for wet locations, and code-compliant wire connectors. If you are uncomfortable wiring, hire a licensed electrician.
Third, combustible clearances above the grill must meet the manufacturer's minimum spec — typically 24 inches above the open hood to any combustible material. If you have an overhead structure, verify clearance during the design phase, not after the fact. Fourth, lift heavy materials safely. Concrete pavers weigh 70 pounds each, CMUs weigh 33 pounds, and a poured countertop slab weighs 18 pounds per square foot. Use a hand truck for paver delivery and recruit a friend for any lift over 50 pounds — back injuries from solo masonry work are common. Fifth, wear cut-resistant gloves when handling raw block (edges chip and cut), eye protection any time you are mixing mortar or cutting block, and an N95 mask whenever cutting concrete or stone — silica dust is a serious long-term lung hazard.
When to Call a Pro Mid-Project
Even confident DIYers should plan to call licensed pros for three specific scopes within an outdoor kitchen DIY build. First, natural gas line extensions. Most jurisdictions require a licensed plumber and inspection for any new gas line over 10 feet from an existing meter, with permit fees of $200 to $500 plus labor of $700 to $1,200. Skipping the permit creates insurance and resale problems later. Second, dedicated electrical circuits. Adding a new 20-amp circuit from your panel for outdoor outlets and lighting requires a licensed electrician in most areas, with a permit and inspection.
Third, masonry beyond 36 inches tall or any structural feature like a chimney, wood-fired oven dome, or cantilevered counter overhang. These cross from cosmetic masonry into engineered structure and benefit from professional execution. None of these scopes should derail the DIY ethos — you can still own the design, the foundation, the CMU base, the countertop, and the finish work, while paying a pro $400 to $1,500 to handle the gas, electrical, and any complex structural detail. The hybrid approach delivers DIY pricing on most of the build with pro-grade safety and code compliance on the parts that matter most.
Frequently Asked Questions
01How long does an outdoor kitchen DIY build actually take?
02What tools do I need for outdoor kitchen DIY?
03Can I really build an outdoor kitchen myself with no masonry experience?
04What is the cheapest outdoor kitchen DIY budget that still works?
05Should I use Type N or Type S mortar for outdoor kitchen DIY?
06Do I need rebar in a DIY cinder block outdoor kitchen?
07How thick should a DIY concrete countertop be?
08Can I run a gas line myself for an outdoor kitchen DIY?
09What goes wrong most often in DIY outdoor kitchens?
10Is a DIY outdoor kitchen safe for cooking and entertaining?
Related Guides
Outdoor Kitchen Lighting: Task, Ambient & Weatherproof Fixture Guide
Read guide →
GuideOutdoor Kitchen Concrete Countertops: DIY Forms, Mix Ratios & Finishing Guide for 2026
Read guide →
GuideBuilt-In Outdoor Kitchen: Construction Methods, Materials & Complete Cost Guide
Read guide →
GuideOutdoor Kitchen Kits: Best Ready-to-Build Kits Reviewed for 2026
Read guide →