Build Outdoor Kitchen
Build outdoor kitchen step by step: framing, gas lines, plumbing rough-in, countertops and finishes. Real prices, code requirements, and crew sequencing.
Outdoor Kitchen Setup Editorial Team
Outdoor living specialists with 15+ years of hands-on experience
Top Picks: Best Build Outdoor Kitchen in 2026
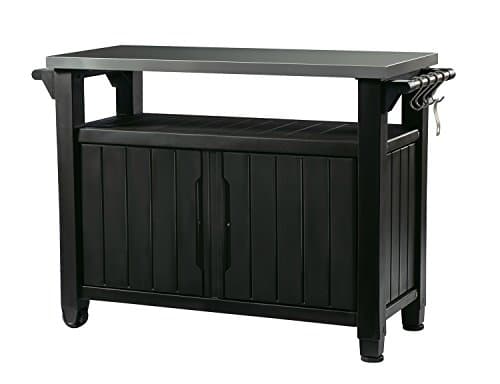
Keter Unity XL Portable Outdoor Table with Stainless Steel Top for Kitchen Prep and Outdoor Storage Cabinet for Grilling Accessories, Dark Grey
$220.99
Shop Now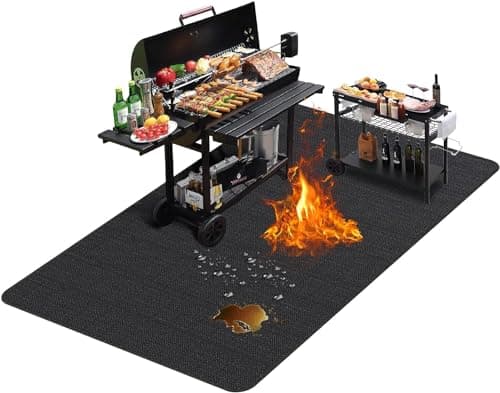
TAOMAND Large 76 x 52 inches Under Grill Mats for Outdoor Grill | Double-Sided Fireproof | Waterproof | Oil-Proof | Easy to Clean | Indoor Fireplace/Fire Pit Mat | Quality BBQ Mat for Deck Patio Lawn
$33.99
Shop Now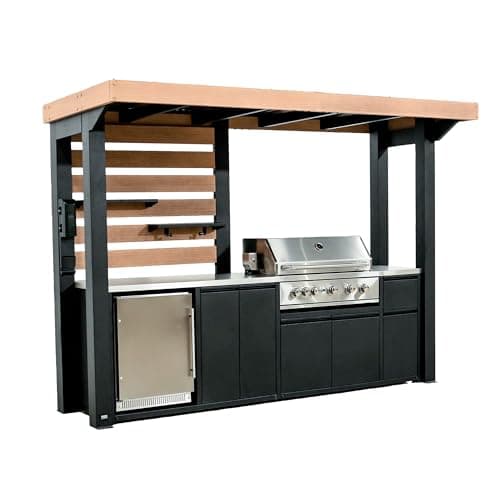
Backyard Discovery Fusion Flame Galvanized Steel Covered Outdoor Kitchen with 5-Burner Stainless, Grill, Refrigerator, Countertop, Storage, and, Roof for All-Season Outdoor Cooking, electric
$4,999.00
Shop Now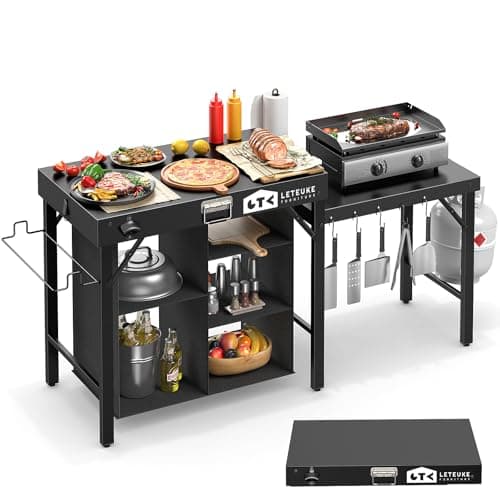
Leteuke Grill Table for Blackstone Griddle, Portable Foldable Grill Table with Storage Fits Ninja, Blackstone Griddle Stand for Outdoor Camping, Picnic, Garden, Patio, Dining, BBQ, Party
$159.99
Shop Now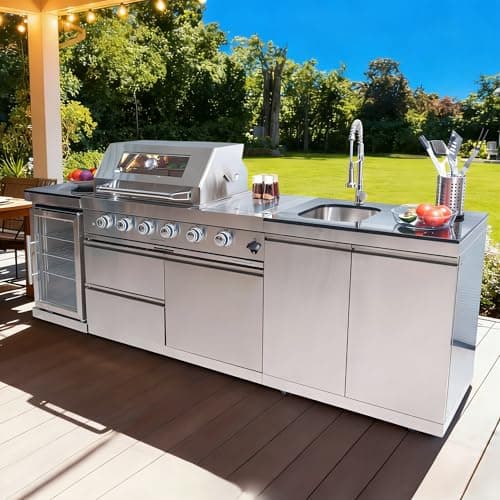
98 Inches Outdoor Kitchen Island, 4-Burner 72000 BTU Propane Stainless Steel BBQ with Side/Rear Burners, With Refrigerator and Sink, Rotisserie, Granite Countertops, Storage, For Backyard BBQ, Silver
$3,652.00
Shop Now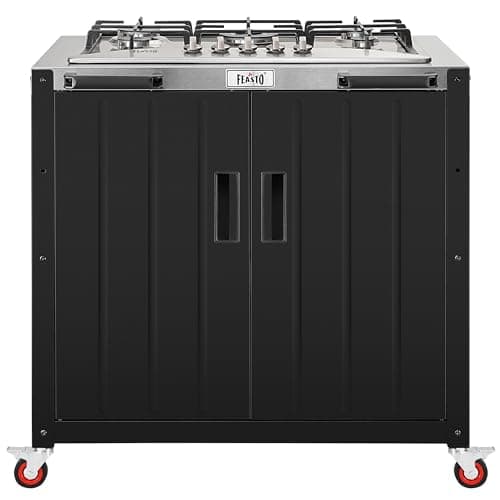
Feasto Gas Grill, Movable Outdoor Gas Stove Stainless Steel Top with Cabinet, 5 Burners with 36,200 BTUs, Outdoor Propane Grill for Outdoor Cooking, Ideal for Lawn & Garden, L35.4 x W24
$539.99
Shop Now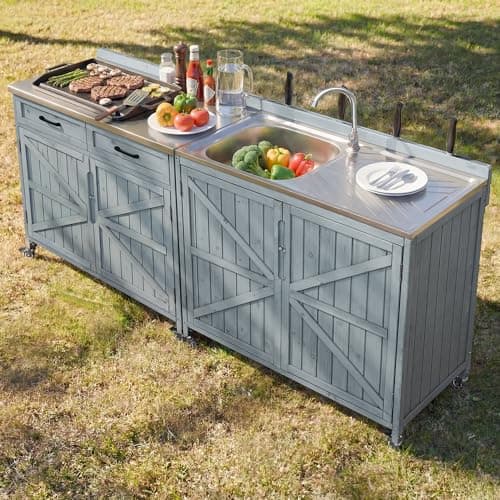
Merax 2 Piece Modular Outdoor Kitchen Series- Kitchen Grill Cart w/Stainless Steel Sink, Wood Rolling BBQ Prep Table w/Stainless Steel Top, Lockable Wheels for Patio & Outdoor Cooking, Grey Blue
$529.99
Shop Now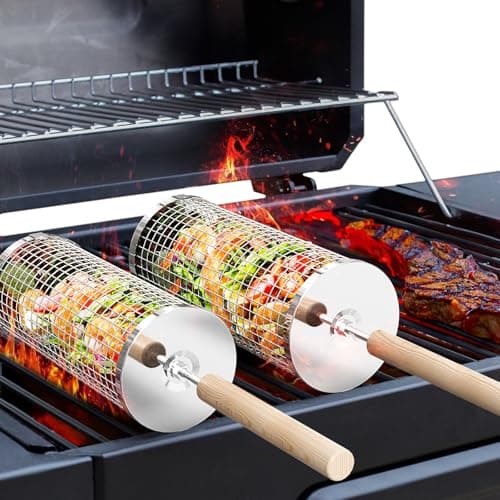
ivtivfu Rolling Grill Basket, Removable Wooden Handle, 304 Stainless Steel, Nesting BBQ Tools, Smoker Grilling Accessories for Vegetable, Outdoor Cooking Camping, Birthday Gifts for Men Dad Husband
$23.99
Shop NowKeter Unity XL Portable Outdoor Table with Stainless Steel Top for Kitchen Prep and Outdoor Storage Cabinet for Grilling Accessories, Dark Grey
$220.99
Shop NowTAOMAND Large 76 x 52 inches Under Grill Mats for Outdoor Grill | Double-Sided Fireproof | Waterproof | Oil-Proof | Easy to Clean | Indoor Fireplace/Fire Pit Mat | Quality BBQ Mat for Deck Patio Lawn
$33.99
Shop NowBackyard Discovery Fusion Flame Galvanized Steel Covered Outdoor Kitchen with 5-Burner Stainless, Grill, Refrigerator, Countertop, Storage, and, Roof for All-Season Outdoor Cooking, electric
$4,999.00
Shop NowLeteuke Grill Table for Blackstone Griddle, Portable Foldable Grill Table with Storage Fits Ninja, Blackstone Griddle Stand for Outdoor Camping, Picnic, Garden, Patio, Dining, BBQ, Party
$159.99
Shop Now98 Inches Outdoor Kitchen Island, 4-Burner 72000 BTU Propane Stainless Steel BBQ with Side/Rear Burners, With Refrigerator and Sink, Rotisserie, Granite Countertops, Storage, For Backyard BBQ, Silver
$3,652.00
Shop NowFeasto Gas Grill, Movable Outdoor Gas Stove Stainless Steel Top with Cabinet, 5 Burners with 36,200 BTUs, Outdoor Propane Grill for Outdoor Cooking, Ideal for Lawn & Garden, L35.4 x W24
$539.99
Shop NowMerax 2 Piece Modular Outdoor Kitchen Series- Kitchen Grill Cart w/Stainless Steel Sink, Wood Rolling BBQ Prep Table w/Stainless Steel Top, Lockable Wheels for Patio & Outdoor Cooking, Grey Blue
$529.99
Shop Nowivtivfu Rolling Grill Basket, Removable Wooden Handle, 304 Stainless Steel, Nesting BBQ Tools, Smoker Grilling Accessories for Vegetable, Outdoor Cooking Camping, Birthday Gifts for Men Dad Husband
$23.99
Shop NowSite Preparation and Pouring the Concrete Pad
Before you build outdoor kitchen walls of any kind, the slab decides whether the whole project lasts. For built-in masonry or steel-frame kitchens, pour a minimum 4-inch reinforced pad — 6 inches if you live in a freeze-thaw zone north of USDA Zone 6. Use 4,000 PSI concrete with #4 (1/2-inch) rebar in a 16-inch grid, and add a 4-mil polyethylene vapor barrier under a 4-inch compacted gravel base. Quikrete 5000 high-strength bags run about $7.50 per 80 lb sack at Home Depot, and a typical 8-by-3-foot kitchen pad needs around 25 bags or 1.1 cubic yards of ready-mix.
Slope the finished surface 1/4 inch per foot away from your house to satisfy IRC drainage code. If you're tying into an existing patio, drill 6-inch dowels into the old slab on 24-inch centers so the new section won't separate. Let the pad cure at least 7 days before stacking weight on it, and 28 days for full strength if you're loading masonry above. Skipping cure time is the most common reason DIY builds crack within the first winter.
Framing the Structure: Steel Stud vs Cinder Block vs Wood
Once the pad is cured, you're choosing between three framing systems to build outdoor kitchen walls. Galvanized steel stud framing is fastest and lightest — RTA Outdoor Living and Sunstone sell 8-foot pre-engineered frames for $899 to $1,400 that bolt to the slab in two hours. Steel resists rot and termites and weighs about 80 lbs for an 8-foot island, so two people can lift it.
Cinder block (CMU) framing costs less in materials — $1.85 per standard 8x8x16 block at Lowe's, plus mortar and rebar, putting an 8-foot run around $350 — but it's slow and heavy, taking a weekend to lay properly. Pressure-treated wood framing is the cheapest option but is the only one local code in many counties will reject for permanent outdoor cooking structures because of fire risk near the grill cutout. If you go wood, use 2x6 PT studs with HardieBacker 1/2-inch cement board and a non-combustible insert sleeve from Bull or Blaze rated for the specific grill model — read the manufacturer's spec sheet, not generic advice.
Gas Hookups: Natural Gas vs Propane Rough-In
Gas is the most regulated phase when you build outdoor kitchen setups. Almost every U.S. jurisdiction requires a licensed gas fitter or plumber to run the line, pull the permit, and pressure-test the system before inspection. For natural gas, expect a 1/2-inch black iron or CSST (Gastite) line capable of delivering 65,000 to 90,000 BTU/hr to a typical built-in grill. A 36-inch Weber Summit S-460 needs 48,000 BTU/hr; a Lynx L36ATR needs 75,000.
The licensed install — including trenching 18 inches deep, running 30 to 50 feet of pipe from your meter, sediment trap, shut-off valve at the kitchen, and pressure test — typically runs $800 to $1,800. Propane is simpler: a 20-lb tank lives inside a vented cabinet (Bull's stainless tank cabinet is $189) connected via a 1/2-inch flex line with a regulator. Always include a quick-disconnect fitting so you can swap tanks fast. Whichever fuel you choose, a manual shut-off valve must be accessible without opening any cabinet — code in most states.
Plumbing Rough-In: Water Supply, Drain Lines, and Frost Protection
Adding a sink doubles the plumbing complexity. For supply, run 1/2-inch PEX from your house — PEX-A (Uponor) handles freeze cycles better than PEX-B because it expands without bursting. Use a frost-proof sillcock-style outdoor faucet from Woodford or Prier ($60 to $110) with a shut-off inside the heated envelope of your house, so you can drain the line each fall. Skip this and your first hard freeze will split a buried copper line and flood the slab from below.
The drain side is what trips up DIY builders. Code requires either a tie-in to your sanitary sewer with a P-trap and 1.5-inch ABS or PVC drain, or a gray-water dry well with a 6-foot setback from the foundation if local code permits. Many homeowners install a simple drain bucket — a 5-gallon catch under the sink that gets emptied — but this is technically non-compliant in most municipalities. Before you build outdoor kitchen plumbing, call your county and ask specifically about gray-water rules; the answer varies wildly between Phoenix, Atlanta, and Boston.
Cement Board, Veneer, and Countertop Installation
With utilities roughed in and inspected, sheathe the frame in 1/2-inch HardieBacker cement board fastened with 1-1/4-inch corrosion-resistant screws every 8 inches. Tape the seams with alkali-resistant fiberglass mesh and thin-set. This gives you a fireproof, water-resistant substrate that any veneer will bond to. For finish, the three popular options are manufactured stone veneer (Coronado Stone, $9 to $14 per square foot), porcelain tile that mimics stone (Daltile RevoTile at $4 to $7 per square foot), or smooth stucco at about $3 per square foot in materials.
Countertops go on last. Granite remnants from local fabricators run $35 to $60 per square foot fabricated and installed, and granite handles outdoor temperature swings better than quartz, which can yellow under direct UV. Concrete countertops cast in place cost $20 to $30 per square foot in materials but require sealing every 1 to 2 years. Whichever surface you pick, leave a 1/8-inch expansion gap at every wall junction and seal it with high-grade outdoor silicone — Loctite PL S30 holds up to UV better than standard kitchen-grade silicone. For a deeper look at how this fits into a complete backyard system, see our complete outdoor kitchen planning guide.
Installing Appliances: Grills, Refrigerators, Side Burners
Built-in appliances drop into pre-cut openings that match the manufacturer's spec sheet exactly — measure twice, cut the cement board once. A 36-inch Weber Summit S-460 needs an opening of 33-3/4 inches wide by 22-3/4 inches deep with a 9-inch top clearance to the underside of any countertop. The Blaze Premium LTE 32-inch wants 30-1/2 by 22-1/2 inches with venting at both sides. Always use the cutout dimensions from the actual model's manual — generic templates cause expensive mistakes.
For the refrigerator, only buy units rated UL Outdoor — indoor fridges fail in 6 to 18 months because their compressors aren't sealed against humidity and bugs. The Blaze 24-inch outdoor refrigerator ($1,899) and the Summerset 24-inch ($1,499) are the two most-installed units in the under-$2,000 range. Both need 110V dedicated GFCI outlets, which an electrician can drop in for $250 to $500. Side burners and power burners need their own gas takeoff and dedicated shut-off — never daisy-chain them off the main grill line because BTU draw drops below the burner's minimum.
Roof Structure, Lighting, and Final Electrical
If you build outdoor kitchen islands under any kind of roof, the cooking area must have a ventilation hood rated for the grill's BTU output — generally 1,200 CFM minimum for a 60,000-BTU grill, and a vent height of at least 36 inches above the cooking surface. Vent-A-Hood and Trade-Wind both make outdoor-rated hoods starting around $1,400. An open pergola with at least 50% air gap between rafters generally doesn't require a hood, but a solid roof always does — check your local mechanical code.
Final electrical includes weatherproof GFCI outlets every 6 feet (NEC 2020 requires this for outdoor cooking spaces), under-counter LED strip lighting on a separate switch, and task lighting over the prep zone. Use only WP-rated boxes and in-use covers (the kind that close around a plugged-in cord). LED puck lights from Kichler or Hinkley designed for damp or wet locations cost $25 to $60 each. Run all wiring in 1/2-inch PVC conduit even inside the cabinet — moisture finds every gap eventually.
Inspection, Final Cleanup, and Cure Time Before First Use
Most jurisdictions require three inspections when you build outdoor kitchen structures with utilities: footing/slab, gas and electrical rough-in, and final. Schedule them through your county building department's online portal — most offer next-day or same-week appointments. Have your gas pressure-test gauge installed and reading the moment the inspector arrives; they pull permits at 15 PSI for 15 minutes typically. Failing any inspection adds two to three weeks while you fix and re-schedule.
After final sign-off, let mortar and grout cure 28 days before sealing stone. Apply a penetrating sealer like Stone Tech Bullet Proof Sealer ($60 per quart, covers about 100 sq ft) to all natural stone, and re-apply annually. Burn off the grill on high for 30 minutes before first cooking to clear factory oils. Run the sink for 10 minutes to flush the supply line. Finally, photograph the finished build and the permit card from every angle — you'll want documentation for both insurance and the eventual home sale, where a permitted outdoor kitchen typically appraises 80 to 130 percent of construction cost depending on the regional market.
Frequently Asked Questions
01How long does it take to build outdoor kitchen from scratch?
02What is the cheapest legal way to build outdoor kitchen with gas?
03Do I need rebar in the concrete pad to build outdoor kitchen?
04Can I run my own gas line if I build outdoor kitchen myself?
05What is the right slab thickness to build outdoor kitchen on?
06How far should I build outdoor kitchen from my house?
07What's the right cement board to use when I build outdoor kitchen walls?
08How do I waterproof my outdoor kitchen cabinet interior?
09What permits do I need to build outdoor kitchen with sink and gas?
10Should I use granite or concrete countertops when I build outdoor kitchen?
Related Guides
DIY Outdoor Kitchen: The Complete Step-by-Step Building Guide for 2026
Read guide →
GuideOutdoor Kitchen Griddle: Flat-Top Cooking Stations, Sizing & Top Brands for 2026
Read guide →
GuideHow to Build an Outdoor Kitchen: Complete Step-by-Step Construction Guide
Read guide →
GuideCovered Outdoor Kitchen Ideas: Pergolas, Pavilions & Roof Designs That Last
Read guide →