How to Organize an Outdoor Kitchen So You Stop Walking Back Inside
How to organize an outdoor kitchen: zone layout, what belongs in each drawer, weatherproof storage rules, and the trip-count test that shows what you actually forgot.
By Sukie
Editor · compiles manufacturer specs and building-code references into the measurement guides on this site
How to organize an outdoor kitchen is really a question about trips. If you walk back into the house four times to cook one meal, the kitchen is not organised, however good the equipment is. The goal of everything below is to get that number to zero.
Eleven short sections, no FAQ list at the end. Each one is a decision you make once and then stop thinking about.
Top Picks: Best How to Organize an Outdoor Kitchen So You Stop Walking Back Inside in 2026
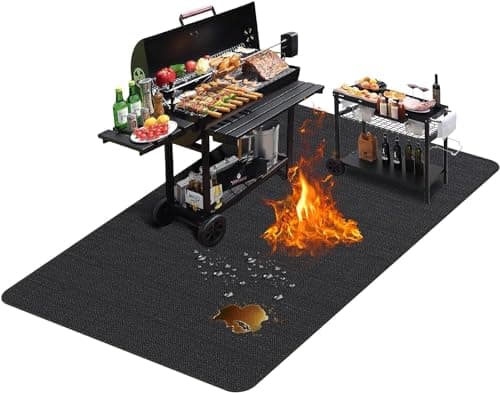
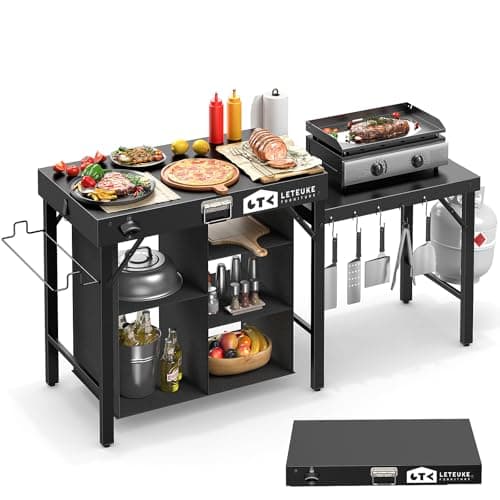
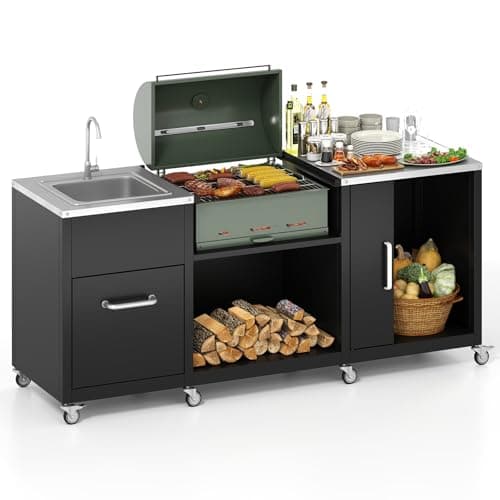
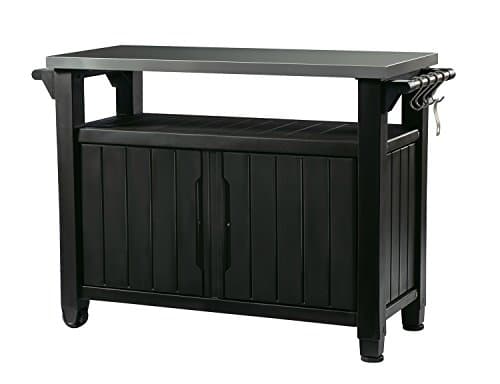
Keter Unity XL Portable Outdoor Table with Stainless Steel Top for Kitchen Prep and Outdoor Storage Cabinet for Grilling Accessories, Dark Grey
$237.99
Shop Now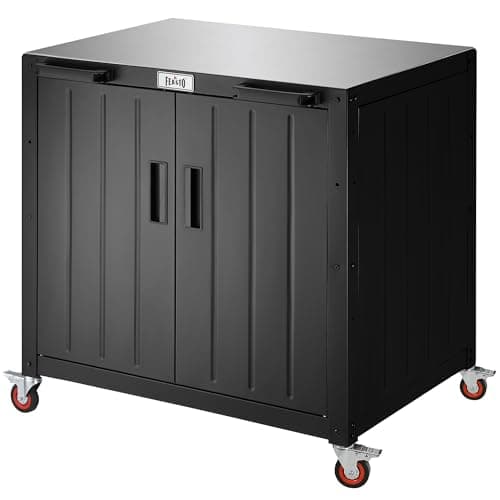
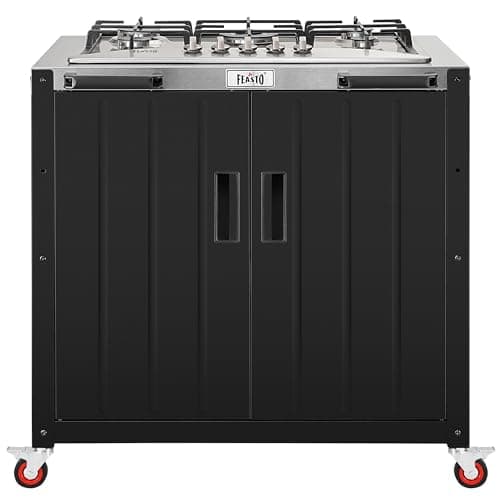
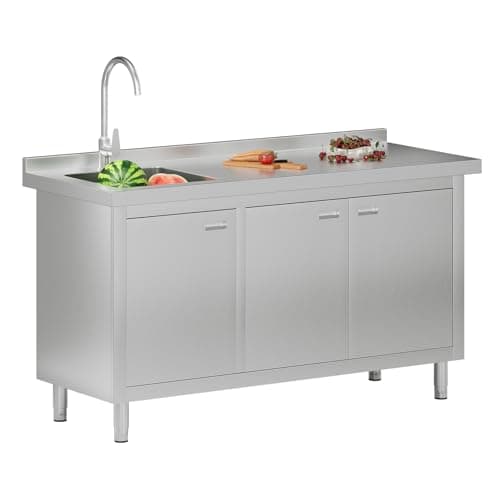
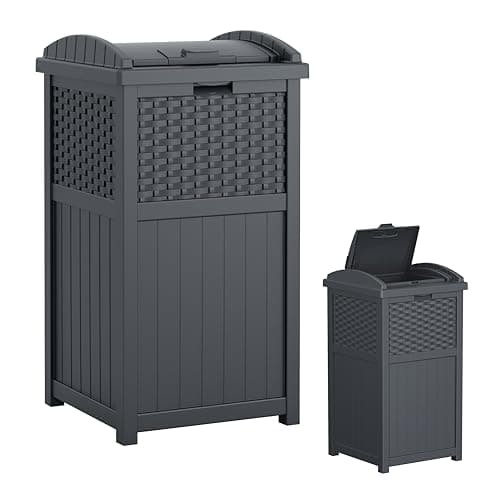
Keter Unity XL Portable Outdoor Table with Stainless Steel Top for Kitchen Prep and Outdoor Storage Cabinet for Grilling Accessories, Dark Grey
$237.99
Shop NowFirst, Count Your Trips
Cook one ordinary meal outside and put a tally on your phone every time you go indoors for something. Most people are surprised: five or six is common, and the same three or four items are responsible almost every time.
Typical culprits, in order: a sharp knife, paper towels, tongs, salt, a plate for the cooked food, and something to put raw meat on. Whatever your list is, it is the shopping list for organising the space — not a generic set of accessories someone else recommends.
Do the count honestly and write down what you fetched, not just how many times. The number tells you there is a problem; the list tells you what to buy. And do it on a normal weeknight rather than for a party — party cooking is atypical and will send you shopping for things you use twice a year.
One pattern shows up almost universally: the trips cluster at the start and the end of cooking. The start-of-cook trips are for tools and seasoning, and they are solved by storage. The end-of-cook trips are for clean serving vessels and for somewhere to put dirty things, and they are solved by a serving zone and a bin. People fix the first category and forget the second, which is why so many well-equipped outdoor kitchens still end with three journeys indoors carrying plates.
Zone One: The Hot Zone
Within arm's reach of the grill, without stepping. This is the smallest zone and the most valuable real estate you have.
- Tongs, spatula, grill fork
- Instant-read thermometer
- Grill brush or scraper
- A folded towel
- Heat-resistant glove
Everything here lives in one shallow drawer or on a rail beside the grill. If you have to open a door, crouch, or turn around, it is not in the hot zone.
The hot zone is also where a heat-tolerant surface to put a hot thing down on belongs. Not a trivet you fetch — a permanent one. A section of the counter beside the grill that you have mentally designated as the hot landing, ideally in stone rather than anything that will mark. Cooks improvise this with whatever is nearest, which is how counters get scorched and cutting boards get warped.
Zone Two: The Raw Zone
To one side of the grill, ideally the side you approach from. This is where raw food lands on its way in.
- Cutting board reserved for raw protein
- A knife that lives outside
- Marinade brush
- A tray large enough to carry a full meal's worth of raw items in one journey
That last item quietly eliminates two trips on its own. A single large tray means raw food travels out once rather than in three handfuls.
Keep a dedicated bin or tray for empty packaging here too. Raw meat arrives in trays and film, and if there is nowhere for that to go it ends up on the counter beside the food, which is the exact contamination you are trying to design out. A small lidded bin in the raw zone, emptied at the end of the cook, solves it.
Zone Three: The Cooked Zone
On the other side of the grill from raw, and this separation is not fussiness — it is the whole point. Cooked food must never land where raw food was.
- Clean platters
- A second, visually different cutting board for resting and slicing
- Clean tongs, distinct from the ones used on raw
- Foil, for resting
Buy the two cutting boards in obviously different colours. It removes the moment of doubt entirely and it is the cheapest food-safety improvement available. The USDA food safety guidance is worth five minutes if you cook outdoors often.
The cooked zone is also where serving vessels should live, and this is the fix for the end-of-cook trips identified in section one. Two or three platters, a serving bowl, and a set of serving utensils that never go indoors. It feels excessive until the first evening you plate and serve without crossing the threshold once.
Zone Four: The Wet Zone
If you have a sink, this is around it. If you do not, it is wherever you put the bucket or the hose.
- Dish soap in a pump that survives sun
- Scrubber and cloth, somewhere they can dry
- Paper towel on a holder, not a roll on the counter
- Trash and recycling, ideally in a pull-out
Wet items need to drain and dry, which is the difference between outdoor and indoor storage. A cloth left in a closed drawer outdoors goes sour in a day. Anything damp lives on a hook or a rack in the open air.
A drying rack is the single most useful object in the wet zone and the one people leave indoors. Something as simple as a folding rack that lives in a cabinet and comes out after washing keeps cloths, boards, and utensils off the counter while they dry. Damp things left flat on stone stay damp; the same things on a rack are dry in an hour.
Zone Five: The Cold Zone
The refrigerator, the ice, the drinks. Put this at the far end from the grill, deliberately.
The reason is traffic. Guests go to drinks constantly and to the grill rarely. Placing the fridge next to the grill means every person fetching a beer walks through the cook's working space all evening. Move the cold zone to the end of the run — or better, to a separate bar section — and the cook gets their area back.
Ice deserves specific thought. If you do not have an ice maker, the cooler that holds ice needs a permanent position that is not the middle of the walkway, and ideally somewhere it can drain. A cooler on the floor at the end of the run is fine; a cooler on the floor between the grill and the sink is the single most common trip hazard in an outdoor kitchen.
What Goes in Drawers vs Doors
A simple rule that saves a lot of crouching:
- Drawers: anything you use every cook. Utensils, thermometer, towels, foil, spices.
- Doors (deep cabinets): anything bulky and occasional. Charcoal, spare gas cylinder, cleaning supplies, the cover.
- Nothing on the countertop that is not in use right now.
If you are still specifying the build, buy more drawers than you think you need and fewer doors. Almost nobody regrets drawers. Deep cabinets outdoors become places where things go to corrode quietly out of sight.
One refinement on the drawer rule: shallow drawers beat deep ones for utensils. A deep drawer with tongs, spatulas, skewers, and a thermometer in it becomes a pile you rummage through. Two shallow drawers hold the same volume and let you see everything at once. If you are specifying now, ask for a shallow top drawer even if the stack below is deep.
The Weatherproofing Rules
Indoor organisation assumes a stable, dry environment. Outdoors you get UV, humidity swings, insects, and freeze-thaw. Four rules cover almost everything:
- Nothing porous stays outside. Wooden-handled tools, cardboard packaging, paper bags of charcoal. Decant charcoal into a sealed bin.
- Nothing damp goes in a closed drawer. Dry it first or hang it.
- Anything with a battery comes in for winter. Thermometers and lighters, particularly.
- Assume insects. Sealed containers for anything edible, including spice jars — outdoor spice racks attract ants.
Spices in particular degrade fast outdoors. UV bleaches them and humidity cakes them. Small sealed jars, refilled from indoor stock every few weeks, work far better than a full set living permanently outside.
A fifth rule, specific to coastal and humid regions: expect corrosion on anything left in a closed space. Salt air penetrates cabinets. Tools stored in a sealed drawer near the coast corrode faster than tools hung in open air, because the drawer traps humid air against the metal without letting it dry. Ventilated storage genuinely outperforms sealed storage outdoors, which is the opposite of the indoor intuition.
The Rail, the Magnet, and the Hook
Vertical storage is underused outdoors because most people copy an indoor layout, where wall cabinets do that job.
- A stainless rail on the back splash for hanging tools — keeps them dry, visible, and off the counter.
- A magnetic strip for knives, which stores them dry rather than in a drawer where the edge dulls against other metal.
- Hooks under a counter overhang for the grill brush and glove.
All three cost very little and free up the drawer space you actually need for the bulkier items.
Whatever you hang, hang it where it will not be rained on directly if there is any choice — under a counter overhang, on the sheltered face of a backsplash. Open-air storage is good for drying and bad for standing water, and the difference between the two is usually just a few inches of overhead cover.
Seasonal Reset, Twice a Year
Twice a year, empty every drawer and cabinet completely.
Spring: everything comes out, surfaces get cleaned, corroded items get replaced, batteries get checked, and you reload only what you actually used last season. Autumn: everything porous, battery-powered, or liquid comes indoors before the first freeze; what stays gets covered.
The spring reset is where organisation actually happens, because it is the one moment you see everything at once and notice the four utensils you have never used.
Add a third, smaller reset: after every large gathering. Parties scramble an organised kitchen faster than months of ordinary use, because other people put things away in the wrong places. Fifteen minutes the following morning, while you still remember where things belong, prevents the slow drift that ends with another five-trip meal six months later.
Re-Count Your Trips
After a month, cook a meal and tally again. If you are still going indoors, the item you fetched is the answer — it needs a permanent home outside, or a duplicate that lives outside permanently.
Buying a second cheap set of the four or five things you always fetch is almost always cheaper than the annoyance of fetching them, and it is the step people skip because it feels wasteful to own two of something. It is not. It is the difference between a kitchen you cook in and an expensive grill surround.
For storage hardware and where it goes in the build, see outdoor kitchen storage, outdoor kitchen drawers, and outdoor kitchen accessories. If you are still planning the layout that all of this sits in, start at the outdoor kitchen homepage.
One last thought on duplicates, since it is the recommendation people resist hardest. The things worth duplicating are cheap and small: a paring knife, tongs, a peeler, measuring spoons, a can opener, a corkscrew. Nobody is suggesting you buy a second stand mixer. The total cost of a duplicate set of the six items you always fetch is typically under fifty dollars, and it is the highest return on investment available anywhere in an outdoor kitchen — more than a better grill, and a great deal more than another foot of granite.
This guide is part of Outdoor Kitchen Components: What Goes In, In What Order, and What to Skip — the hub covering every accessories guide on Outdoor Kitchen Setup.
Related Guides
Written and edited by Sukie
Sukie is the editor behind Outdoor Kitchen Setup. They compile manufacturer specification sheets, published building codes, and industry sizing standards into the measurement and planning guides on this site, and check every figure against its original source before it goes live. Where a number varies by brand or by local code, the guides say so rather than presenting a single figure as universal.