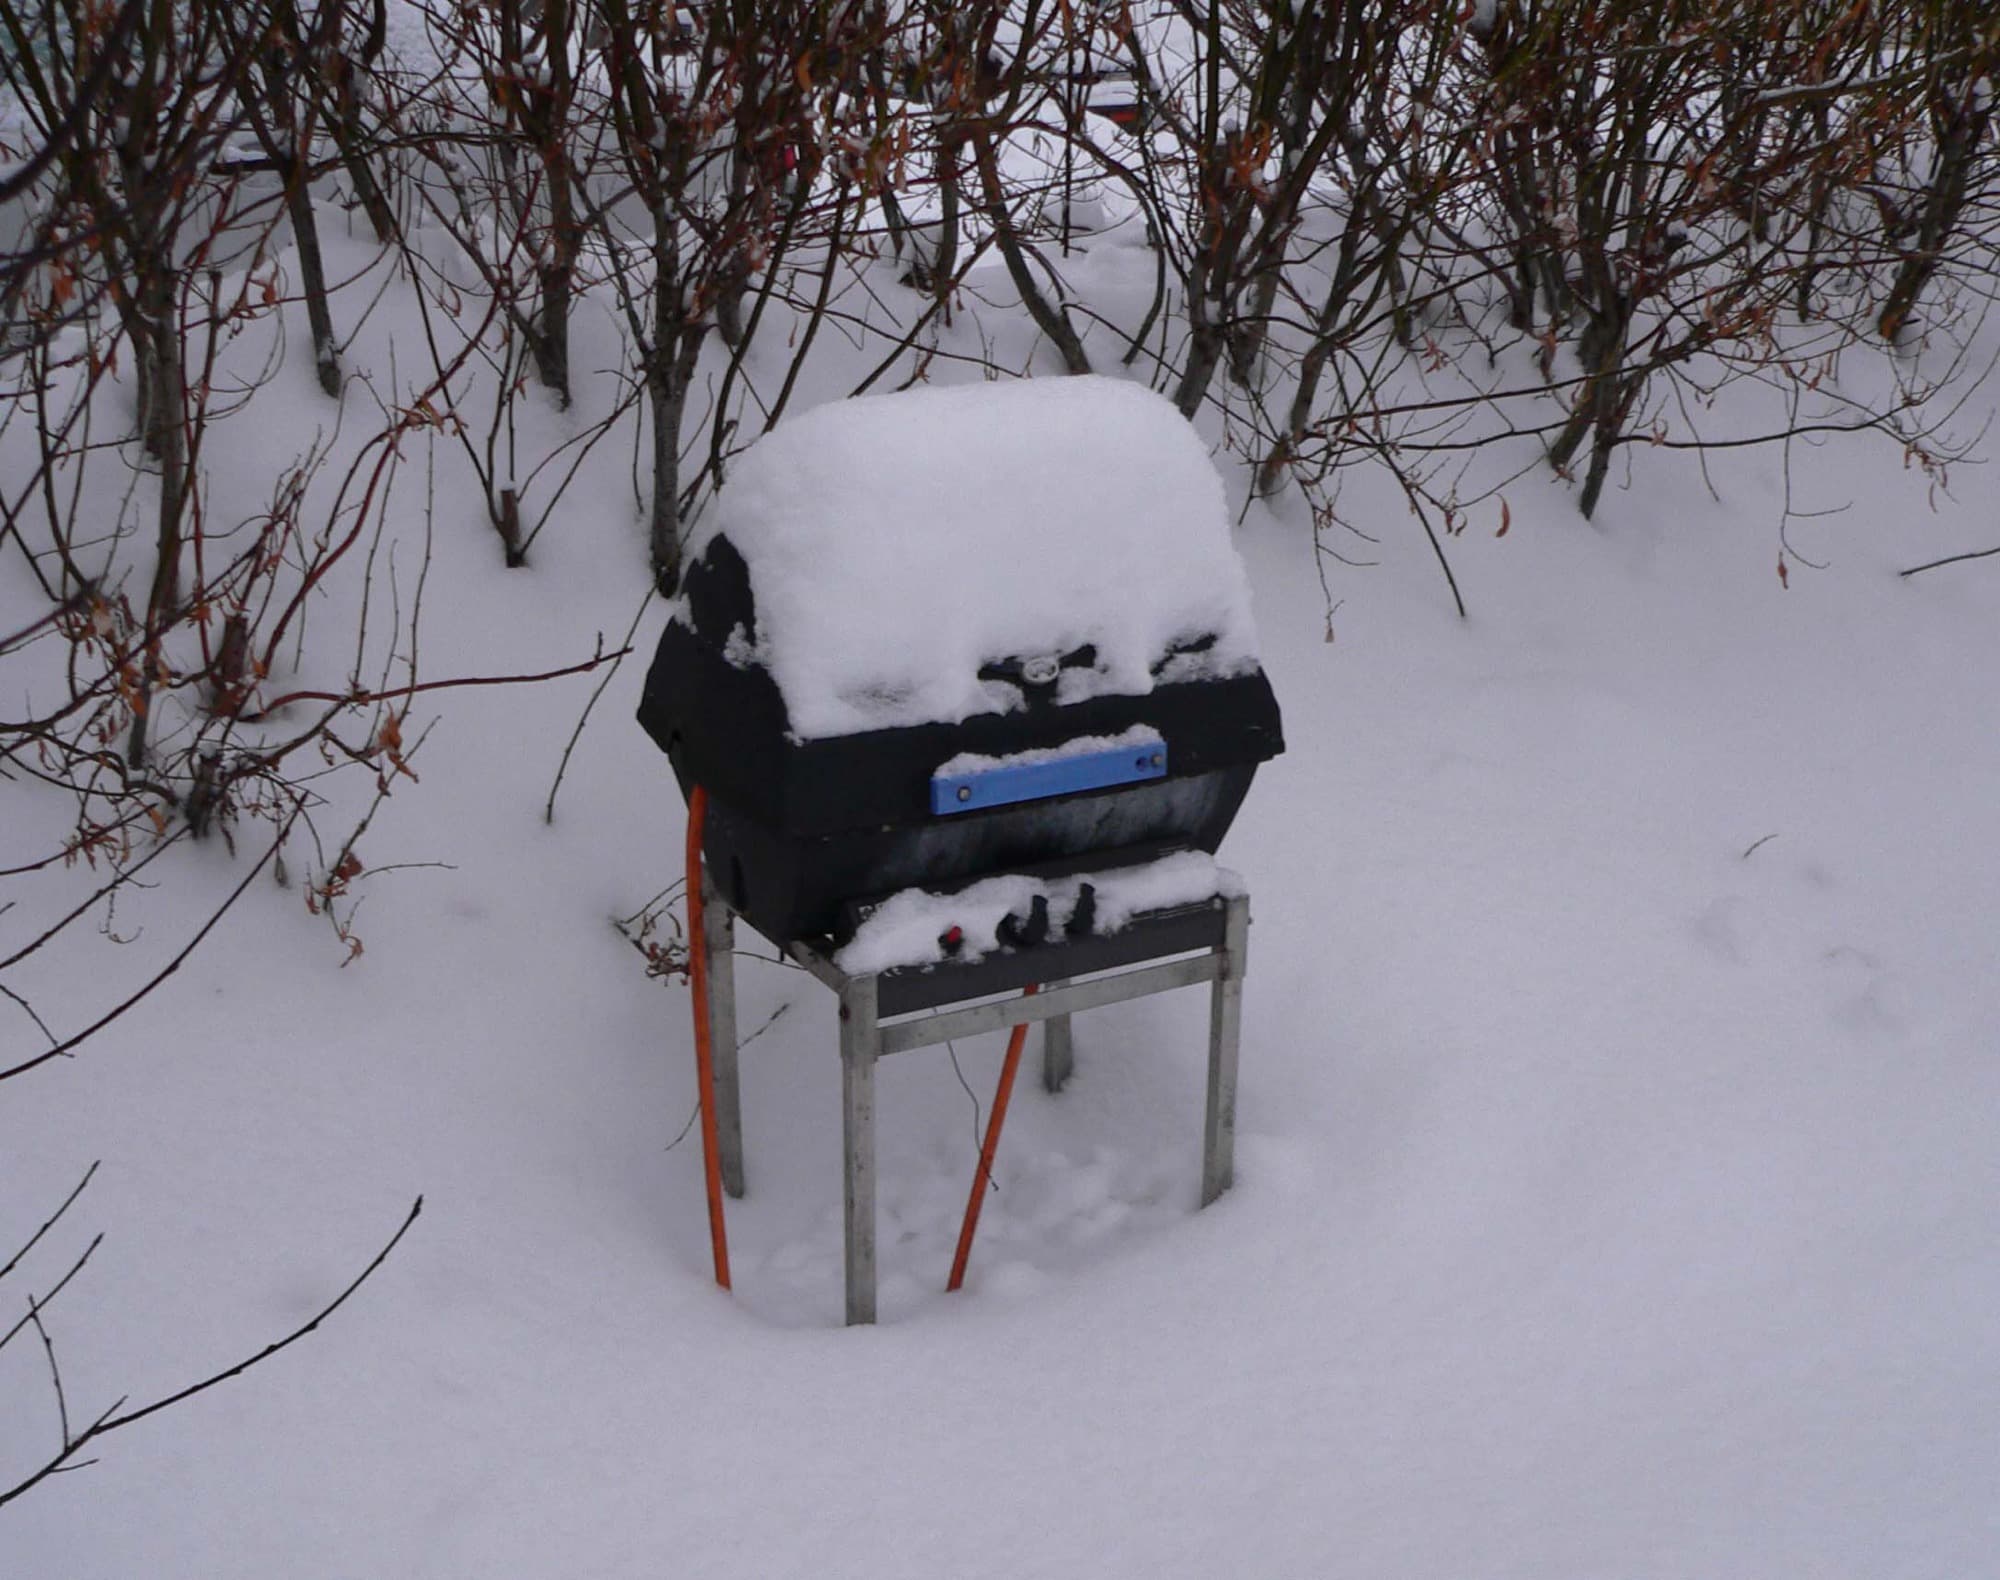
Outdoor Kitchen Weather Protection: Covers, Roofs, and Winterising
Outdoor kitchen weather protection is the difference between an appliance that lasts fifteen years and one that lasts six.
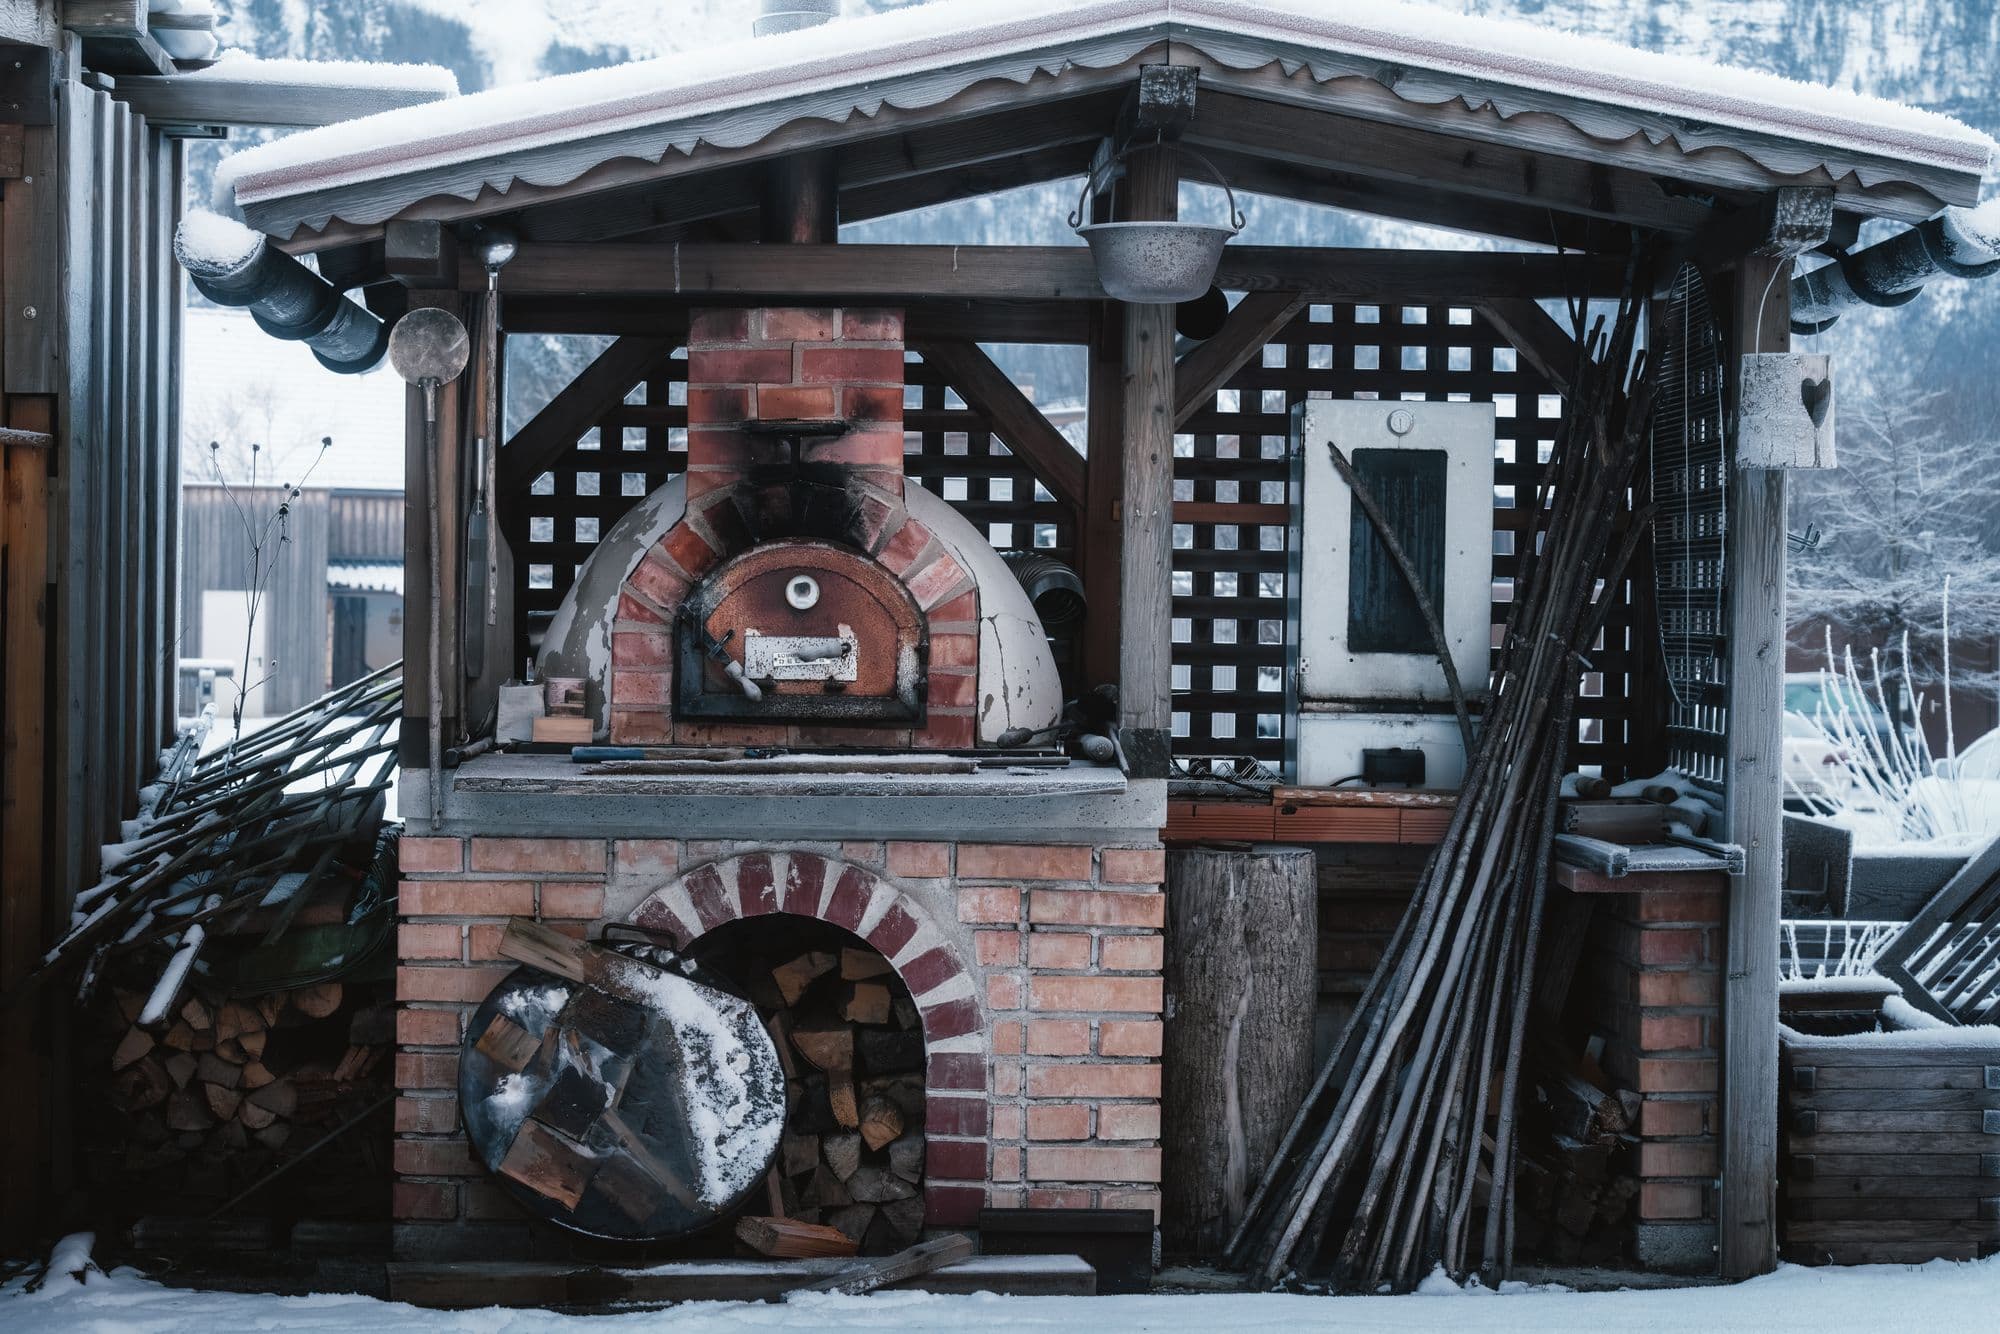
Photo: Ævar Arnfjörð Bjarmason / Wikimedia Commons (Public domain)
Outdoor kitchen weather protection is the difference between an appliance that lasts fifteen years and one that lasts six. Nothing else you spend money on has that leverage, and it is consistently the last line in the budget.
This hub covers the three layers of protection — covers, overhead structure, and seasonal shutdown — plus the drainage detail that quietly destroys more islands than weather does.
Top picks for this build
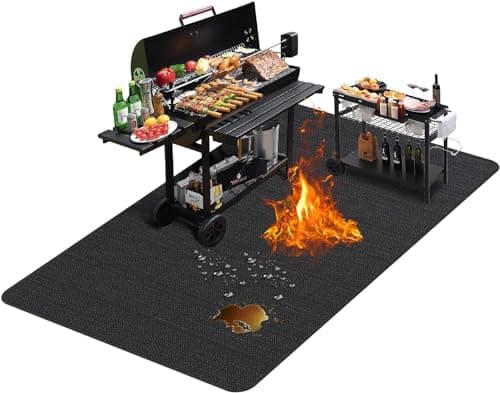
TAOMAND Large 76 x 52 inches Under Grill Mats for Outdoor Grill | BBQ Mat
$29.98
Check price on Amazon: TAOMAND Large 76 x 52 inches Under Grill Mats for Outdoor Grill | BBQ Mat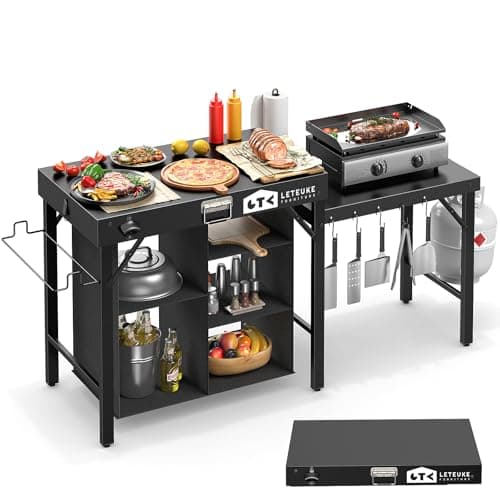
Grill Table for Blackstone Griddle Camping Grill Table Foldable Fits Ninja
$139.99
Check price on Amazon: Grill Table for Blackstone Griddle Camping Grill Table Foldable Fits Ninja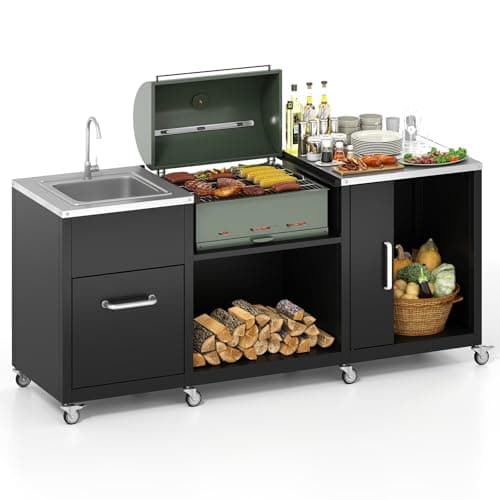
Happygrill 80” Outdoor Grill Table with Sink & Drainage, Wheels
See price on Amazon
Check price on Amazon: Happygrill 80” Outdoor Grill Table with Sink & Drainage, Wheels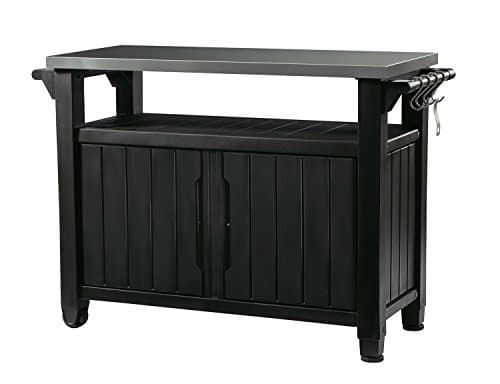
Keter Unity XL Portable Outdoor Table with Stainless Steel Top for Kitchen Prep and Outdoor Storage Cabinet for Grilling Accessories, Dark Grey
$237.99
Check price on Amazon: Keter Unity XL Portable Outdoor Table with Stainless Steel Top for Kitchen Prep and Outdoor Storage Cabinet for Grilling Accessories, Dark Grey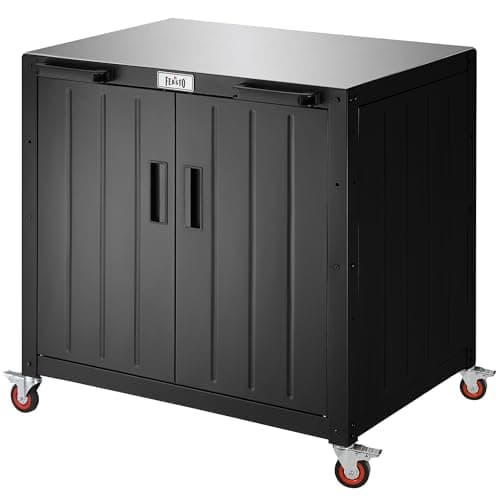
Feasto Modular Outdoor Kitchen Island with Storage and Stainless Steel Top
$229.00
Check price on Amazon: Feasto Modular Outdoor Kitchen Island with Storage and Stainless Steel Top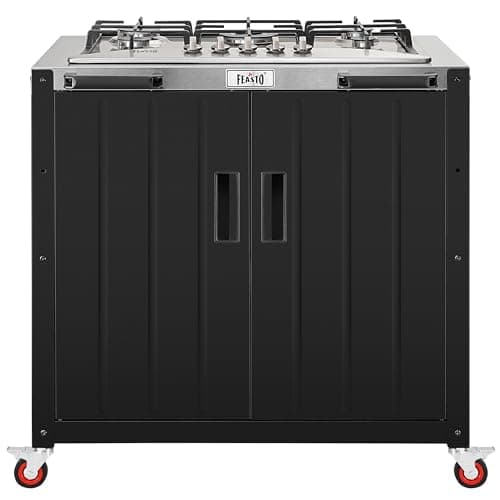
Feasto Modular Outdoor Kitchen Island with 5-Burner Gas Stove and Storage
$539.99
Check price on Amazon: Feasto Modular Outdoor Kitchen Island with 5-Burner Gas Stove and Storage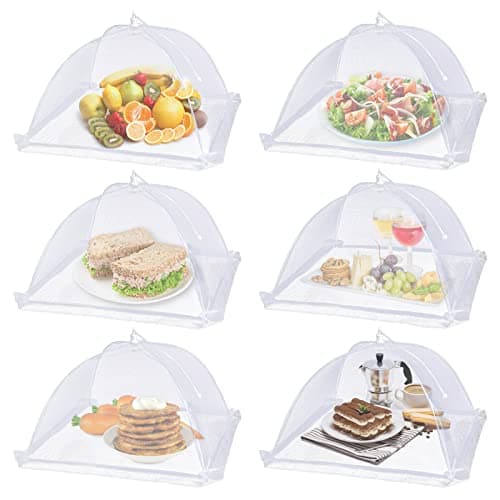
Lauon Large Food Cover,6 Pack Mesh Food Tent,17"x17",White Nylon Covers,Pop-Up Umbrella Screen Tents,Patio Net for Outdoor Camping, Picnics, Parties,BBQ,Collapsible and Reusable
$9.99
Check price on Amazon: Lauon Large Food Cover,6 Pack Mesh Food Tent,17"x17",White Nylon Covers,Pop-Up Umbrella Screen Tents,Patio Net for Outdoor Camping, Picnics, Parties,BBQ,Collapsible and ReusableTAOMAND Large 76 x 52 inches Under Grill Mats for Outdoor Grill | BBQ Mat
$29.98
Check price on Amazon: TAOMAND Large 76 x 52 inches Under Grill Mats for Outdoor Grill | BBQ MatGrill Table for Blackstone Griddle Camping Grill Table Foldable Fits Ninja
$139.99
Check price on Amazon: Grill Table for Blackstone Griddle Camping Grill Table Foldable Fits NinjaHappygrill 80” Outdoor Grill Table with Sink & Drainage, Wheels
See price on Amazon
Check price on Amazon: Happygrill 80” Outdoor Grill Table with Sink & Drainage, WheelsKeter Unity XL Portable Outdoor Table with Stainless Steel Top for Kitchen Prep and Outdoor Storage Cabinet for Grilling Accessories, Dark Grey
$237.99
Check price on Amazon: Keter Unity XL Portable Outdoor Table with Stainless Steel Top for Kitchen Prep and Outdoor Storage Cabinet for Grilling Accessories, Dark GreyFeasto Modular Outdoor Kitchen Island with Storage and Stainless Steel Top
$229.00
Check price on Amazon: Feasto Modular Outdoor Kitchen Island with Storage and Stainless Steel TopFeasto Modular Outdoor Kitchen Island with 5-Burner Gas Stove and Storage
$539.99
Check price on Amazon: Feasto Modular Outdoor Kitchen Island with 5-Burner Gas Stove and StorageLauon Large Food Cover,6 Pack Mesh Food Tent,17"x17",White Nylon Covers,Pop-Up Umbrella Screen Tents,Patio Net for Outdoor Camping, Picnics, Parties,BBQ,Collapsible and Reusable
$9.99
Check price on Amazon: Lauon Large Food Cover,6 Pack Mesh Food Tent,17"x17",White Nylon Covers,Pop-Up Umbrella Screen Tents,Patio Net for Outdoor Camping, Picnics, Parties,BBQ,Collapsible and ReusablePrices and availability are accurate as of October 22, 2026, 11:45 AM UTC and are subject to change.
Three Layers, Cheapest First
Layer one: covers. $30 to $400. A well-fitted cover on the grill and any exposed appliance is the highest return on investment in the entire kitchen. It stops UV, rain, and grit, and it takes fifteen seconds.
Layer two: overhead structure. $4,000 to $20,000. A pergola, a solid roof, or a lean-to. This is what turns a fair-weather kitchen into one you use in shoulder seasons, and it protects everything underneath permanently.
Layer three: seasonal shutdown. Free. Draining water lines, removing batteries and liquids, and covering everything before the first freeze.
Do layer one and layer three even if layer two never happens. Together they cost almost nothing and prevent the majority of weather damage.
Worth being explicit about the return on each layer, because the ordering surprises people. A $60 grill cover protecting a $2,000 grill is a three percent insurance premium on the single most weather-exposed item you own, and it demonstrably extends service life. A $12,000 roof protecting a $20,000 kitchen is a much larger commitment, and it justifies itself mainly through usage rather than protection — you use the space far more, and the protection is a bonus. Judge layer one on protection and layer two on how much more you will actually cook out there.
Choosing a Cover That Actually Works
Most covers fail in one of three ways, and all three are avoidable.
- Trapped moisture. A fully waterproof, unvented cover holds condensation against stainless, which corrodes faster than uncovered metal in some climates. Look for vents.
- Wind. An unsecured cover becomes a sail. Straps, drawstrings, or weighted hems are not a luxury.
- Poor fit. A cover that is too large collects water in pools; one that is too small leaves the vulnerable parts exposed. Measure the appliance, do not guess from the model name.
Cover the grill always, the refrigerator if it is not fully outdoor-rated and shaded, and consider a full island cover in regions with hard winters. See outdoor kitchen cover, island cover, and grill covers.
When a Roof Pays for Itself
An overhead structure is the most expensive item here and the one that changes usage most. In a temperate climate it can move a kitchen from roughly five usable months to nine, and with heaters further still.
It also protects the investment underneath. Appliances, cabinetry, and countertops under cover simply last longer, because the two things that degrade them — UV and standing water — are largely removed.
Two constraints to design in rather than discover. Grill clearance and ventilation: manufacturers specify a minimum vertical clearance to overhead combustibles, and covered installations frequently require a vent hood. Permits: a solid roof attached to the house is usually a permitted structure in a way a freestanding pergola may not be.
See covered outdoor kitchen, roof options, and pergolas.
A partial cover is worth considering when a full roof is not affordable or not permitted. Covering the cooking position alone — a modest lean-to or a cantilevered section over the grill — costs a fraction of a full roof and captures a disproportionate share of the benefit, because the cook is the person who cannot walk away when it rains. Guests can move indoors; whoever is tending the grill cannot. If the budget forces a choice, cover the cook first and the seating second, which is the opposite of what most people do.
The Drainage Detail That Ruins Islands
More outdoor kitchens are destroyed from the inside than from the outside, and the mechanism is almost always the same: water gets into the island and cannot get out.
Three details prevent it. Slope the countertop very slightly away from the house so water sheds rather than pools at the back joint. Seal the joint between countertop and any wall, and re-seal it — that bead is a consumable, not a permanent detail. Give the interior of the island a drainage path: weep holes at the base, a slight fall in the slab beneath, and ventilation so anything that gets in can dry.
The diagnostic is simple and worth doing annually: open an access door and look inside. Dry, no rust weeping from fasteners, no standing water. If any of those fail, fix it before anything else in your maintenance budget, because every other component has a shorter life in a wet island.
Two more drainage points that matter and are cheap at build time. The countertop overhang should project far enough that water running off it clears the cladding below rather than running down the face of it — an inch to an inch and a half with a drip groove underneath is the detail that does this, and without the groove water tracks back along the underside and soaks the top of the cabinet. Appliance cutouts are open holes in a horizontal surface, and water that gets past a grill flange has to go somewhere; a cutout over an open cabinet bay with no drainage below turns that bay into a reservoir.
Winterising, Step by Step
In any climate that freezes, this is a genuine shutdown rather than a tidy-up.
- Shut off and drain water lines completely. A trapped pocket of water in a supply line is what splits pipes. Blow the line out if you can.
- Drain and disconnect the sink trap, or fill it with plumbing antifreeze rated for potable systems.
- Empty and unplug refrigeration, and leave the door slightly ajar so it does not go sour.
- Disconnect and store the propane cylinder upright, outdoors, away from the house.
- Remove everything porous, battery-powered, or liquid.
- Deep-clean the grill. Grease left over winter goes rancid and attracts animals.
- Cover everything, with vented covers, secured against wind.
Spring reverses the list, plus a leak check on the gas connection with soapy water before first use.
Two winterising details that get missed and cause real damage. First, the grill's own gas manifold and regulator: disconnect at the cylinder rather than leaving a connected line under pressure through freeze cycles, and check the hose for cracking in spring before first use. Second, anything with a trap or a low point that cannot be blown out — an ice maker line, a filter housing, an outdoor tap on the island. These hold enough water to split a fitting, and the leak does not appear until spring when the system is pressurised again, by which point it is inside a finished island.
Take photographs before you shut down. In spring, six months later, nobody remembers which valve was open and where the drain plug was, and a photograph on your phone settles it in seconds.
Sun, Wind, and the Bits People Forget
Protection is not only about rain. UV fades and embrittles polymer cabinet fronts, degrades covers themselves, and heats dark countertops to genuinely unpleasant temperatures. Wind drives rain sideways under partial cover and lifts anything unsecured.
Two frequently missed items: the underside of a countertop overhang, which is where wind-driven rain collects and where fixings corrode unseen; and electrical covers, which must be the in-use “bubble” type that closes over a plugged-in cord, since outdoor kitchen outlets usually have something plugged into them while it rains.
The full index of cover and protection guides follows. See materials for what survives which climate, and the homepage for everything else.
Fasteners and hardware deserve their own line in a protection plan, because they fail before the materials they hold. Hinges, drawer slides, handles, and screws are where corrosion starts, and they are usually the cheapest components in the kitchen — which means they are the ones most often specified down. Stainless hinges and slides rated for outdoor use cost noticeably more than the indoor equivalents that look identical in a catalogue, and they are the difference between doors that still close in year eight and doors that have to be replaced in year four.
An annual routine that takes twenty minutes: work every hinge and slide, look for rust bleeding from fixings, re-tighten anything loose, and put a light coat of appropriate lubricant on moving parts. Corrosion caught at the weeping-rust stage is a cleaning job; the same corrosion two years later is a replacement job.
For the structural and weather requirements in this guide, the residential code requirements maintained by the International Code Council is the primary reference — and your inspector is the one who decides.
Frequently Asked Questions
01Do you need to cover an outdoor kitchen?
02Is a roof over an outdoor kitchen worth it?
03How do you winterise an outdoor kitchen?
04What ruins outdoor kitchens fastest?
05Should outdoor kitchen covers be waterproof or breathable?
06Do I need a permit for a roof over an outdoor kitchen?
07How often should you reseal an outdoor countertop?
08What kind of electrical cover do outdoor kitchen outlets need?
09Can you leave an outdoor kitchen uncovered all winter?
Every covers & protection guide on this site
7 guides, each covering one decision in detail.
- Covered Outdoor Kitchen Ideas: Pergolas, Pavilions & Roof Designs That Last
Covered outdoor kitchen ideas range from $1,500 retractable pergolas to $60,000 pavilions. Compare roofs, ventilation, sun bloc…
- Grill Cover for Outdoor Kitchen: How to Protect a Built-In Grill Head
Grill cover for outdoor kitchen islands: measure your built-in grill head correctly, compare polyester, vinyl, and Sunbrella.
- Outdoor Kitchen Cover Guide: Weatherproof Protection for Grills, Islands & Appliances
Outdoor kitchen cover choices protect $5K to $80K of equipment. Compare 600D vs 1200D fabrics, custom vs universal fit, vents, …
- Outdoor Kitchen Island Cover: Measuring, Custom Fit, and Seasonal Protection
Outdoor kitchen island cover guide: how to measure straight and L-shaped islands, custom vs stock sizing, mesh vents, gust stra…
- Outdoor Kitchen Lighting: Task, Ambient & Weatherproof Fixture Guide
Outdoor kitchen lighting layered with task, accent, and ambient fixtures triples evening usability. Wet-rated LEDs, GFCI wiring…
- Outdoor Kitchen Pergola: Styles, Materials & Installation Guide for Every Budget
Outdoor kitchen pergola options span $3K cedar kits to $25K motorized louvered systems. Compare wood, aluminum, retractable can…
- Outdoor Kitchen Roof: Permanent Roofing Options, Ventilation & Complete Installation Guide
Outdoor kitchen roof choices drop surface temps 20-40°F and shrug off rain year-round. Shingles vs metal vs polycarbonate, vent…
Related Guides
Written and edited by Sukie
Sukie is the editor behind Outdoor Kitchen Setup. They compile manufacturer specification sheets, published building codes, and industry sizing standards into the measurement and planning guides on this site, and check every figure against its original source before it goes live. Where a number varies by brand or by local code, the guides say so rather than presenting a single figure as universal.