Cheap Outdoor Kitchen Kits: What a Small Budget Really Buys
Cheap outdoor kitchen kits promise a finished island for the price of a good grill, and the honest answer to whether they deliver is: sometimes, and it depends almost entirely on the frame.
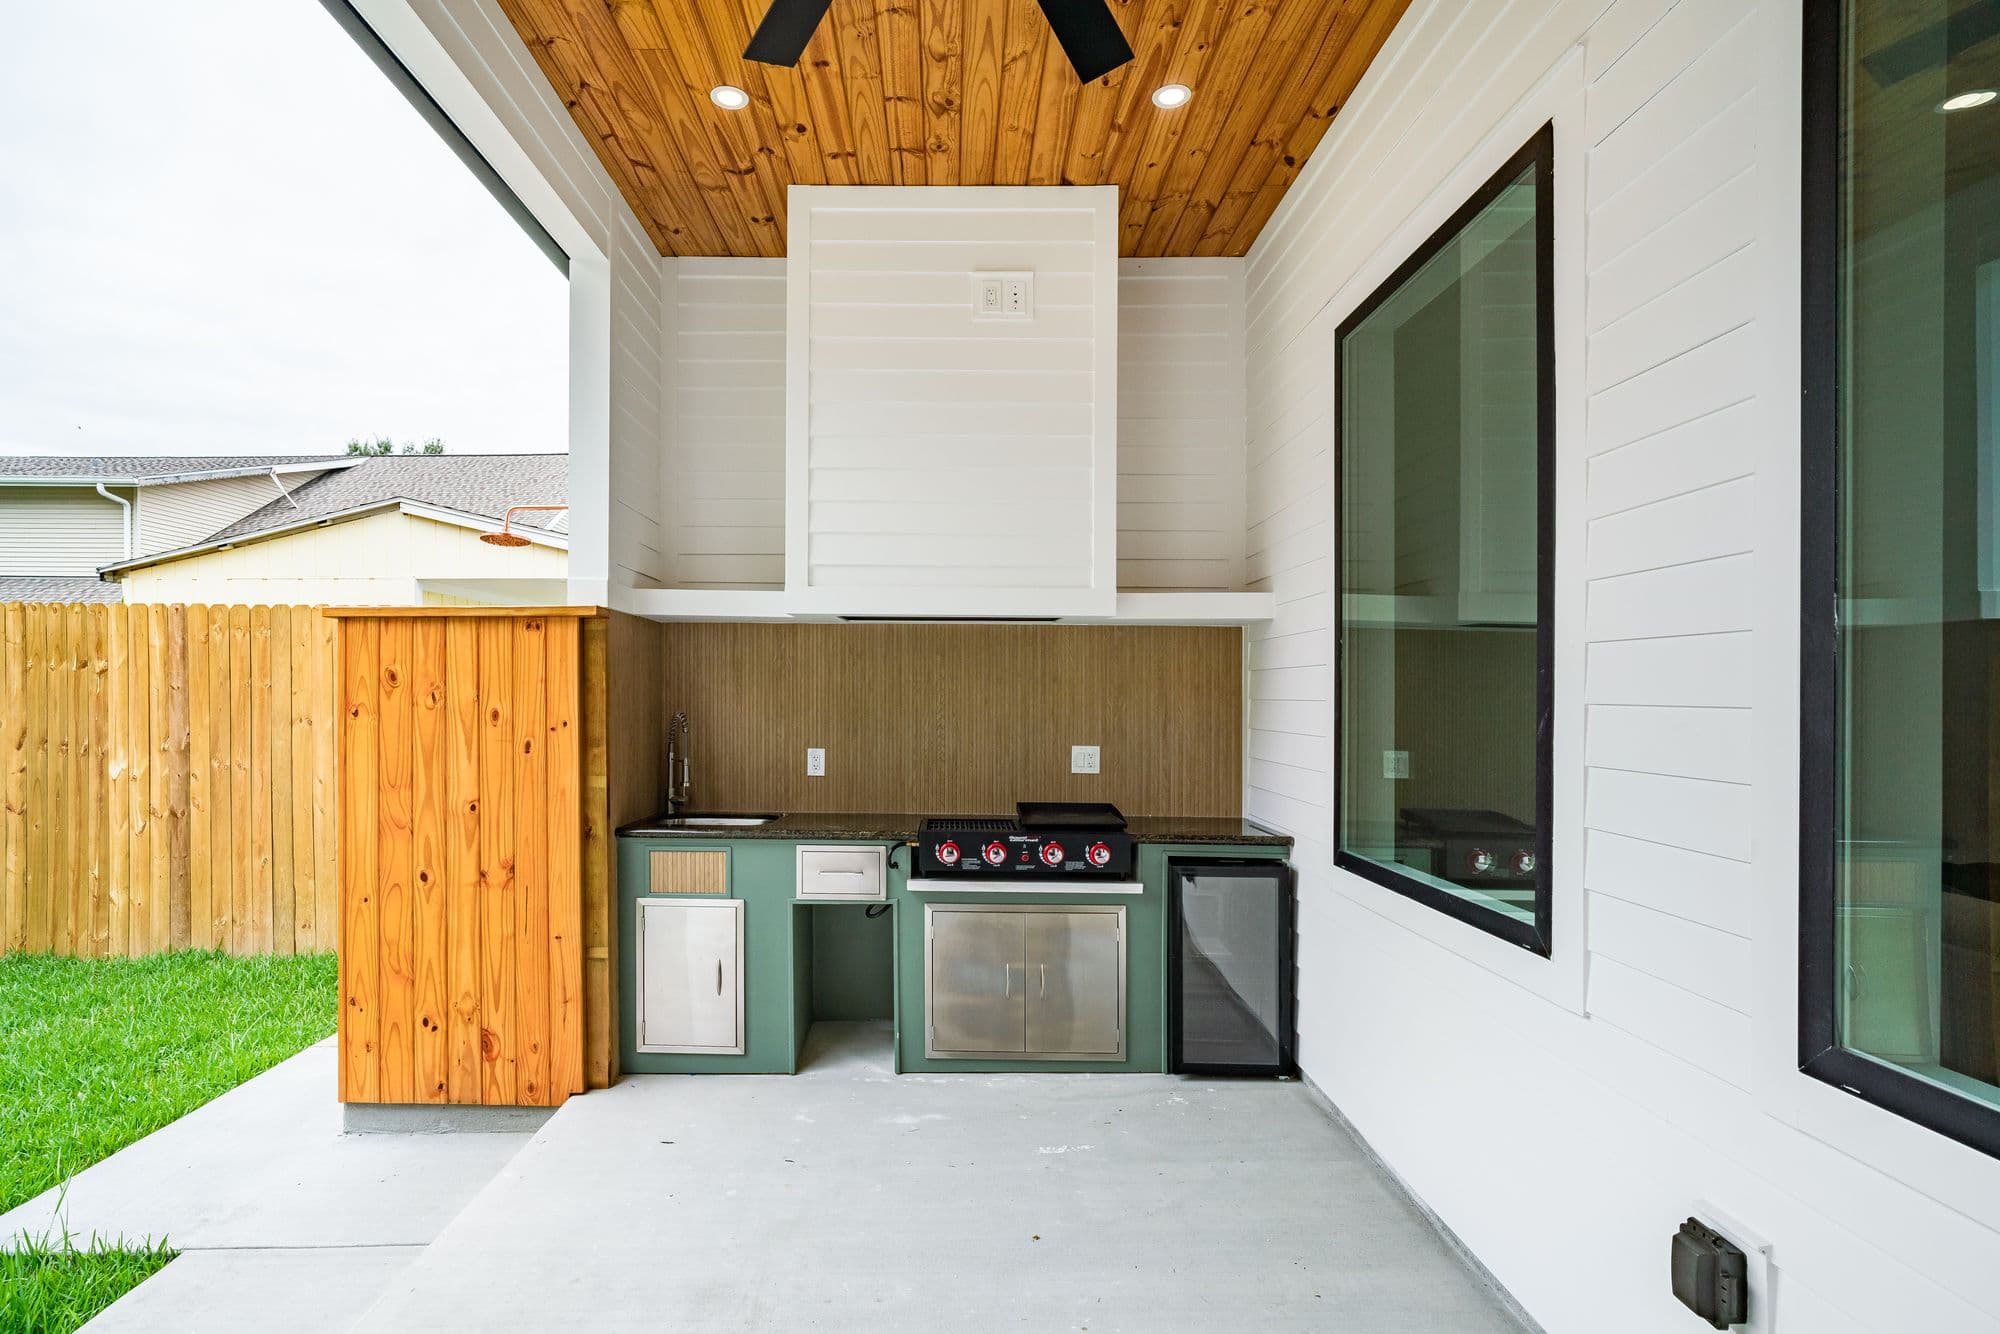
Photo: Chad Populis / Pexels (Pexels License)
Cheap outdoor kitchen kits promise a finished island for the price of a good grill, and the honest answer to whether they deliver is: sometimes, and it depends almost entirely on the frame.
In April 2025 we priced the same 8-foot straight grill island three ways. A bargain steel-frame kit with cement board panels shipped to a Dallas driveway for $1,340 including freight. A mid-range ready-to-assemble polymer kit with a granite top landed at $3,180. And building the identical footprint from downloadable plans plus big-box concrete block, cement board, and porcelain tile came to $1,065 in materials — but ate two full weekends. That spread is the honest starting point for anyone shopping cheap outdoor kitchen kits: the low end is real, but every dollar you save shows up somewhere, usually in steel gauge, countertop material, or your own labor.
This guide breaks down what "cheap" actually means in 2026 pricing, which kit construction types dominate each tier, the specific corners budget manufacturers cut, and the point at which a set of plans and a lumber-aisle shopping list beats any boxed kit. Our main outdoor kitchen kits guide covers every price bracket; this page stays on the budget end, where the difference between a smart buy and a rust stain comes down to a few spec-sheet details.
Top picks for this build
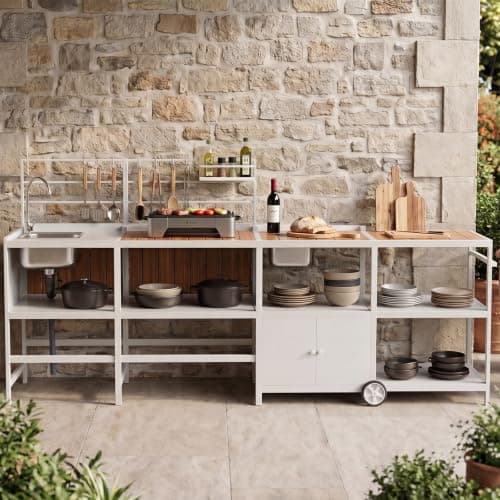
Modular Outdoor Kitchen Island with Sink, 4Pcs Aluminum Outdoor Kitchen Kit
$499.99
Check price on Amazon: Modular Outdoor Kitchen Island with Sink, 4Pcs Aluminum Outdoor Kitchen Kit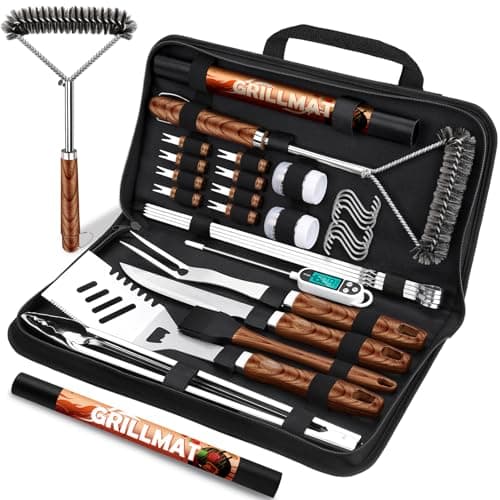
RINPIR 31pcs BBQ Grill Accessories Gifts for Men Dad, Heavy Duty Grilling Tools Gift Set for Father‘s Day, Stainless Steel BBQ Utensils Kit with Mats, Grill Brush in Carrying Bag Brown
$26.99
Check price on Amazon: RINPIR 31pcs BBQ Grill Accessories Gifts for Men Dad, Heavy Duty Grilling Tools Gift Set for Father‘s Day, Stainless Steel BBQ Utensils Kit with Mats, Grill Brush in Carrying Bag Brown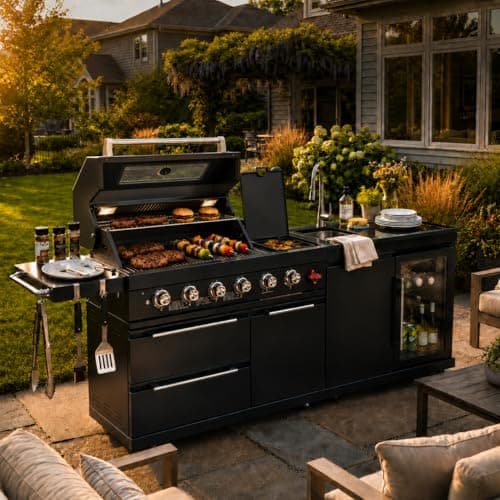
84 Inch Outdoor Kitchen Island Grill, 6 Burner 75300 BTU Propane BBQ Island with Sink, Beverage Refrigerator, Rotisserie Kit, Griddle, SS304 Stainless Steel, Granite Top, Black
See price on Amazon
Check price on Amazon: 84 Inch Outdoor Kitchen Island Grill, 6 Burner 75300 BTU Propane BBQ Island with Sink, Beverage Refrigerator, Rotisserie Kit, Griddle, SS304 Stainless Steel, Granite Top, BlackModular Outdoor Kitchen Island with Sink, 4Pcs Aluminum Outdoor Kitchen Kit
$499.99
Check price on Amazon: Modular Outdoor Kitchen Island with Sink, 4Pcs Aluminum Outdoor Kitchen KitRINPIR 31pcs BBQ Grill Accessories Gifts for Men Dad, Heavy Duty Grilling Tools Gift Set for Father‘s Day, Stainless Steel BBQ Utensils Kit with Mats, Grill Brush in Carrying Bag Brown
$26.99
Check price on Amazon: RINPIR 31pcs BBQ Grill Accessories Gifts for Men Dad, Heavy Duty Grilling Tools Gift Set for Father‘s Day, Stainless Steel BBQ Utensils Kit with Mats, Grill Brush in Carrying Bag Brown84 Inch Outdoor Kitchen Island Grill, 6 Burner 75300 BTU Propane BBQ Island with Sink, Beverage Refrigerator, Rotisserie Kit, Griddle, SS304 Stainless Steel, Granite Top, Black
See price on Amazon
Check price on Amazon: 84 Inch Outdoor Kitchen Island Grill, 6 Burner 75300 BTU Propane BBQ Island with Sink, Beverage Refrigerator, Rotisserie Kit, Griddle, SS304 Stainless Steel, Granite Top, BlackPrices and availability are accurate as of October 22, 2026, 11:45 AM UTC and are subject to change.
What "Cheap" Actually Means: Three Realistic Price Tiers
Retailers slap the word "affordable" on everything from a $600 frame bundle to a $9,000 island, so let's anchor the term. In the current market, cheap outdoor kitchen kits cluster into three tiers, and the jump between them is mostly about what arrives finished versus what you supply and build yourself.
| Tier | Typical Inclusions | Realistic All-In Total | Best For |
|---|---|---|---|
| Under $1,500 | Galvanized steel frame, cement board panels, doors; no countertop, no grill, no finish | $1,800–$2,800 after top, finish, and grill | Confident DIYers who already own a grill |
| $1,500–$3,500 | RTA polymer or finished-panel island, basic countertop, one door/drawer combo | $2,500–$4,500 with a mid-range built-in grill | Weekend assemblers wanting a finished look fast |
| $3,500–$6,000 | Finished island with granite or concrete top, grill often bundled, side burner or fridge cutout | $4,000–$6,500 delivered and running | Buyers who want zero fabrication work |
Notice the second column carefully. In the bottom tier, the sticker price covers a skeleton. The middle tier is where most budget shoppers land happiest, because the kit arrives looking like furniture instead of a construction project. The top tier overlaps with entry-level prefab outdoor kitchen units — at that point you are buying convenience, not saving money.
Kit Types by Material: Steel Frame, Wood, Polymer, and Block
Four construction types dominate the budget end, and each fails or succeeds in a different way.
Steel frame plus cement board is the cheapest true kit. You bolt together a galvanized or powder-coated steel skeleton, screw on cement board, then finish the exterior with stucco, stacked stone veneer, or tile you buy separately. Expect $700–$1,500 for the frame system. The finish materials add $300–$900 and a weekend of mess, but the result is genuinely non-combustible and can look fully custom.
Wood outdoor kitchen kits — usually cedar or pressure-treated pine — cost $900–$2,500 and assemble the fastest with ordinary tools. The catch: wood and open flame are a regulated pairing. A wood cabinet needs an insulated grill jacket ($200–$400 extra) before you can drop in a built-in gas grill, and the manufacturer's clearance-to-combustibles table is not optional. Skip the jacket and you have built a fire hazard, not a kitchen.
RTA polymer (HDPE) kits run $1,800–$3,500 at the budget end. The marine-grade plastic boards never rust, never rot, and wipe clean, which is why they own the coastal market. Cheap polymer kits cut thickness — 3/4-inch boards instead of 1-inch — so panels can bow in harsh sun.
Cinder block plus plans is not a boxed kit at all, but at $400–$800 in block, mortar, and cement board it is the cheapest permanent structure you can build, and we cover it in depth in our DIY outdoor kitchen guide.
Where Budget Kits Cut Corners — and Which Corners Matter
A $1,200 kit and a $4,000 kit can look identical in product photos. The differences hide in the spec sheet, and four of them decide whether the kit survives five seasons.
Steel gauge. Quality frames use 16-gauge galvanized steel. Bargain kits quietly drop to 20- or even 22-gauge, which flexes under a 250-pound stone countertop and oil-cans when you lean on it. If the listing does not state the gauge, assume the worst and email the seller before ordering.
Countertop material. Budget kits ship with a thin tile-over-board top, a 2 cm granite remnant, or nothing at all. A proper 3 cm granite top on an 8-foot island costs $600–$1,200 fabricated — which is exactly why cheap kits leave it out of the advertised price.
No backsplash or wind guard. Skipping the raised back panel saves the manufacturer $80 and costs you grease streaks down your fence and a burner that will not stay lit on breezy evenings.
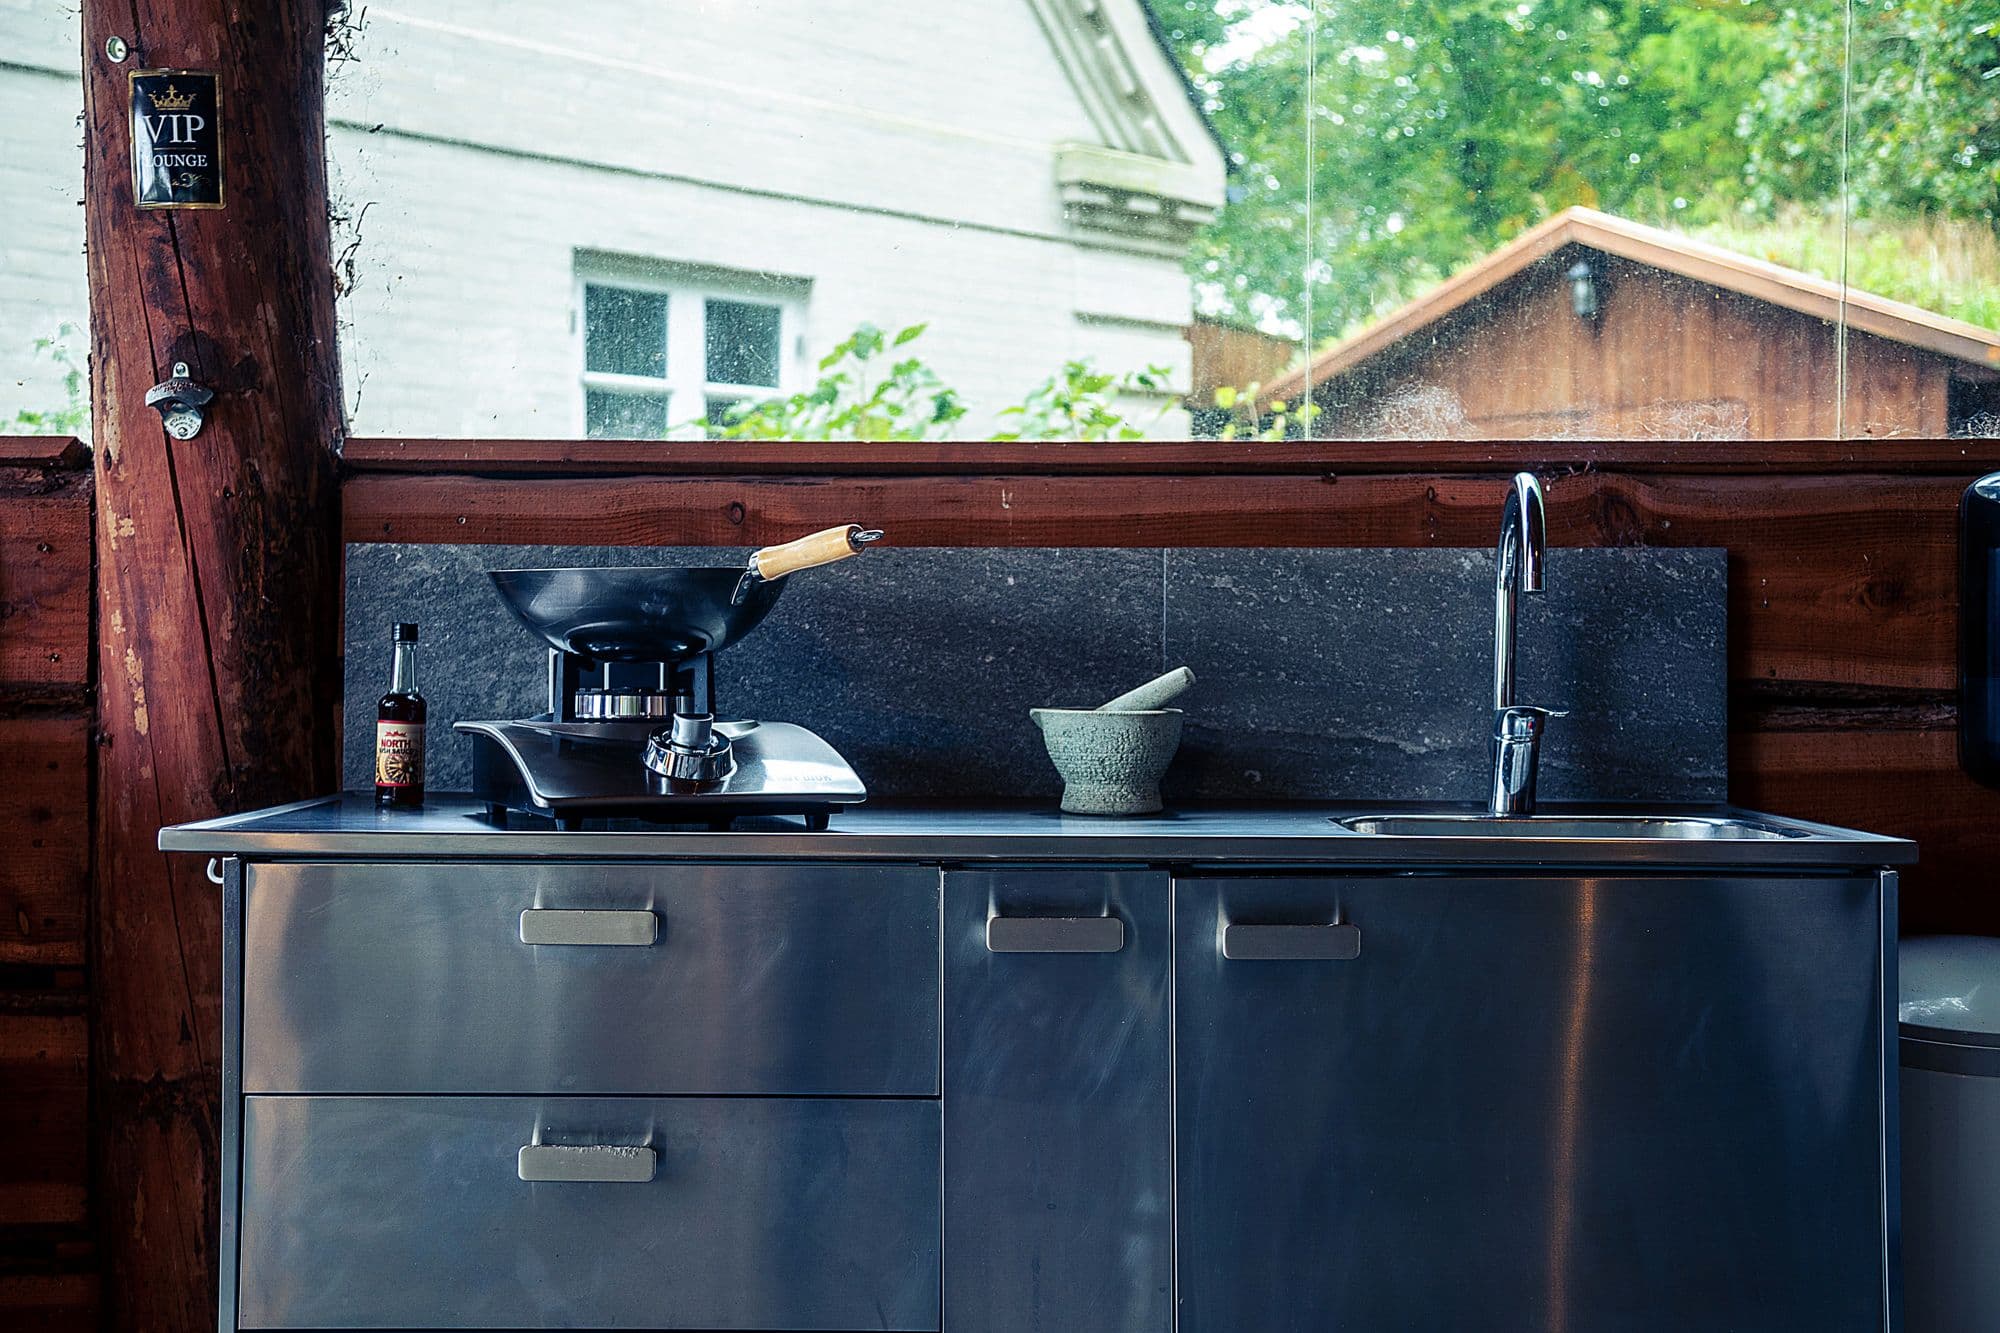
Thin doors and drawers. This is the most common cut. Premium islands use 304 stainless door assemblies; budget kits substitute 430 stainless (magnetic, rusts near salt or pool chlorine) or 0.7 mm panels that dent if you bump them with a propane tank. Doors are also the easiest fix: a $150–$250 aftermarket 304 stainless door upgrades a cheap island more than any other single swap.
Appliances Included vs. Bring Your Own Grill
The single biggest pricing trick at the budget end is the grill. Two listings both say "$2,499 outdoor kitchen" — one includes a built-in grill, the other includes a grill-shaped hole. That hole costs $700–$2,000 to fill, so it is the first thing to check.
Bundled-grill kits almost always pair the island with the manufacturer's own house-brand grill. Some are respectable 304 stainless units; many are thin-walled burners with two-year warranties and no replacement-part supply chain. Ask three questions before trusting a bundled grill: What is the burner material? How long is the burner warranty specifically (not the frame warranty)? Can you buy replacement grates and flame tamers today, online, from stock?
BYO-grill kits are usually the smarter budget play if you already own — or can find on clearance — a quality built-in head. The kit's cutout dimensions become your shopping constraint, so measure the listed cutout width, depth, and height against the grill's spec sheet before ordering either piece. A 32-inch cutout will not take a 33.5-inch grill, and modifying a finished panel voids most kit warranties.
One more appliance warning: budget kits sized for a drop-in refrigerator almost never include venting for it. An outdoor fridge crammed into a sealed cement-board cavity overheats and dies in a summer or two. If the kit shows a fridge cutout, confirm it has louvered venting or plan to cut your own.
Assembly Reality: Hours, Tools, and How Many Helpers
Every budget kit is marketed as an "easy weekend project." Here is what the weekend actually looks like, based on our own builds and the assembly manuals we have collected.
RTA polymer and wood kits: 4–8 hours, one to two people. These genuinely are approachable — cam-lock or bolt-together joinery, a drill, a rubber mallet, and a level cover it. The panels are heavy but manageable. Budget an extra hour for squaring the base; a kit assembled out of square will fight you at every subsequent step.
Steel-frame kits: 12–25 hours across two or three weekends. Frame assembly itself takes an afternoon. The time sink is finishing: cutting cement board (score-and-snap or a circular saw with a fiber-cement blade and a dust mask — the dust contains crystalline silica), applying scratch coat, then stucco or veneer, then sealing. This is real masonry-adjacent work, and it is where most first-timers underestimate the project.
Countertop day needs bodies. A 3 cm granite top for an 8-foot island weighs 250–350 pounds. You need three or four adults, or you pay the fabricator $150–$300 to template and set it. Do not let two people attempt it; dropped stone breaks, and so do backs.
Tool list for the budget tiers: drill/driver, 4-foot level, socket set, caulk gun; steel-frame kits add a fiber-cement blade, trowels, and a mixing paddle. If that list reads like a foreign language, price the middle tier instead.
How to Vet a Cheap Kit Before You Buy: The 10-Point Checklist
Run every candidate kit through this list. A seller who cannot answer these questions is telling you something.
- 1. Steel gauge or panel thickness stated in writing. 16-gauge steel or 1-inch HDPE is the floor for a structure carrying stone.
- 2. Stainless grade on doors and grill. 304 outperforms 430 everywhere, and matters most within 10 miles of a coast or next to a chlorinated pool.
- 3. Exact list of what is in the box. Countertop? Doors? Grill? Fasteners? Get it itemized.
- 4. Cutout dimensions published. No cutout specs means you cannot shop appliances — walk away.
- 5. Freight terms. Curbside or backyard? Liftgate included? Damage-claim window (often just 48 hours to report)?
- 6. Warranty split. Frame, panels, and burners usually carry different terms. A "lifetime warranty" that covers only the frame is marketing.
- 7. Replacement parts sold separately. Search the brand's site for a replacement grate. No parts store means a disposable product.
- 8. Wind and weather rating. Lightweight islands in open yards need anchoring; ask how.
- 9. Real assembly manual available pre-purchase. Reputable brands publish the PDF. Read it; it reveals build quality faster than any review.
- 10. Reviews older than one year. Cheap outdoor kitchen kits all look fine on delivery day; you want reviews describing season three.
A kit that clears all ten points at a bottom-tier price is a genuine find. Most clear six or seven — and now you know exactly which compromises you are accepting. When you are ready to compare specific models across every budget, start back at our outdoor kitchen homepage and work through the full kits comparison guide with this checklist in hand.
Frequently Asked Questions
01What is the cheapest outdoor kitchen kit you can actually buy?
02Are cheap outdoor kitchen kits worth it compared to building from scratch?
03How long does a budget outdoor kitchen kit take to assemble?
04Do cheap kits include the grill?
05Are wood outdoor kitchen kits safe with a gas grill?
06What corners do budget kits cut most often?
07What hidden costs should I budget beyond the kit price?
This guide is part of Outdoor Kitchen Types: Choosing Between Built-In, Modular, Prefab, and Portable — the hub covering every kitchen types guide on Outdoor Kitchen Setup.
Related Guides
Written and edited by Sukie
Sukie is the editor behind Outdoor Kitchen Setup. They compile manufacturer specification sheets, published building codes, and industry sizing standards into the measurement and planning guides on this site, and check every figure against its original source before it goes live. Where a number varies by brand or by local code, the guides say so rather than presenting a single figure as universal.