Outdoor Kitchen Electrical Requirements: Circuits, GFCI, Burial Depth, and Bonding
Outdoor kitchen electrical requirements are the part of the build most likely to be done wrong and least likely to be noticed until something trips, corrodes, or fails an inspection.
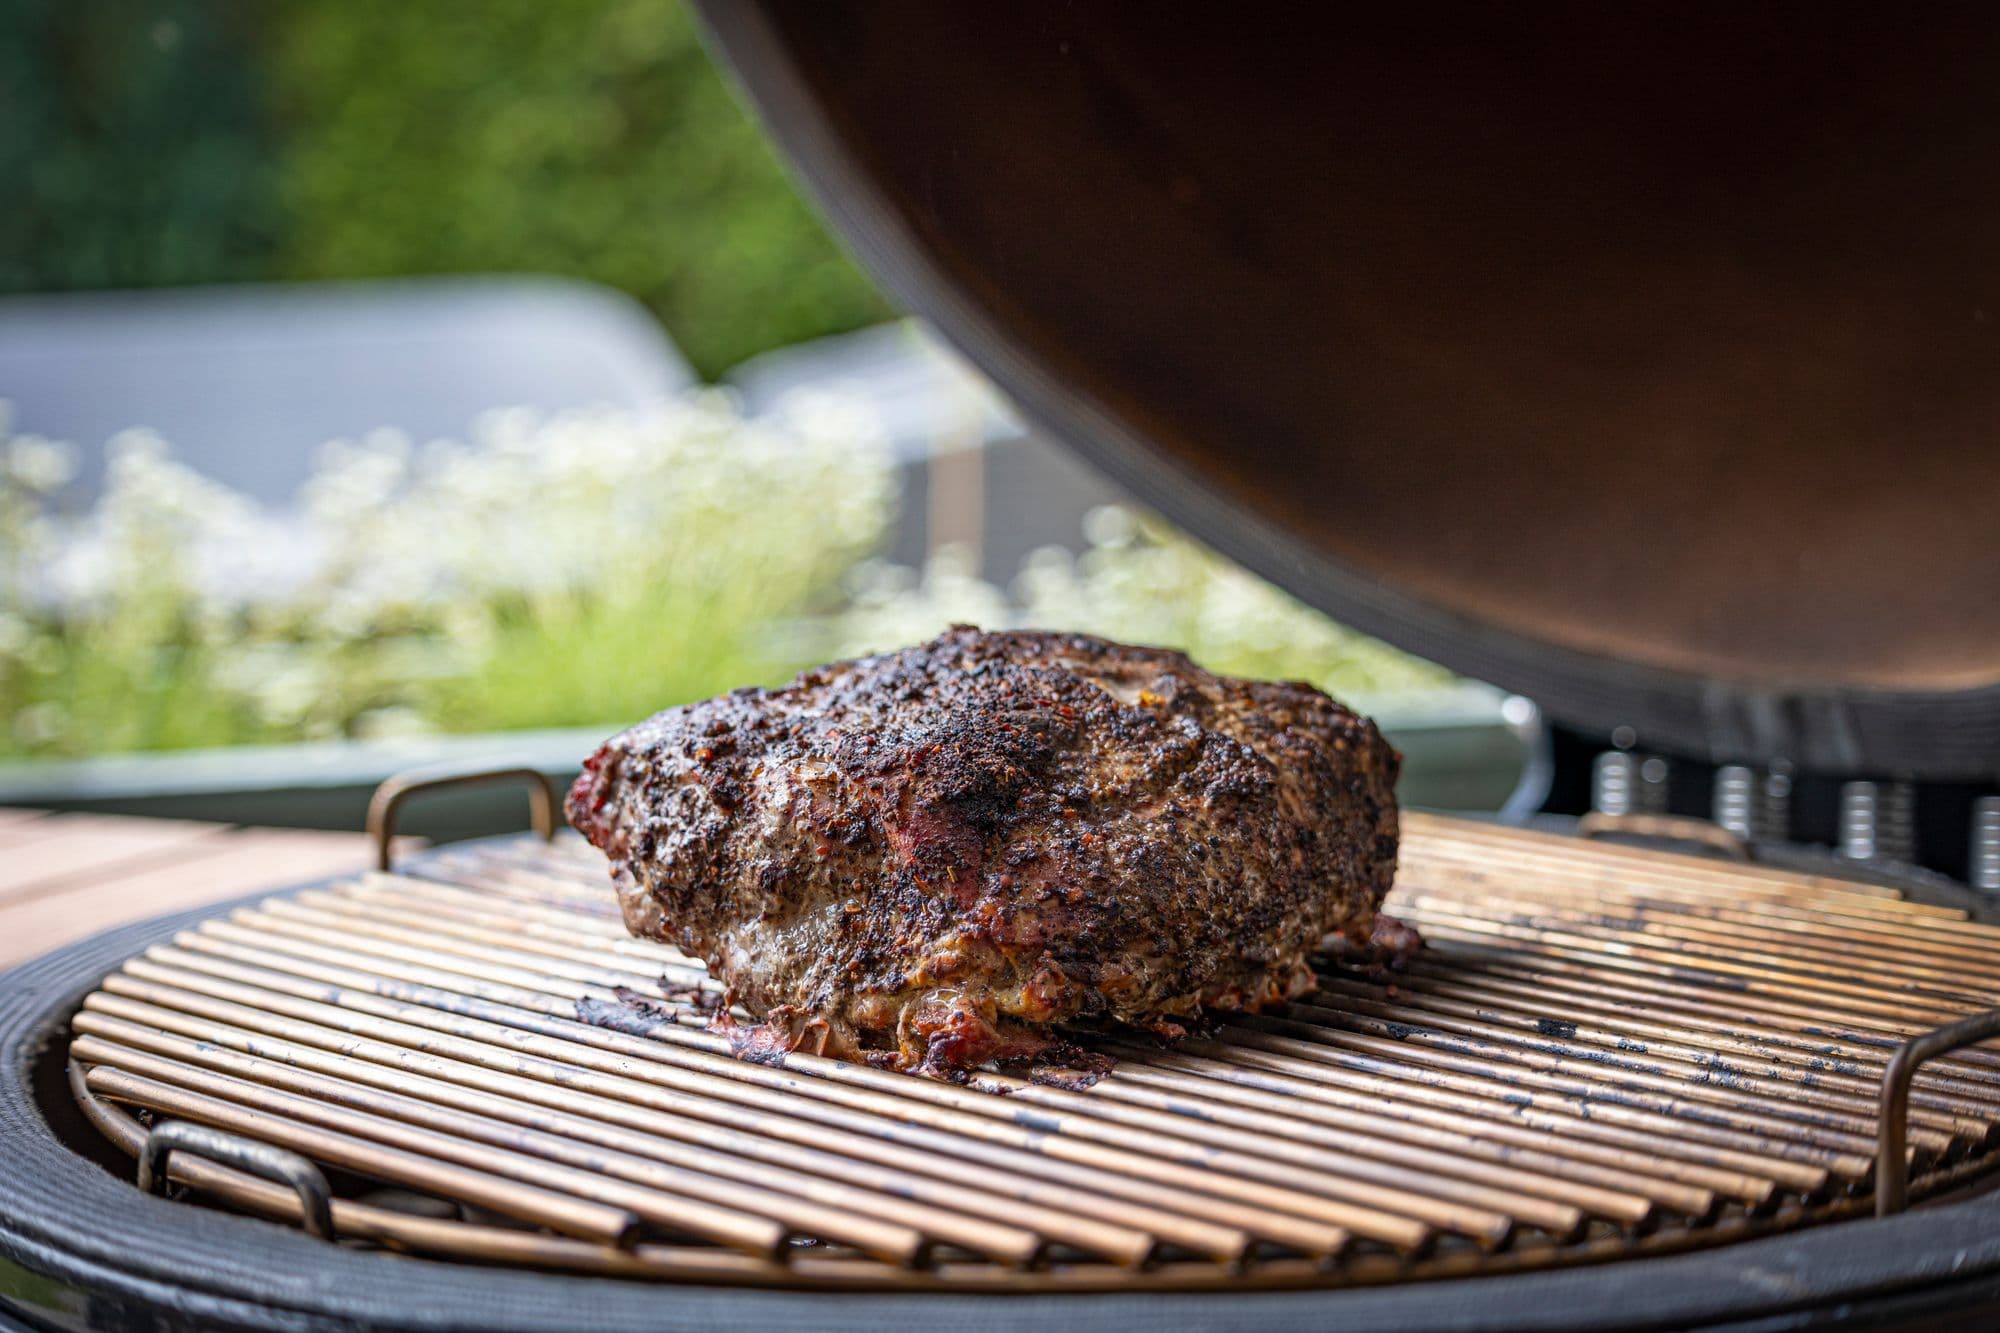
Photo: Rik Schots / Pexels (Pexels License)
Outdoor kitchen electrical requirements are the part of the build most likely to be done wrong and least likely to be noticed until something trips, corrodes, or fails an inspection. Everything here is outdoors, most of it is wet at some point, and a good deal of it is bonded metal sitting on damp ground.
This guide covers what you are powering, how many circuits it needs, the protection the National Electrical Code requires outdoors, how power gets from the panel to the island, and what to run now so you are not trenching again in three years.
Read the first section before anything else.
Top picks for this build
TAOMAND Large 76 x 52 inches Under Grill Mats for Outdoor Grill | BBQ Mat
$29.98
Check price on Amazon: TAOMAND Large 76 x 52 inches Under Grill Mats for Outdoor Grill | BBQ Mat
Grill Table for Blackstone Griddle Camping Grill Table Foldable Fits Ninja
$139.99
Check price on Amazon: Grill Table for Blackstone Griddle Camping Grill Table Foldable Fits Ninja
Happygrill 80” Outdoor Grill Table with Sink & Drainage, Wheels
See price on Amazon
Check price on Amazon: Happygrill 80” Outdoor Grill Table with Sink & Drainage, Wheels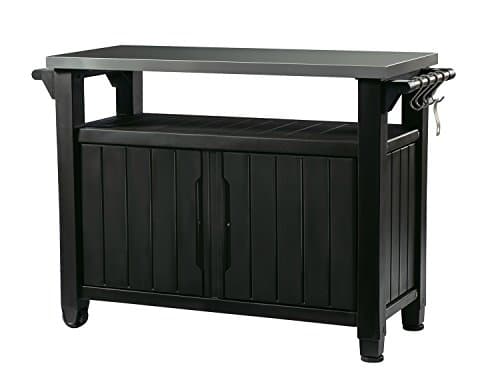
Keter Unity XL Portable Outdoor Table with Stainless Steel Top for Kitchen Prep and Outdoor Storage Cabinet for Grilling Accessories, Dark Grey
$237.99
Check price on Amazon: Keter Unity XL Portable Outdoor Table with Stainless Steel Top for Kitchen Prep and Outdoor Storage Cabinet for Grilling Accessories, Dark GreyTAOMAND Large 76 x 52 inches Under Grill Mats for Outdoor Grill | BBQ Mat
$29.98
Check price on Amazon: TAOMAND Large 76 x 52 inches Under Grill Mats for Outdoor Grill | BBQ MatGrill Table for Blackstone Griddle Camping Grill Table Foldable Fits Ninja
$139.99
Check price on Amazon: Grill Table for Blackstone Griddle Camping Grill Table Foldable Fits NinjaHappygrill 80” Outdoor Grill Table with Sink & Drainage, Wheels
See price on Amazon
Check price on Amazon: Happygrill 80” Outdoor Grill Table with Sink & Drainage, WheelsKeter Unity XL Portable Outdoor Table with Stainless Steel Top for Kitchen Prep and Outdoor Storage Cabinet for Grilling Accessories, Dark Grey
$237.99
Check price on Amazon: Keter Unity XL Portable Outdoor Table with Stainless Steel Top for Kitchen Prep and Outdoor Storage Cabinet for Grilling Accessories, Dark GreyPrices and availability are accurate as of October 22, 2026, 11:45 AM UTC and are subject to change.
1. This Is Licensed, Permitted Work
Outdoor kitchen wiring is not a weekend DIY project, and this page is not a substitute for a licensed electrician. Outdoor circuits combine water, buried conductors, bonded metal, and gas appliances in one place. The failure modes are electrocution and fire, not inconvenience.
Use this guide to plan: to know what to ask for, to size the trench before the mason arrives, and to avoid the sequencing mistakes that mean digging twice. Then have the work done and inspected by someone licensed in your jurisdiction.
Two further points. The National Electrical Code (NFPA 70) is revised on a three-year cycle and your jurisdiction may be enforcing an older edition, and may have amended it. The requirements below are the general shape of the rules, not a substitute for the edition your inspector uses. And permits matter beyond legality: unpermitted electrical work routinely surfaces during a home sale and can affect insurance claims after a fire.
2. Build the Load List First
Nothing can be sized until you know what is being powered. Write the list before calling anyone.
| Item | Typical draw | Notes |
|---|---|---|
| Under-counter refrigerator | 1–3 amps running | Startup surge is much higher |
| Ice maker | 2–4 amps | Needs water supply too |
| Grill rotisserie motor | <1 amp | Often overlooked entirely |
| Grill interior / control lighting | <1 amp | Usually 12 V via transformer |
| Vent hood (covered builds) | 2–6 amps | Frequently required under a roof |
| Task & ambient lighting | 1–4 amps | Often low-voltage |
| Convenience receptacles | Plan for 12 amps | Blenders, speakers, warming trays |
| Electric griddle / induction | 10–15 amps | Needs its own circuit |
| TV / entertainment | 1–2 amps | Plus network cabling |
| Patio heaters (electric) | 6–13 amps each | Frequently underestimated |
The two that catch people out are electric patio heaters and a vent hood. Heaters get added a year later and are large loads. A vent hood is frequently mandatory once you put a roof over a grill, and if you did not plan a circuit for it you will be running one afterwards through finished construction.
3. How Many Circuits You Actually Need
For a typical build with a refrigerator, lighting, and convenience outlets, plan on two to three dedicated 20-amp circuits rather than one.
- Refrigeration circuit. The fridge and ice maker, ideally alone. Compressor startup surges nuisance-trip shared circuits, and a tripped breaker you do not notice means spoiled food.
- Receptacle circuit. All convenience outlets on the island.
- Lighting circuit. Task and ambient lighting, so a tripped receptacle circuit does not leave you cooking in the dark. This is a small load and the cheapest circuit to add.
Add a fourth if you have a vent hood, an electric cooking appliance, or electric heaters. Anything drawing 10 amps or more continuously deserves its own circuit.
Running one circuit to save money is the most common shortcut here and the one most likely to be regretted, because the incremental cost of extra conductors in a trench you are already digging is small. The expensive part is the trench, not the wire.
4. GFCI Protection
Ground-fault circuit-interrupter protection is required for receptacles in outdoor locations at dwellings, and this is one of the few things on this page with no ambiguity and no exceptions worth pursuing. Article 210.8 of the NEC covers GFCI requirements; outdoor dwelling receptacles fall squarely within it.
Two practical decisions:
Where to put the GFCI device. Protection can be provided at the receptacle itself or upstream at the breaker. A GFCI breaker in the panel is usually the better choice for an outdoor kitchen: the test and reset buttons live somewhere dry and accessible rather than behind a weather cover in the rain, and one device protects the whole run.
The refrigerator problem. Refrigeration on a GFCI circuit can nuisance-trip, and a tripped fridge circuit is a quiet failure you discover by smell. Recent code cycles have progressively removed the old exemptions that let outdoor refrigeration skip GFCI, so the modern answer is not to avoid GFCI but to put the refrigerator on its own dedicated GFCI circuit so nothing else can trip it — and to check it after storms.
5. Weather-Resistant Receptacles and Extra-Duty Covers
Two separate requirements that people conflate.
The receptacle must be a weather-resistant type, marked WR on the face. This is a corrosion and UV specification for the device itself.
The cover must be an in-use cover — the hinged “bubble” type that closes over a plugged-in cord — and for outdoor locations it generally needs to be rated extra-duty. A flat snap-shut cover that only protects the outlet when nothing is plugged in does not satisfy a wet-location requirement, because outdoor kitchen outlets frequently have something plugged into them while it rains.
Both are cheap. Both are routinely got wrong by well-meaning DIY installs, and both are things an inspector will look at immediately. Article 406.9 of the NEC is where the receptacle and cover requirements for damp and wet locations live.
Mount receptacles so the cover can actually close with a cord in it — allow clearance below and to the hinge side, and do not tuck an outlet tight under a countertop overhang where the bubble cover fouls.
6. Where the Receptacles Go
Placement is a usability question with a code floor underneath it.
- At least one on the island itself, on the working side, where you will use a blender or a warming tray. An outdoor kitchen whose nearest outlet is on the house wall is an outdoor kitchen with an extension lead running across the walkway.
- Not directly above a sink or a burner. Offset horizontally.
- Not inside a compartment that houses an LP cylinder. This should be obvious and is occasionally not.
- One near the seating side for phones and speakers, which keeps guests out of the cook's zone.
- One at the far end for seasonal items — heaters, string lights, a slow cooker at Thanksgiving.
Separately, the NEC requires outdoor receptacle outlets at dwellings — Article 210.52(E) covers the outdoor outlets required at one- and two-family dwellings, including height limits above grade. Your outdoor kitchen outlets are additional to, not a substitute for, those.
Mounting height on the island is typically just below the countertop overhang or in the backsplash. Keep them above any expected splash or standing-water line, and remember that a receptacle low on an island exterior will be hit by a hose when someone washes the patio.
7. Getting Power There: Trench Depth
Burial depth depends on what the conductors are inside. NEC Table 300.5 sets minimum cover requirements, and the figures differ substantially by wiring method:
| Method | Typical minimum cover | Comment |
|---|---|---|
| Direct-burial cable (UF) | 24 in / 61 cm | Cheapest, least protected, hardest to replace |
| Rigid nonmetallic conduit (PVC) | 18 in / 46 cm | The common residential choice |
| Rigid or intermediate metal conduit | 6 in / 15 cm | Shallowest permitted, most expensive |
| Residential 120 V branch circuit, GFCI-protected, max 20 A | 12 in / 30 cm | A reduced-cover allowance with conditions |
Treat those as the general shape of the rule and confirm against the edition your inspector enforces, because the conditions attached to the reduced-depth rows matter and local amendments are common.
Practical advice regardless of the minimum: go deeper than required if the trench crosses a garden bed. Minimum cover protects against normal activity, not against someone planting a shrub with a spade in five years. Lay warning tape above the conduit — it costs almost nothing and it is what stops a future dig.
8. Conduit and Conductors
Use conduit, not direct-burial cable. Schedule 40 PVC is inexpensive and it means the run can be re-pulled later without excavation. Direct-burial UF cable is cheaper on day one and means a trench if anything ever needs to change, which for a structure you intend to keep for twenty years is a poor trade.
Three details that matter underground:
- Oversize the conduit. If the calculation says 3/4 inch, run 1 inch. The cost difference is trivial and it makes future pulls possible.
- Run a pull string in any spare conduit, taped off at both ends.
- Conductors must be rated for wet locations. The interior of buried conduit is a wet location — it will contain water, always, regardless of how well the ends are sealed. THWN-2 is the usual answer.
Where conduit emerges from the ground it needs mechanical protection and a proper transition. The section rising out of the trench to a box is the part that gets struck by lawn equipment and degraded by UV, and it is worth using metal or a UV-rated fitting there.
9. Bonding a Metal Island
This is the requirement most often missed on DIY outdoor kitchens, and it matters.
An outdoor kitchen frequently contains a great deal of interconnected metal: a steel stud frame, stainless doors and drawers, a sink, a gas line, and appliance chassis — sitting on damp ground, next to water, touched by people with wet hands. If any energised conductor faults to that metal and the metal is not bonded, the metal becomes live and the breaker does not trip.
Bonding ties that metal to the grounding system so a fault produces a fast, high current that opens the protective device instead of waiting for a person to complete the circuit. Metal gas piping serving appliances is also required to be bonded.
You do not need to know the clause numbers. You do need to ask your electrician explicitly how the island frame, the metal enclosures, and the gas piping are bonded, and confirm it appears on the inspection. If the answer is vague, get a different electrician. This is a short conversation that materially changes the safety of the finished kitchen.
10. Lighting, and Why It Gets Its Own Circuit
Outdoor kitchen lighting works in three layers, and they have different electrical needs.
- Task lighting over the grill and prep surfaces. This is the one that decides whether you can tell a rare steak from a medium one at nine in the evening. Aim it at the work surface, not at the cook's eyes.
- Ambient lighting for the seating and circulation area. Warmer, dimmer, and ideally on a separate switch so you can drop it without losing task light.
- Accent and safety lighting — step edges, path, under-counter glow.
Much of layer two and three can be low-voltage, fed from a transformer, which is simpler to run, safer to bury, and easier to extend later. Layer one is often line-voltage and integrated with the hood if there is one.
Keep lighting on a separate circuit from receptacles. The failure you are designing against is a nuisance trip on the receptacle circuit while there is hot food on a grill in the dark. It is a small load and a cheap circuit; there is no good reason to combine them.
See outdoor kitchen lighting for fixture placement and colour temperature.
11. Run It Now: The Future-Proofing List
The trench is open exactly once. Everything on this list is cheap now and expensive later.
- One spare conduit with a pull string. The single highest-value item here.
- A spare 20-amp circuit capped in a box in the island.
- Low-voltage lighting conduit, separate from the line-voltage run.
- Network cable or a conduit for it if a TV or outdoor speakers are remotely likely. Wi-Fi at the far end of a garden behind masonry is often disappointing.
- A water line if a sink or ice maker might ever be added, plus a drain route.
- Capacity at the panel. Ask whether the panel has spare breaker positions and load capacity for what you might add. Discovering you need a panel upgrade after the patio is finished is the worst version of this conversation.
Every item above is a fraction of a percent of the project cost while the trench is open, and a multi-thousand-dollar retrofit afterwards.
12. Pre-Inspection Checklist
Walk this before the inspector arrives, and before the mason closes up the island.
- Permit pulled, and the correct NEC edition for your jurisdiction identified.
- Load list written and circuits sized against it.
- Separate circuits for refrigeration, receptacles, and lighting at minimum.
- GFCI protection on all outdoor receptacles, preferably at the breaker.
- Refrigerator on its own dedicated GFCI circuit.
- All receptacles marked WR, with extra-duty in-use covers that close over a cord.
- No receptacle above a sink or burner, or inside an LP cylinder compartment.
- Burial depth correct for the wiring method, with warning tape above.
- Conduit oversized, with a pull string in any spare.
- Conductors rated for wet locations.
- Island frame, metal enclosures, and gas piping bonded — confirmed verbally with the electrician.
- Spare conduit and spare circuit installed before backfill.
For the rest of the build, see outdoor kitchen plumbing for the water side, outdoor kitchen frame for the structure the wiring runs through, and the dimensions guide for everything else. If you are at the very beginning, start from the outdoor kitchen setup homepage.
Frequently Asked Questions
01How many circuits does an outdoor kitchen need?
02How deep do outdoor kitchen electrical lines need to be buried?
03Do outdoor kitchen outlets need to be GFCI?
This guide is part of Outdoor Kitchen Build Guides: Planning, Permits, Cost, and Hiring — the hub covering every guides guide on Outdoor Kitchen Setup.
Related Guides
Written and edited by Sukie
Sukie is the editor behind Outdoor Kitchen Setup. They compile manufacturer specification sheets, published building codes, and industry sizing standards into the measurement and planning guides on this site, and check every figure against its original source before it goes live. Where a number varies by brand or by local code, the guides say so rather than presenting a single figure as universal.