Outdoor Kitchen Visualizer: See Your Island Before You Build It
Outdoor kitchen visualizer guide: free brand configurators, 3D software, and AR apps that render your island in 3D before you build a single block of it.
By Sukie
Editor · compiles manufacturer specs and building-code references into the measurement guides on this site
An outdoor kitchen visualizer lets you see a layout before committing money to it, and the useful ones differ from the marketing ones in a few specific ways.
What does a $15,000 mistake look like? Usually it looks like a finished grill island that seats two people instead of four, blocks the path to the back door, and puts the fridge on the sunny side where it runs constantly. None of those problems are visible on a tape measure or a napkin sketch — they only show up when you can actually see the kitchen. That is the entire job of an outdoor kitchen visualizer: rendering your layout in 3D, on your patio, before a single block is set or a single cabinet is ordered.
Visualizers are a specific slice of the design-software world. Where a general outdoor kitchen design tool helps you lay out zones and a planner helps you sequence the project, a visualizer answers one question: what will this actually look like at full scale? That includes brand configurators that render real product lines, general 3D modelers you can bend to the task, and AR apps that project a virtual island into your actual yard through your phone camera.
This guide covers the configurators that genuinely exist and are free to use, the 3D software worth learning, what the renders can and cannot tell you, and the workflow we use to get from a pretty picture to an accurate materials list.
Top Picks: Best Outdoor Kitchen Visualizer: See Your Island Before You Build It in 2026
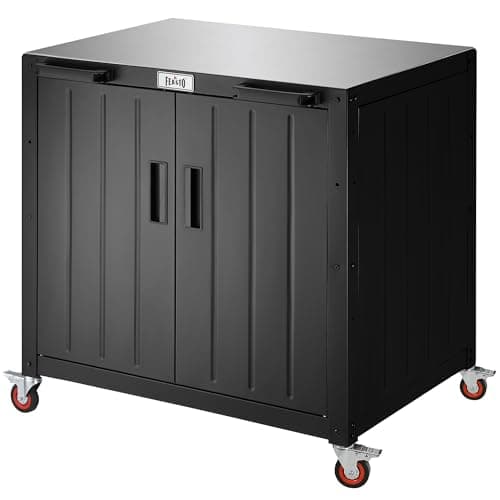
Feasto Outdoor Grill Cart with Storage Cabinet and Stainless Steel Top, 35-Inch Outdoor Grill Station with Door, Modular Kitchen Island for Food Prep and BBQ, Black & Silver
$249.00
Shop Now
TAOMAND Large 76 x 52 inches Under Grill Mats for Outdoor Grill | Double-Sided Fireproof | Waterproof | Oil-Proof | Easy to Clean | Indoor Fireplace/Fire Pit Mat | Quality BBQ Mat for Deck Patio Lawn
$30.59
Shop Now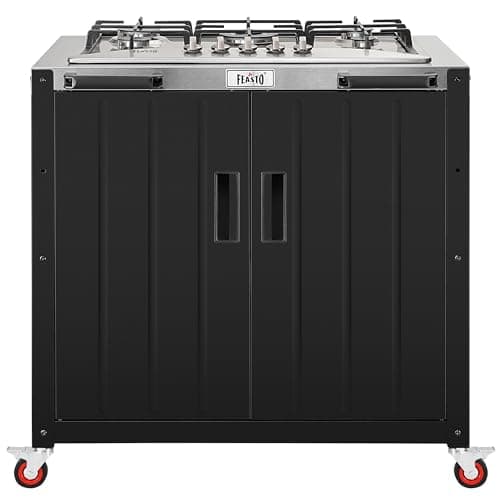
Feasto Outdoor Kitchen Island with Propane Gas Stove and Storage Cabinet, 35-Inch Outdoor Cooking Station with 304 Stainless Steel Top & Lockable Wheels for Backyard Patio, Black & Silver
$459.99
Shop Now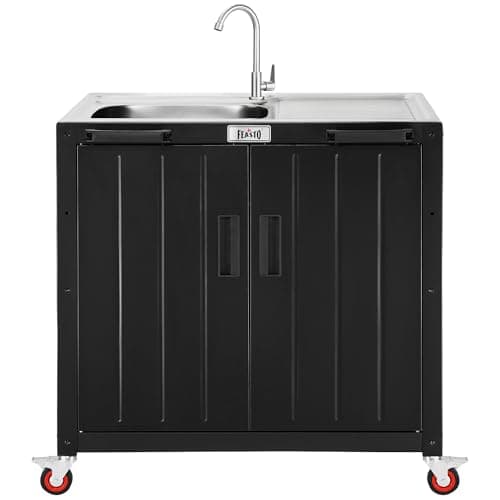
Feasto Outdoor Kitchen Island with Stainless Steel Sink and Storage Cabinet, 35-Inch BBQ Prep Station with Faucet & Lockable Wheels for Patio, Backyard, and Outdoor Cooking, Black & Silver
$329.00
Shop NowFeasto Outdoor Grill Cart with Storage Cabinet and Stainless Steel Top, 35-Inch Outdoor Grill Station with Door, Modular Kitchen Island for Food Prep and BBQ, Black & Silver
$249.00
Shop NowTAOMAND Large 76 x 52 inches Under Grill Mats for Outdoor Grill | Double-Sided Fireproof | Waterproof | Oil-Proof | Easy to Clean | Indoor Fireplace/Fire Pit Mat | Quality BBQ Mat for Deck Patio Lawn
$30.59
Shop NowFeasto Outdoor Kitchen Island with Propane Gas Stove and Storage Cabinet, 35-Inch Outdoor Cooking Station with 304 Stainless Steel Top & Lockable Wheels for Backyard Patio, Black & Silver
$459.99
Shop NowFeasto Outdoor Kitchen Island with Stainless Steel Sink and Storage Cabinet, 35-Inch BBQ Prep Station with Faucet & Lockable Wheels for Patio, Backyard, and Outdoor Cooking, Black & Silver
$329.00
Shop NowWhat a Visualizer Does That a Design Tool Doesn't
The terms get used interchangeably, but there is a real difference. A design tool is about decisions: where the hot zone goes, how much counter you need, whether the layout is an L or a galley. A visualizer is about perception: rendering those decisions photorealistically enough that your eye can catch problems your floor plan can't.
That distinction matters because the two catch different mistakes. A 2D plan will tell you that a 42-inch path exists between the island and the house wall. Only a 3D render will tell you that the island's back panel is the first thing guests see from the kitchen window, that a 36-inch-tall bar wall completely hides the grill from the dining table, or that the pergola posts land exactly where a bar stool needs to be. Scale, sightlines, and bulk are perceptual problems, and perception needs a picture.
Most tools blend the two jobs to some degree. The dedicated configurators from island manufacturers are visualizers first — they render their own cabinets and appliances in accurate dimensions and let you swap finishes. General 3D modelers are design tools first, with visualization quality that depends on how much effort you put in. If you have not yet settled the basics — budget, fuel type, rough footprint — start with our roundup of design tools and come back to visualization once you have a layout worth rendering. If the layout is already sketched, a visualizer is the cheapest insurance you will ever buy on this project.
Free Brand Configurators Worth Trying First
The fastest path to a believable render is a manufacturer configurator, because the 3D models are the actual products, drawn at actual dimensions. Four are worth your time:
- RTA Outdoor Living offers a free online design tool built around its modular ready-to-assemble islands. You pick a layout shape, drop in appliance cutouts, choose panel finishes, and the tool renders the island and produces a quote for that exact configuration.
- Bull Outdoor Products hosts a free 3D design tool that lets you assemble islands from its grill and component line, rotate the model, and hand the result to a Bull dealer for pricing.
- NewAge Products has a 3D configurator for its outdoor cabinetry systems, plus a free design consultation service where a staff designer builds the render with you and returns a shoppable plan.
- Danver and Trex Outdoor Kitchens (sister stainless-cabinetry brands) support visualization primarily through dealer design services — you bring measurements, they return rendered drawings of their cabinet lines.
The catch with every brand configurator is the same: it only renders that brand. In March 2026 we rebuilt the same 10-foot L-shaped island in three free configurators as a test, and the renders disagreed on counter seating by two stools — one showed four comfortable bar seats, another squeezed in two, because each tool assumed its own overhang depth and cabinet base widths. The renders were all honest about their own products; they just weren't interchangeable. Use configurators to visualize, but verify seating and clearances against real numbers before you order anything.
Will a visualizer tell me if my design meets building code
No. Consumer visualizers check nothing about gas line sizing, electrical requirements, combustible clearances, ventilation for propane islands, or permit rules. A render can look perfect and still be unbuildable as drawn. Before ordering anything, verify every clearance against the appliance installation manuals and ask your local building department which parts of the project — usually gas and electrical — require permits and licensed trades.
Visualizer Types Compared: Cost, 3D, AR, and Export
Here is how the main categories stack up. "Free with quote" means the tool costs nothing but exists to sell you that manufacturer's products — which is a fair trade as long as you know it going in.
| Tool type | Cost | 3D / AR | Export or quote capability |
|---|---|---|---|
| Brand configurator (RTA, Bull, NewAge) | Free with quote | 3D | Itemized quote for that brand's parts; shareable design link |
| Dealer design service (Danver, Trex) | Free with quote | 3D renderings | Dimensioned drawings plus a dealer quote |
| General 3D modeler (SketchUp Free, Planner 5D) | Free tier; optional paid upgrades | 3D | Images and model files; no pricing — you build the parts list yourself |
| AR room-scan apps (phone-based) | Free or low-cost | AR | Measurements and scans of your space; no quote |
Notice what no free tool exports: a brand-neutral, priced materials list. Configurators price only their own catalog, and general modelers price nothing. That gap is why the render-to-materials-list step later in this guide exists — it is manual work no software currently does for you, and it is where most budget surprises hide.
SketchUp Free and Planner 5D: General 3D Software, Adapted
If you want a render that isn't tied to one manufacturer's catalog, general 3D software is the answer, and SketchUp is the workhorse. SketchUp Free runs in a browser, costs nothing for personal use, and its 3D Warehouse is stocked with user-uploaded models of grills, outdoor cabinets, pizza ovens, and pergolas you can drop straight into your model. The learning curve is real — expect an evening of tutorials before you're productive — but the payoff is a model with your yard's actual dimensions, your house wall, your existing patio, and any brand's components side by side.
Planner 5D is the gentler alternative: a drag-and-drop home design app with a free tier, a large furniture library that includes outdoor and kitchen objects, and automatic 2D-to-3D switching. It is less precise than SketchUp — you will fight it on exact cabinet dimensions — but for a homeowner who wants a convincing walkthrough render in an hour rather than an evening, it gets there faster.
Two tips make either tool dramatically more useful. First, model your constraints before your wishes: property line, house wall, hose bib, existing slab edge, door swings. A dream island floating in white space teaches you nothing. Second, model at true dimensions from the start — grab standard counter heights and depths from our outdoor kitchen dimensions guide so the render's proportions match what a builder will actually pour and set.
AR Apps: Projecting a Virtual Island Into Your Actual Yard
Augmented reality flips the visualization problem around. Instead of building your yard inside software, AR apps use your phone's camera and depth sensors to place a virtual island into the live view of your real patio. You walk around it, crouch to counter height, and see immediately whether a 10-foot run swallows the space or disappears in it.
Room-scan apps built on Apple's ARKit and Google's ARCore can capture your patio's dimensions automatically — useful for getting an accurate footprint into SketchUp later. Some manufacturer apps and general design apps include AR view modes that let you drop a configured island or individual appliances at true scale. Even the crude version of this trick works: cardboard boxes arranged to the island's footprint, viewed through your phone's camera at standing height, catch most of the same problems.
What AR does uniquely well is judge mass against surroundings that no software model includes: the neighbor's fence line, the shade pattern at 5 p.m., the slope you forgot your patio has. What it does poorly is precision — AR placement drifts by inches, occlusion glitches make objects float, and small phone screens flatten depth. Treat AR as a gut-check, not a measurement tool. The pattern that works: configure in a brand tool or SketchUp, sanity-check mass and placement in AR on the actual patio, then go back to the 3D model to lock dimensions. Ten minutes of AR walking has killed more oversized-island plans than any spreadsheet we've built.
From Render to Reality: Building a Materials List From Your 3D Model
A render is not a plan until it becomes a list of parts with prices. This translation step is where visualizer projects stall, so here is the process that works:
1. Freeze the model. Stop tweaking. Export a dimensioned top view and two elevations (front and the business side with the grill). Every downstream number depends on these staying fixed.
2. Walk the model and inventory it. List every distinct object: each cabinet or island section with width, the grill with cutout dimensions, side burner, fridge, sink, doors and drawers, counter square footage, and the finished panel area if you're veneering. A 3D model makes this nearly foolproof because nothing is hidden — if it's in the render, it goes on the list.
3. Match objects to real SKUs. This is where generic render objects become purchasable products. The grill in your model is a placeholder; the grill you buy has a specific cutout spec, and the cutout spec drives the island opening. Always size openings from the manufacturer's cutout sheet, never from the render.
4. Add what the render never shows. Footings or slab prep, gas line and shutoff, GFCI circuits, conduit, waterproofing membrane, mortar, hardware. These invisible line items routinely run 20–30% of project cost.
5. Price it in two columns: a configurator quote for the branded route and your SKU-by-SKU list for the custom route. Comparing them is how you find out whether the modular kit premium is worth the assembly time it saves — the answer differs by layout, and the render lets you compare identical designs fairly.
What an Outdoor Kitchen Visualizer Won't Catch
The most dangerous thing about a beautiful render is how finished it feels. An outdoor kitchen visualizer checks aesthetics and scale; it does not check legality or safety, and the gap between those two has burned plenty of homeowners. Know what the software is silent about:
Combustible clearances. Grill manufacturers specify minimum distances from combustible construction — often measured from the firebox to wood framing, pergola posts, and house siding. A render will happily show a built-in grill nested against a wood-framed wall that would fail inspection and void the warranty.
Gas and electrical code. Line sizing for BTU load, shutoff valve placement, GFCI protection, conduit burial depth — no consumer visualizer models any of it. These are permit-and-licensed-trade items in most US jurisdictions.
Ventilation. Island-enclosed LP grills need vent panels in specific positions because propane is heavier than air and pools in enclosed bases. Configurators from grill brands usually place vents correctly in their own kits; a custom SketchUp model won't warn you at all.
Structural and drainage reality. The render assumes your slab is flat, level, and strong enough. Your actual patio has slope, joints, and a load rating that a 3,000-pound masonry island may or may not respect.
The fix is sequencing: treat the render as the proposal and your local building department plus the appliance installation manuals as the reviewers. Every dimension the render proposes should be checked against the clearance tables in the manuals before anything is ordered.
How accurate are visualizer renders compared to the finished kitchen
Brand configurators are dimensionally accurate for their own products, since the models are the actual cabinets and appliances. Accuracy drops at the edges: finish colors render brighter than real materials, tools assume a flat level slab, and different tools make different assumptions about overhangs and seating space. When we built one island in three configurators, seating estimates varied by two stools. Trust renders for proportion and layout; trust spec sheets for dimensions.
A Realistic Workflow: From First Render to Build Day
Here is the sequence we recommend, having watched projects run both smoothly and sideways. It usually spans two to four weeks of evenings, which is nothing against a build you'll live with for fifteen years.
Week 1 — measure and rough in. Measure the real space, including hose bib, existing outlets, door swings, and slope. Rough out two or three layout candidates in a fast tool. Our outdoor kitchen planner walks through the decisions that should be settled before you render anything: budget band, fuel, cook zone size, seating count.
Week 2 — visualize seriously. Build your leading layout in one brand configurator and once in SketchUp Free or Planner 5D. Two independent renders of the same design expose each tool's assumptions — remember our two-stool discrepancy. Walk the AR version on the patio at least once, ideally at the time of day you'll actually cook.
Week 3 — translate and verify. Convert the frozen model into the materials list from the section above. Pull cutout sheets and clearance tables for every appliance. Call your building department about permits for gas and electrical.
Week 4 — price and decide. Get the configurator quote, price the custom list, and get one contractor bid using your render as the brief. Contractors bid tighter against a dimensioned 3D model than against a verbal description — ambiguity is priced in, and the render removes it.
The pattern behind every step: the visualizer is the conversation piece, not the authority. For the rest of the planning stack — layouts, dimensions, costs, and covers — start at our outdoor kitchen setup homepage and work through the guides in order.
Questions that come up on almost every build:
Do AR apps actually work for planning an outdoor kitchen?
They work well for one specific job: judging size and placement in your real space. Walking around a full-scale virtual island on your actual patio catches oversized layouts, blocked paths, and awkward sightlines that screens hide. They are poor at precision — placement drifts by inches — so never take measurements from AR. Use AR as a gut-check between designing in a 3D tool and finalizing dimensions from manufacturer spec sheets.
Frequently Asked Questions
01Is there a free outdoor kitchen visualizer?
02What is the difference between a visualizer and a configurator?
03Can I use SketchUp for an outdoor kitchen design?
This guide is part of Outdoor Kitchen Build Guides: Planning, Permits, Cost, and Hiring — the hub covering every planning & guides guide on Outdoor Kitchen Setup.
Related Guides
Written and edited by Sukie
Sukie is the editor behind Outdoor Kitchen Setup. They compile manufacturer specification sheets, published building codes, and industry sizing standards into the measurement and planning guides on this site, and check every figure against its original source before it goes live. Where a number varies by brand or by local code, the guides say so rather than presenting a single figure as universal.